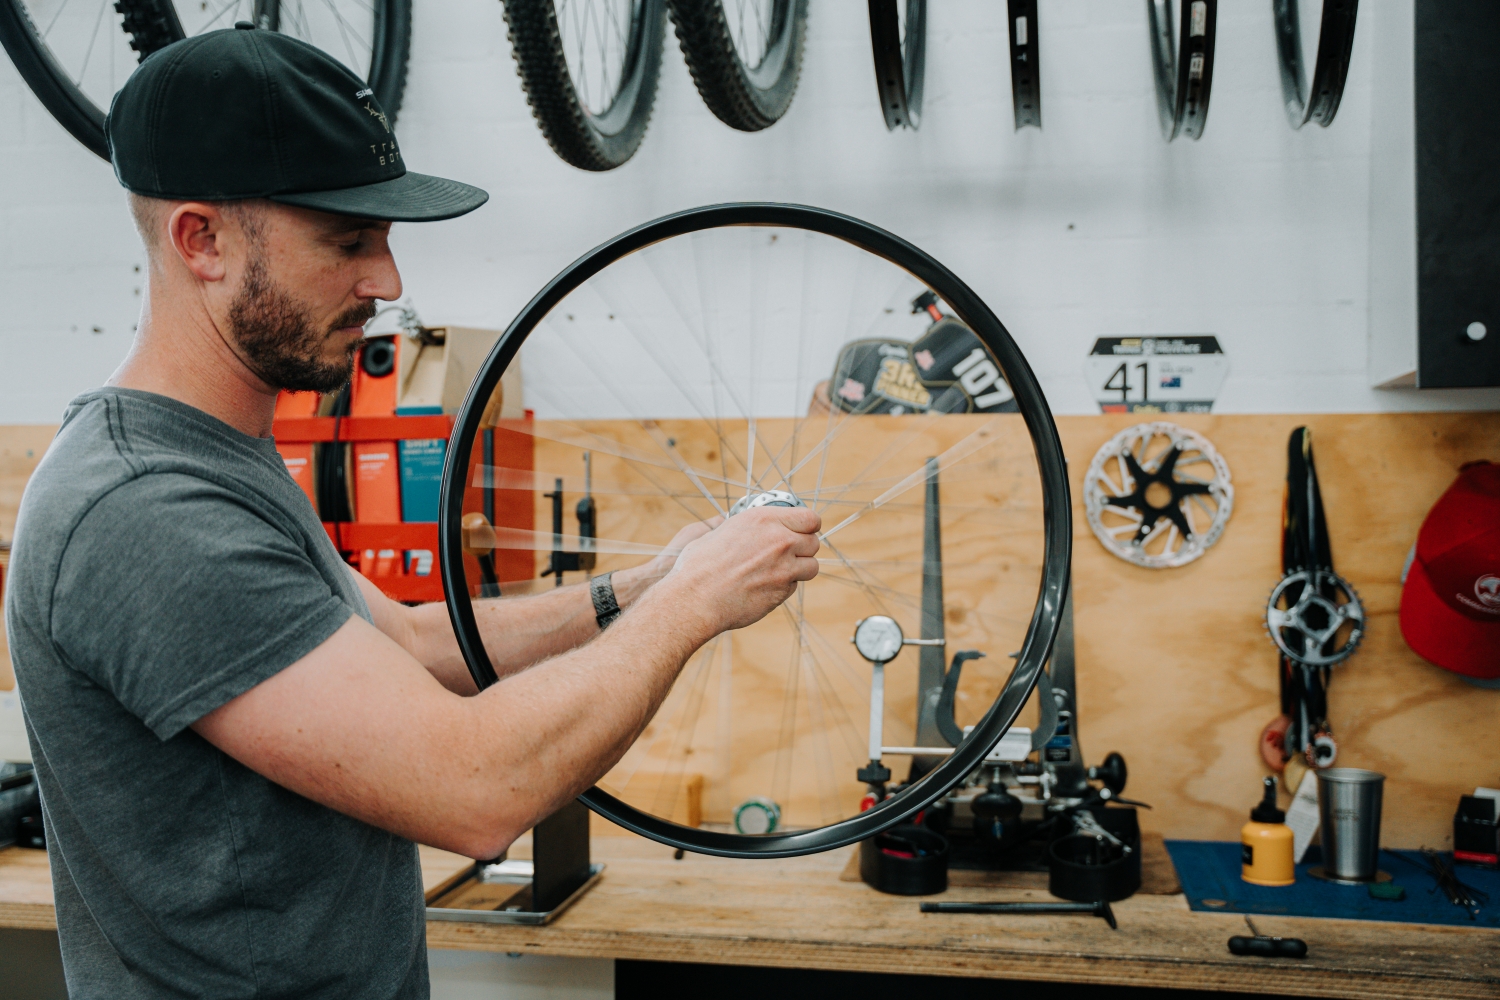
Your freehub body is one of the hardest-working parts of your bike, consistently moving, put under huge loads and hit with solvents, pressurised water and dirt. After all this, we head out on the next ride!
Over time your freehub body experiences contamination and ingress from water, dirt and even old grease solidifying. This causes the small internal mechanisms (pawls, springs, and ratchets) to function less optimally and if left unchecked you’ll experience increased drag, sluggish engagement, freehub slipping under load, or – in the worst case – complete failure.
Read more workshop guides
– How to fix a loose headset
– How to set up MTB suspension
– How to find the right chain length
– How to service cartridge bearings
A simple service, even once or twice a year depending on riding conditions can extend freehub life dramatically, keep engagement crisp, rolling past your friends, save you from expensive repairs and nasty crashes.
I recommend servicing your freehub every 6–12 months for general use, but it’s especially warranted after any wet, muddy, or high-pressure washing rides or if you experience any engagement issues or grinding noises in the freehub.
Here’s how to do it properly.
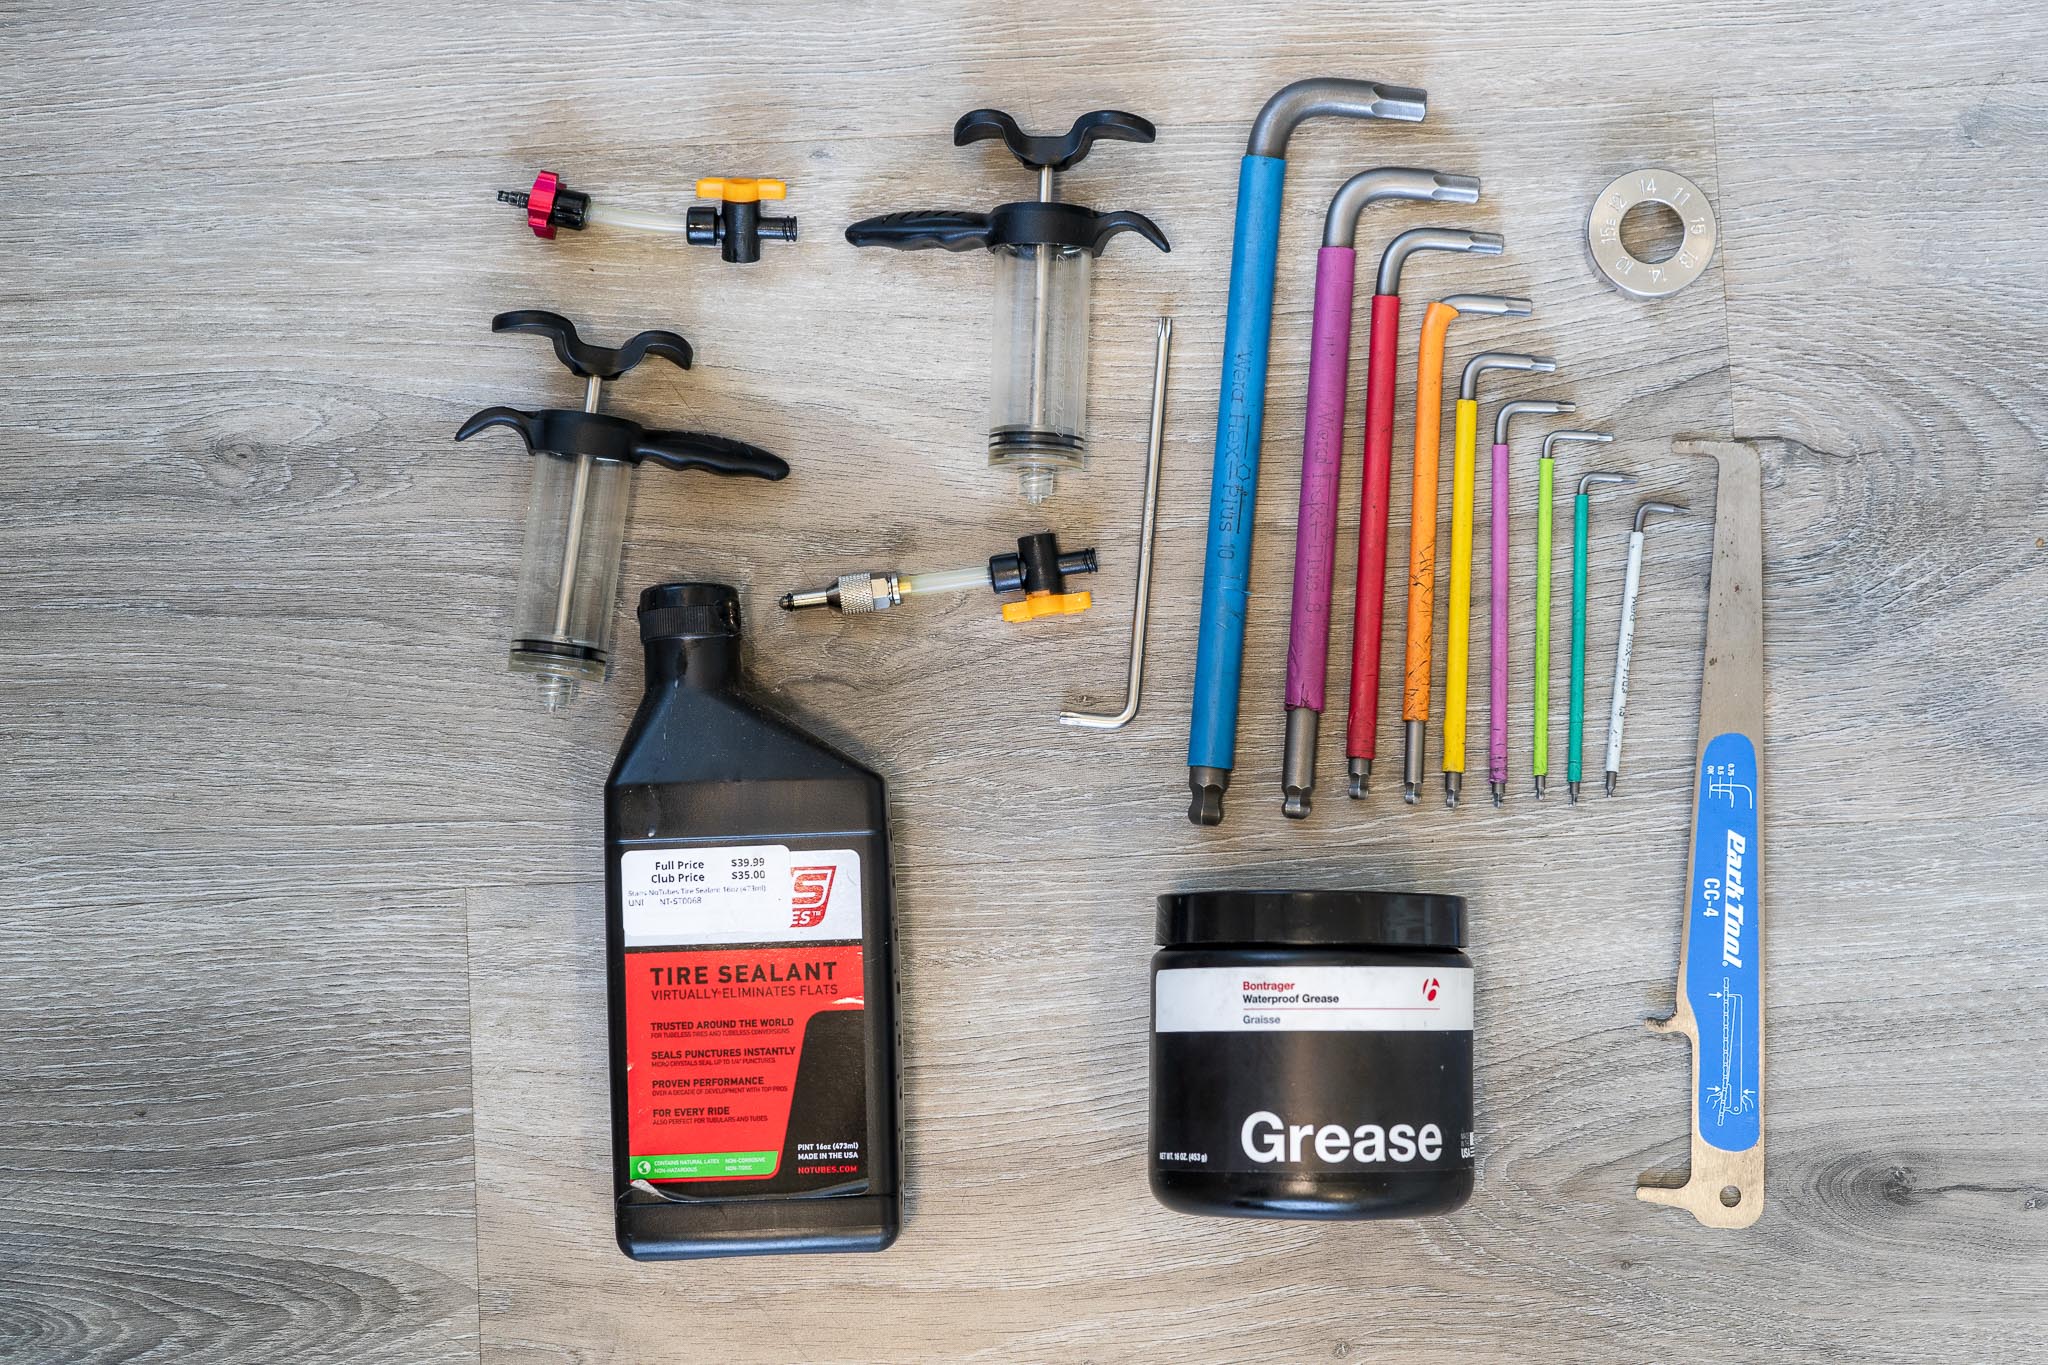
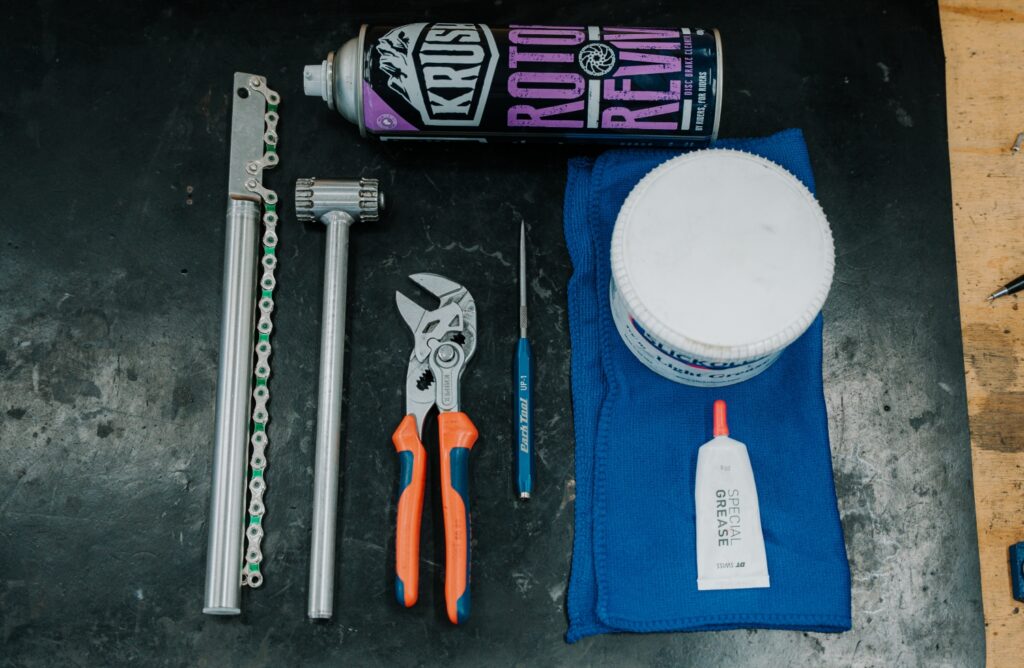
Tools & Supplies You’ll Need To Service A Freehub:
- Cassette lockring tool
- Chain whip
- Small pick
- Isopropyl alcohol/brake cleaner
- High-quality light grease (Slickoleum, Dumonde Tech Freehub Grease, Phil Wood Grease, or similar)
- Clean rags
- A work tray or clean surface to catch small parts
Step 1: Wheel and Cassette Removal
- Clean your bike
- Remove the rear wheel from the bike.
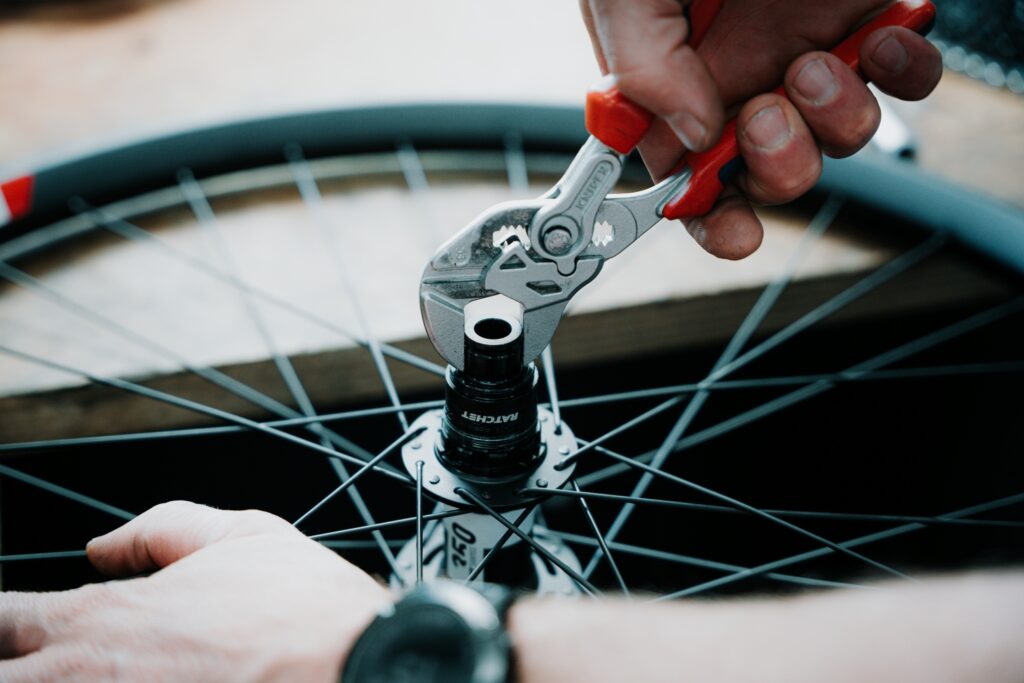
- Use a chain whip to hold the cassette still, then loosen the cassette lockring with the appropriate tool.
- Remove the cassette, keeping spacers and cogs in the correct order if necessary

Step 2: Access the Freehub Body
- Remove the hub’s end caps, these days most are a friction fit and can be pulled off by hand or with a soft mallet tap or pair of Knippex Pliers
- Other hubs may require cone spanners or a pair of Knippex Pliers to undo threaded end caps, some may be labled LH thread.
- Depending on your hub model, the freehub should slide off easily but in some cases the axle may slide through with the freehub.
- Be careful to remove the freehub over a bench, rag or tray to catch any broken or spring loaded parts that may eject from the hub.

If you’re unsure, check the manufacturer’s instructions for your specific hub, forcing the wrong part can cause damage.
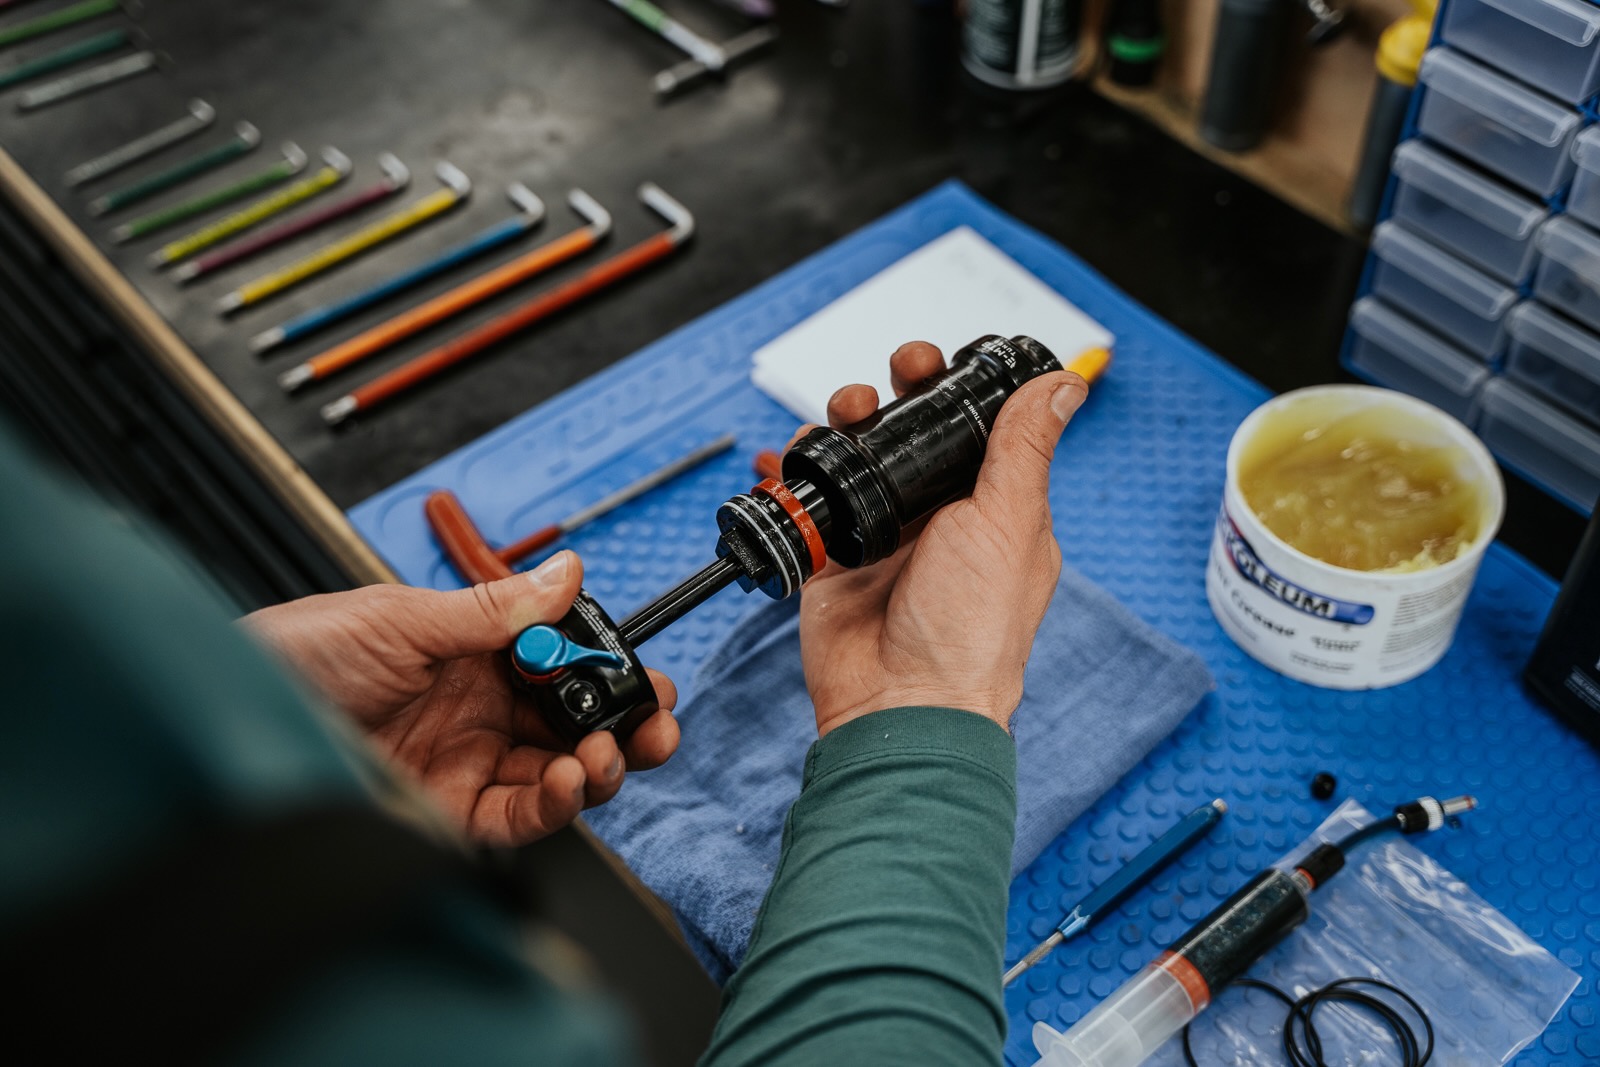
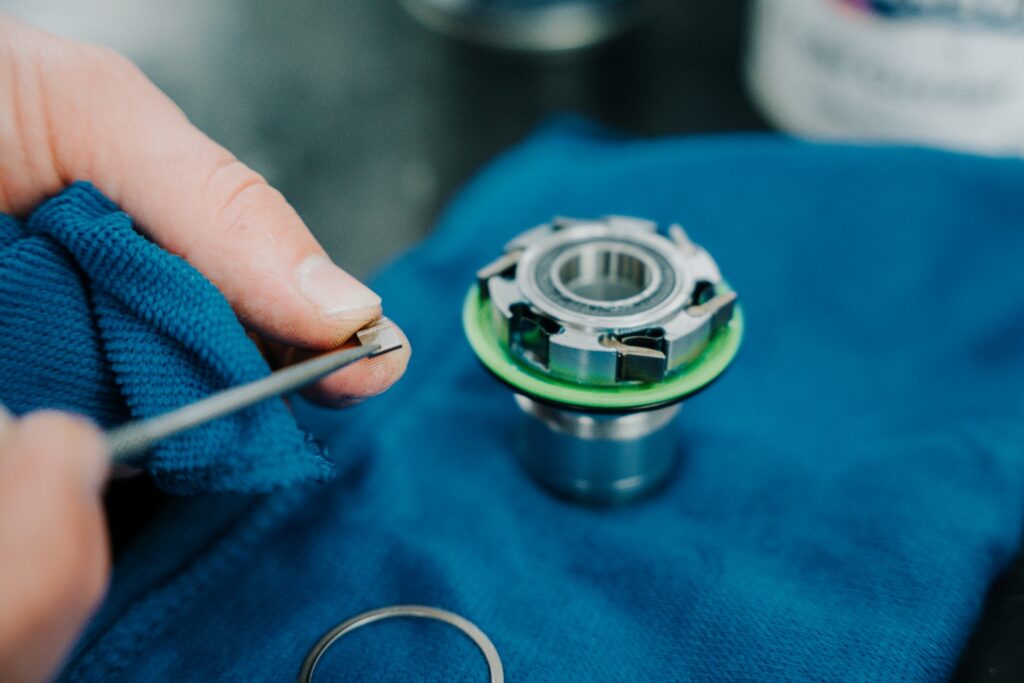
Step 3: Inspect and Disassemble the Freehub
- With the freehub removed, carefully lay out the components in order or removal, take a photo if required.
- Remove pawls, springs or ratchets from freehub
- If possible, carefully remove the outer seal or end cap using a pick.
- Work over a tray — pawls and springs are small and easily lost.

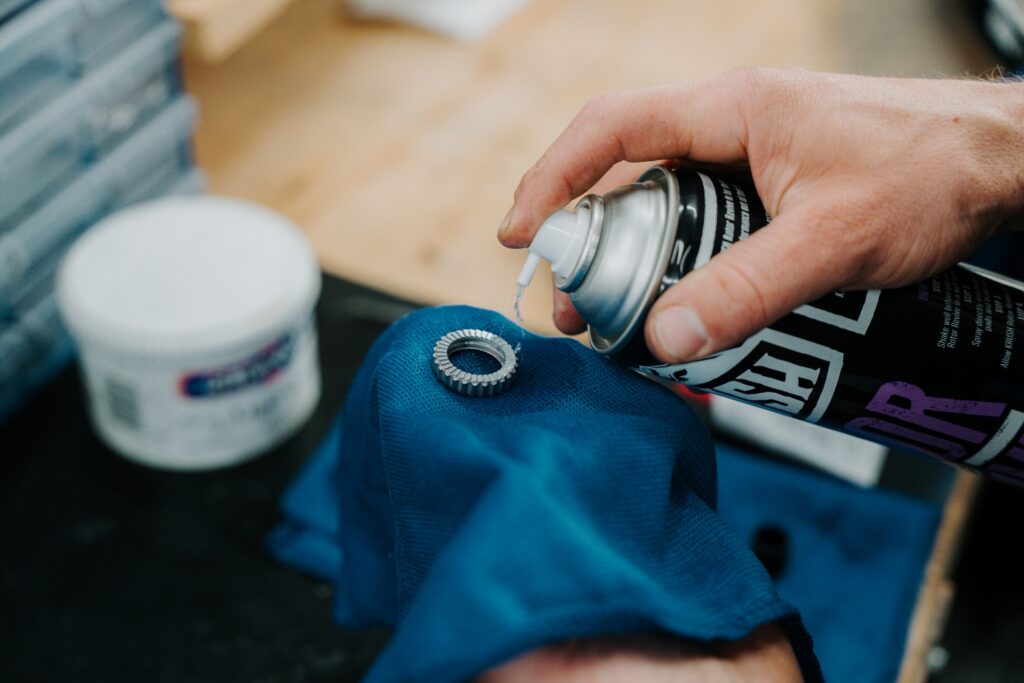
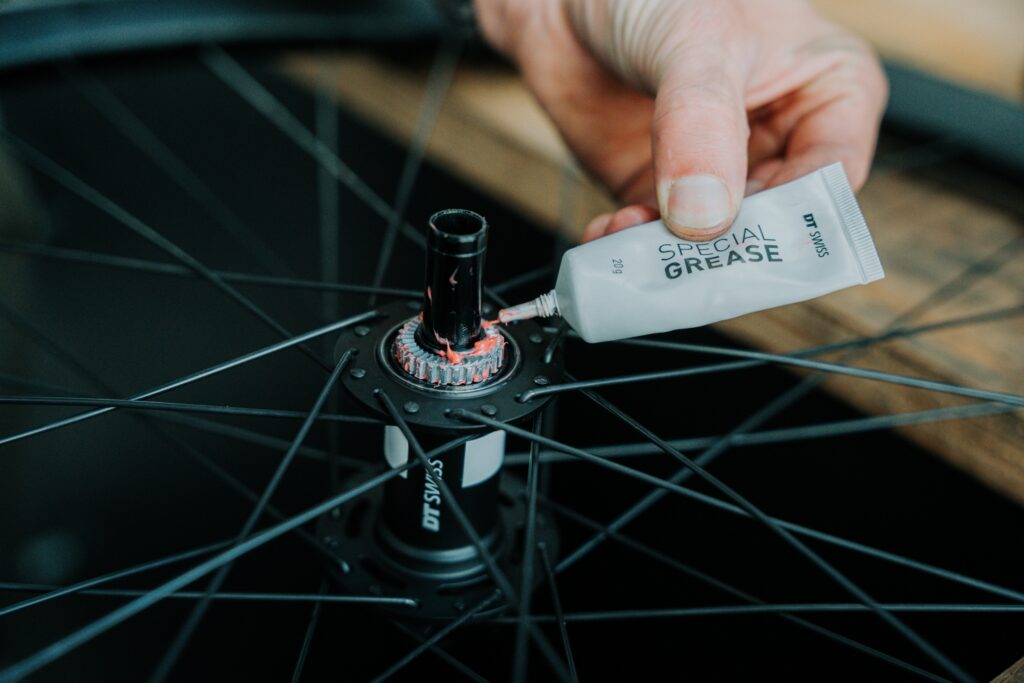
Step 4: Freehub Cleaning and Lubrication
- Clean components individually either with clean rag or separately in distillate or ultrasonic cleaner
- Inspect parts for wear: Worn or chipped pawls should be replaced and damaged or missing springs will cause engagement failure, so check all parts thoroughly.
- Lightly lubricate: Apply a small amount of freehub-specific grease to the pawl pivot points and ratchet surfaces, but avoid over-lubrication – excessive grease can cause slow or failed pawl engagement.
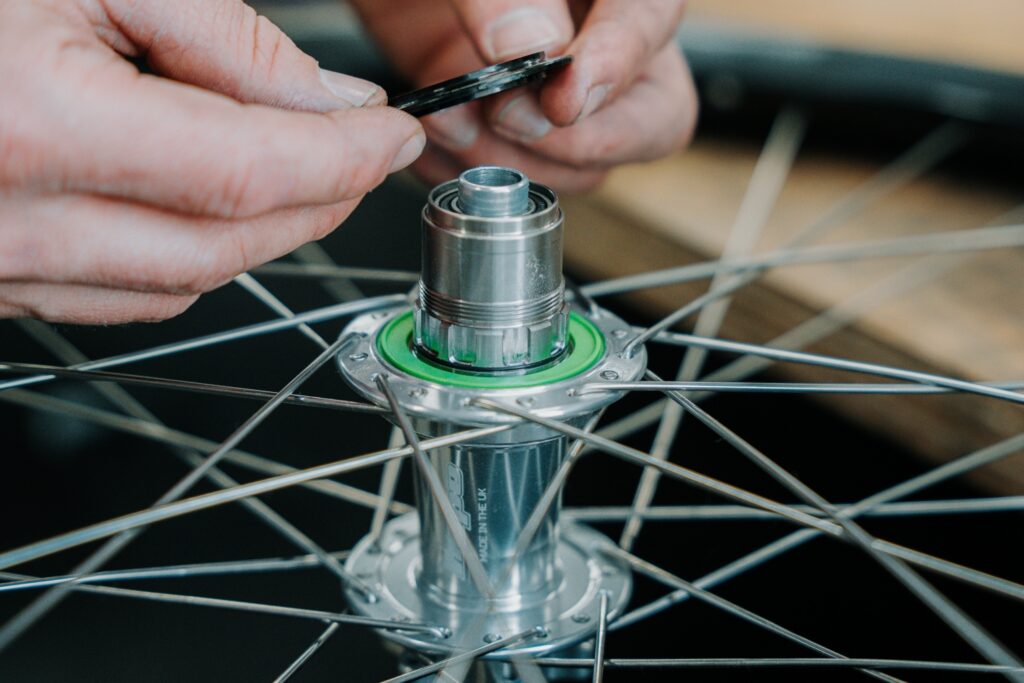
Step 5: Freehub Reassembly
- Reinstall the pawls and springs carefully, ensuring correct seating and movement.
- Refit the freehub body to the hub.
- Reinstall end caps.
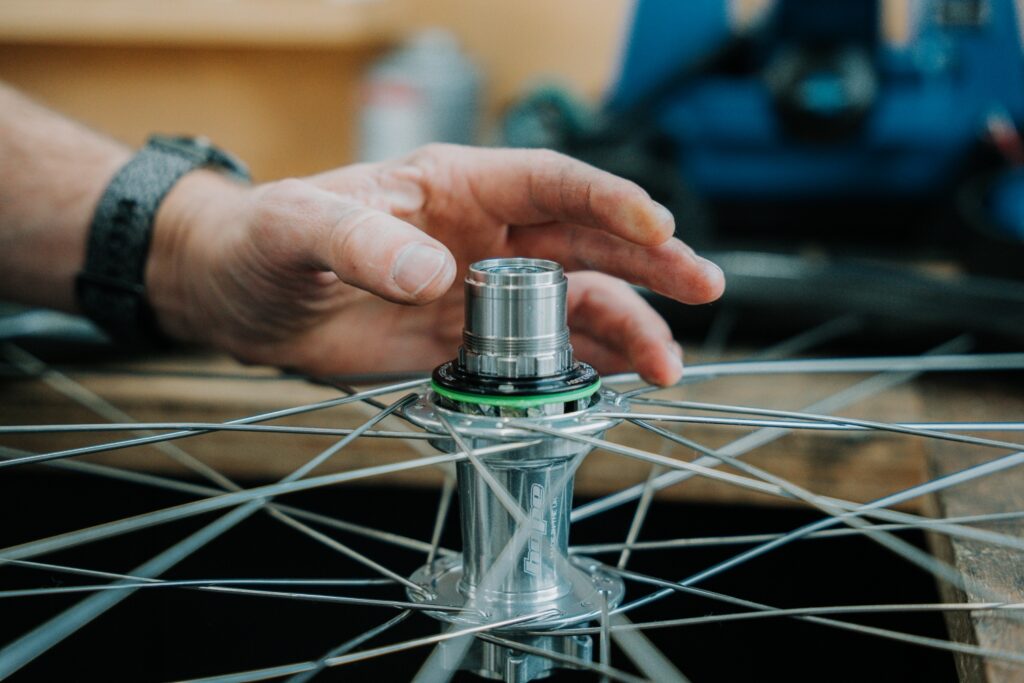
Step 6: Final Check
- Spin the wheel and listen for a clean, crisp freehub buzz: it’s likely a lot quieter than before!
- Before installing the cassette, clamp the wheel in the frame and tighten the axle. Check – does it spin freely?
- Install cassette and install on bike.
- Test pedal engagement. Engagement should feel immediate and smooth, without delay or slippage.
- Check for lateral play in the hub – if any exists, inspect end caps and internal spacers.
Servicing your freehub isn’t difficult with basic tools, some care, and a little attention to detail. A clean, well-lubricated freehub keeps your drivetrain performing at its best – delivering faster engagement, lower rolling resistance, and longer component life. Neglect it, and you’re risking costly hub repairs or worse – trail-side mechanical failures.