How to service cartridge bearings
Words: Ryan Walsch
Photos: Jordan Riddle
There are many reasons you may find yourself here and reading this article, but at a guess its going to be you’re on the hunt for a noise or rumbling from your bike. It might be a creaking or cracking noise, or an intermittent one after 23 minutes of riding at a particular temperature. But whatever it is, chances are you may have a bearing that’s screaming out for help and most likely some lubrication. In most cases I recommend that if you’ve gone to the trouble to get it out and it feels terrible, pop a new bearing in its place. This service procedure however is for those who cannot get a replacement in time or if the bearing feels ok and it is just a bit dry.
How to identify a bearing issue
Many of the creaking issues we see are caused by moisture and debris ingress into or around bearings of various locations. Bottom brackets are often to blame however not always the source of the noise. Headset bearings, linkage bearings and hub bearings could also be the cause.
Other than hub and bottom bracket bearings, linkage and headset bearings do not fully rotate, often only rotating a few degrees and under high load. These bearings always seem to become full of crud and can creak and groan if not cleaned and greased. Often freeing them and getting them moving again will resolve the issue, or at least prolong it until a new bearing can be fitted,.
Tools needed
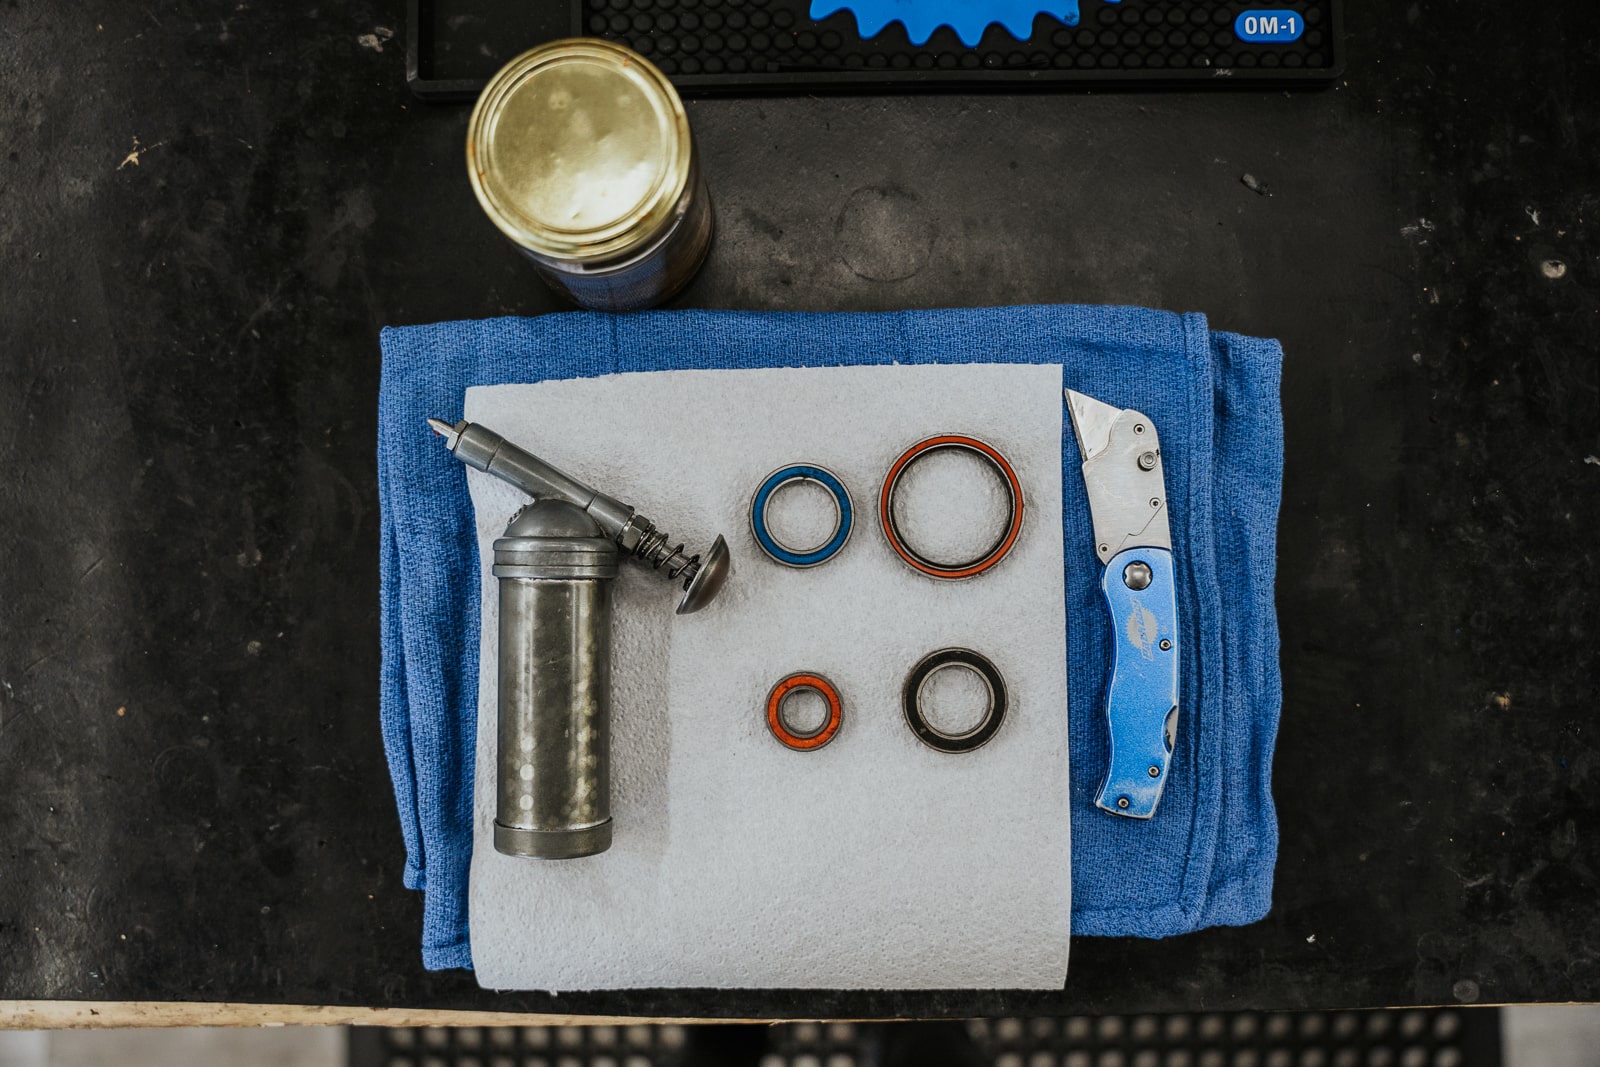
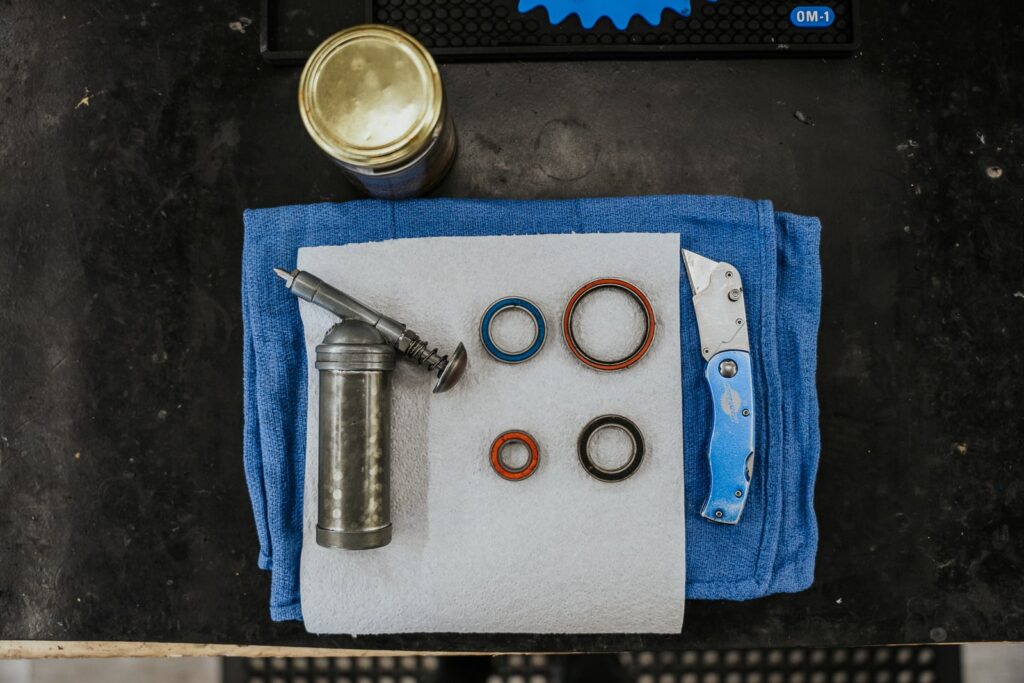
A grease gun, a Stanley knife with a fresh blade, kerosene, clean rags.
The Procedure
- Remove and clean the bearing (no photo)
- There are many ways to remove a bearing, highly specialized tools, bearing pullers, blind bearing pullers, punches, presses, you name it. Each brand likes to use their own method but the concept remains the same. Getting a bearing out straight is the aim of the game and hitting out one side of it with a punch, while it can be effective and sometimes the only option, it can damage the bearing seat, make it skew sideways and bind making it more difficult to remove or even worse, collapse the bearing and leave behind the outer race only. Pull or push it out straight and its going to save a bunch of time.
- There are many ways to remove a bearing, highly specialized tools, bearing pullers, blind bearing pullers, punches, presses, you name it. Each brand likes to use their own method but the concept remains the same. Getting a bearing out straight is the aim of the game and hitting out one side of it with a punch, while it can be effective and sometimes the only option, it can damage the bearing seat, make it skew sideways and bind making it more difficult to remove or even worse, collapse the bearing and leave behind the outer race only. Pull or push it out straight and its going to save a bunch of time.
- Remove the seals
To remove the seals, we like to use the sharp point of a Stanley knife, carefully insert blade point under edge of the seal and lift outward, be careful not the bend the thin steal washer within the seal as this will make it harder to reinstall, damage the seal and make it easy for water and debris to get into the bearing after reinstallation,
Do you need to get the bearing out to check if its dry and needs grease? Sometimes no, the seal may be visible when the pivot bolt is removed and a simple check under the seal will tell you how the bearing is doing, better still if in the case of a hub or linkage remove the shock or wheel from the bike and move the bearing, if it spins freely and isn’t rough chances are some fresh grease is all it needs.
- Cleaning the bearing
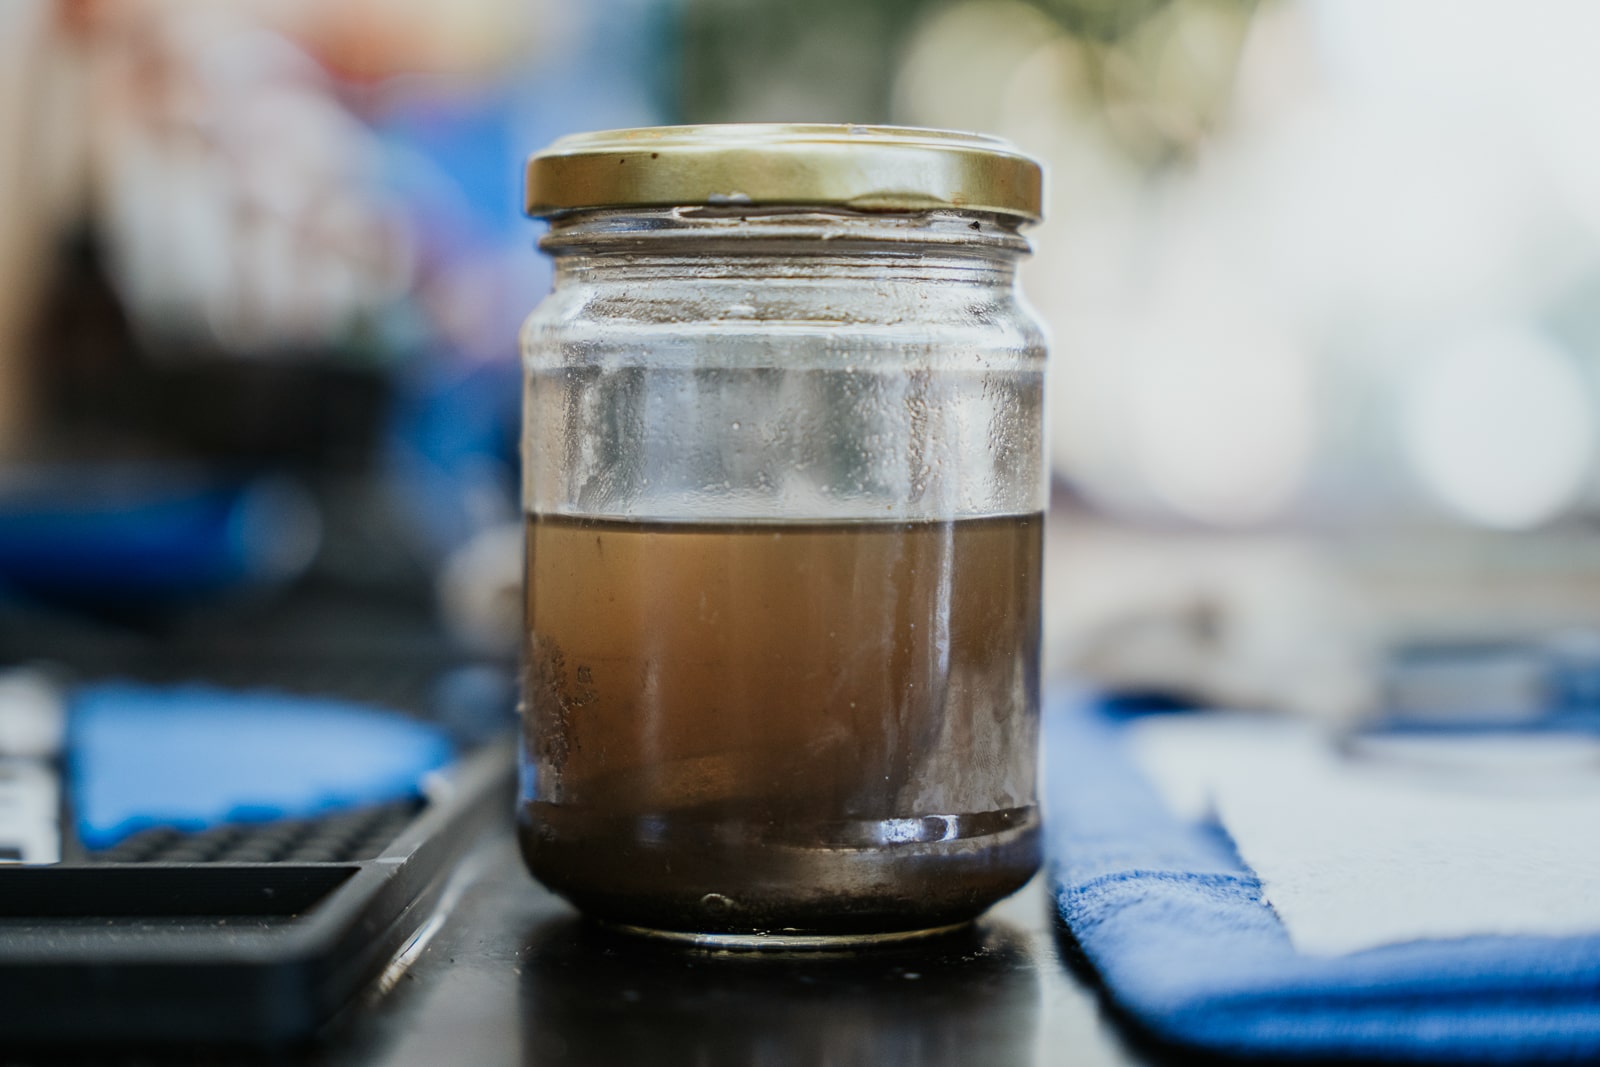
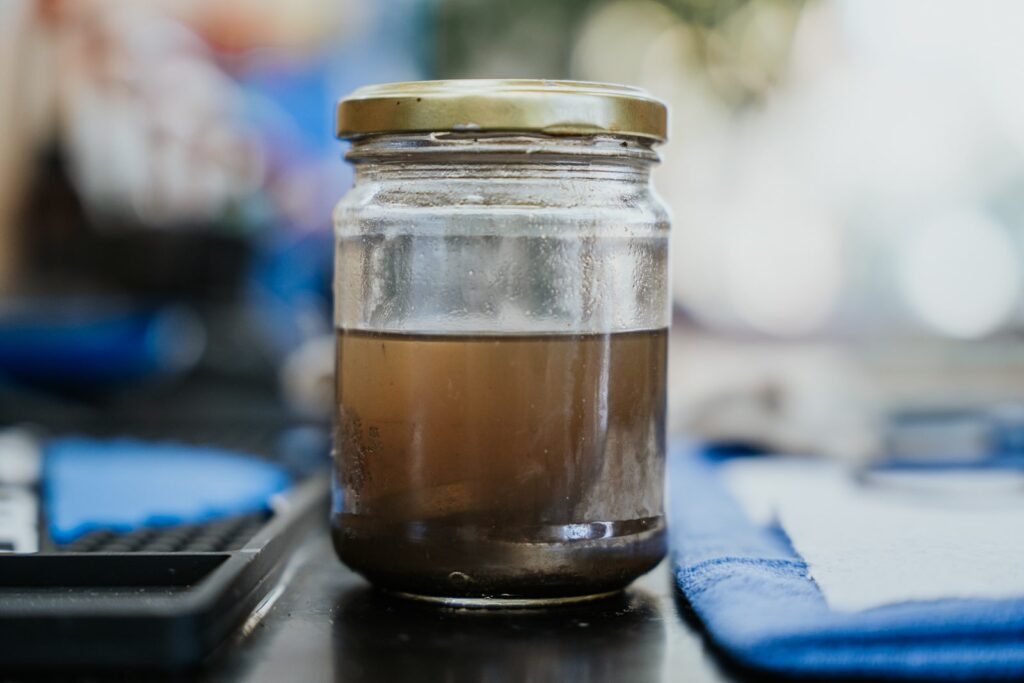
We have shown how to clean sealed bearing in a jar of Kerosine or distillate, we use a heated ultrasonic cleaner in our workshop normally however not everyone has access to this fantastic bit of wizardry, a jar and degreaser can still be very effective. Alternatively we found some small. Ultrasonic cleaners for under $50 which can be used with hot water/degreaser solution.
Soaking the bearing in either of the above cleaners or shaking and agitating the solution with dissolve old grease and debris from the innards of the bearing, if the bearing is in a really bad way or was seized, we sometimes will remove the bearing and give it a spin which will further free up the bearings inner workings.
4. Dry the bearing
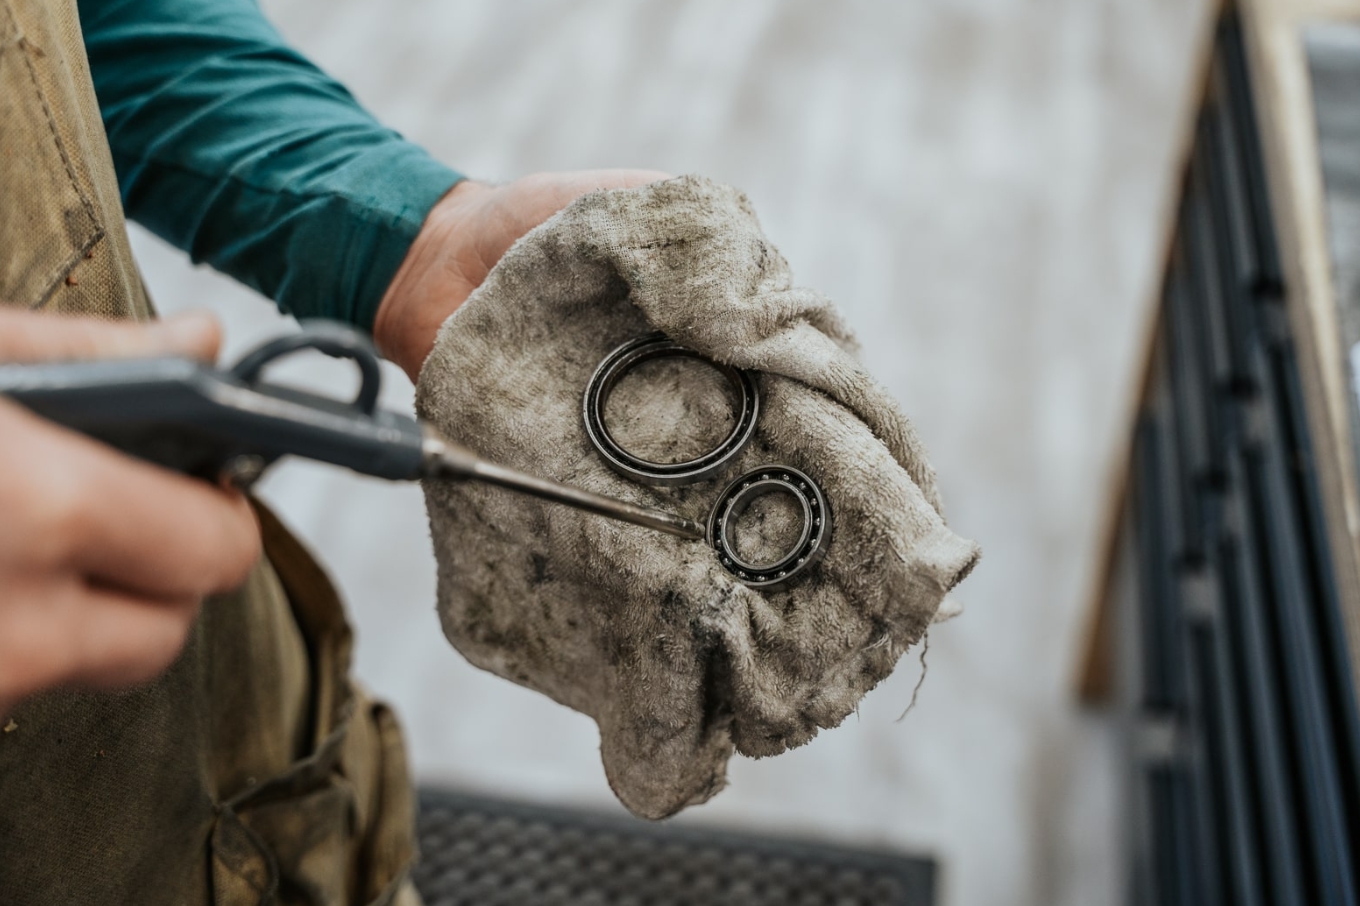
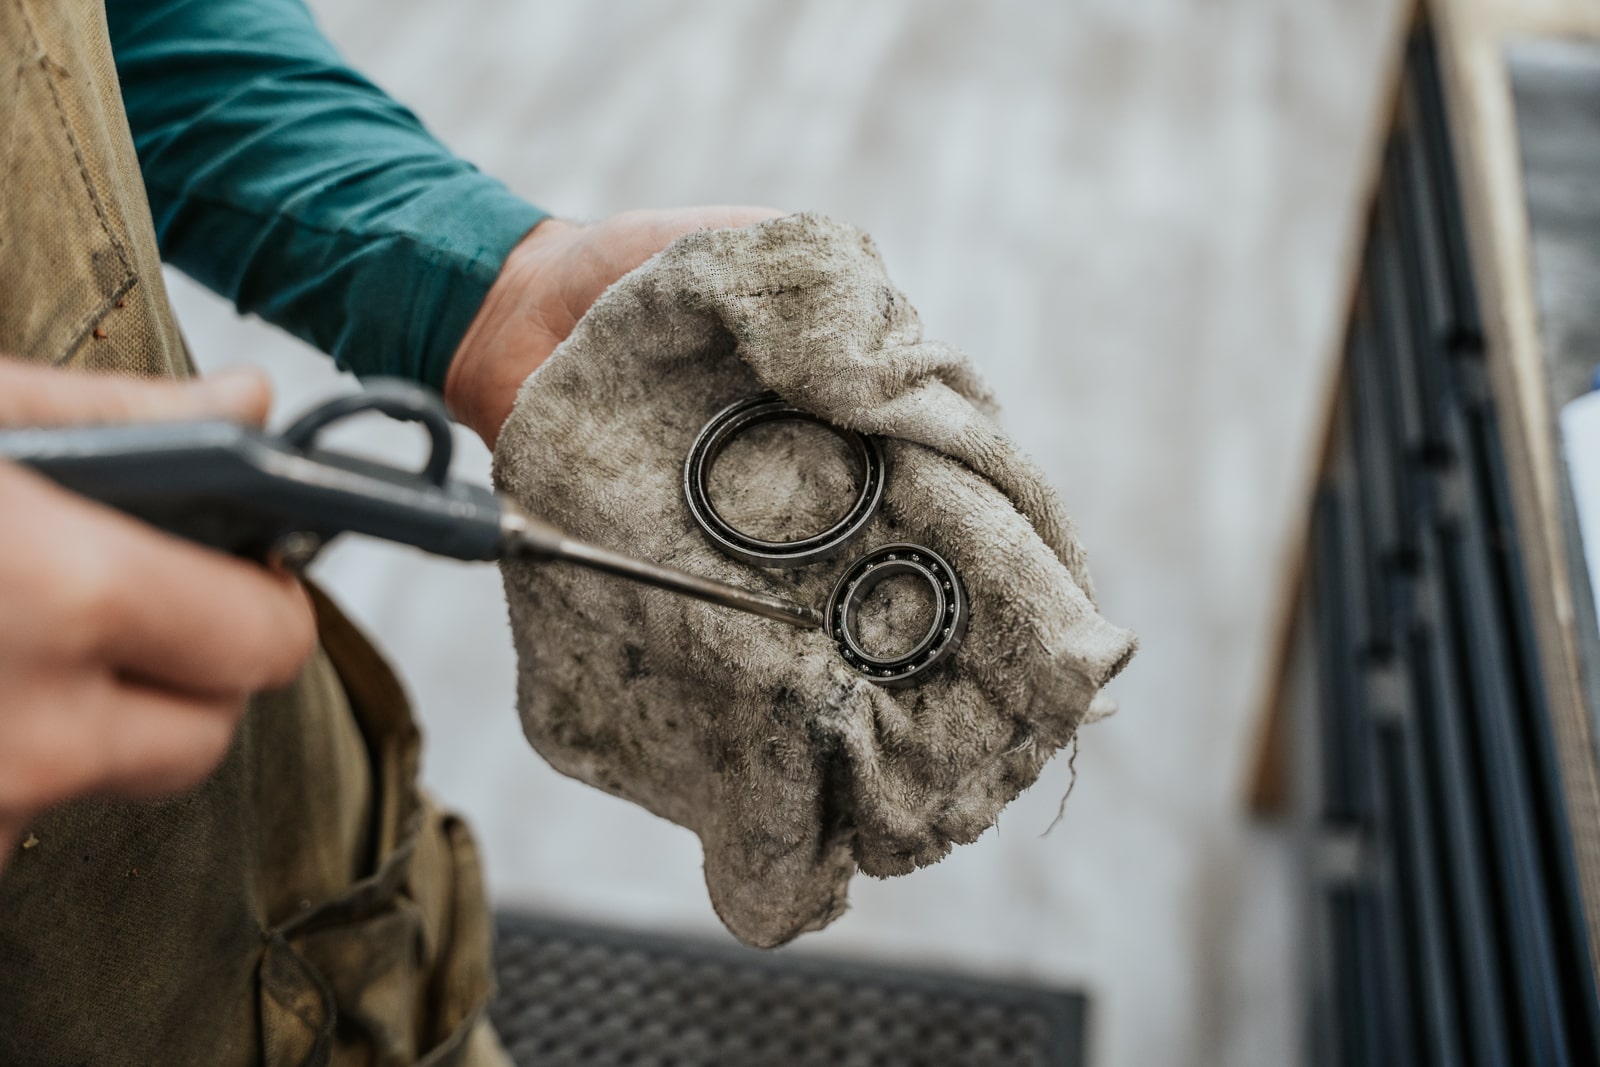
Wearing ear and eye protection, we use a small amount of compressed air to blast the moisture and debris from the bearing, drying the bearing in the sun or on a dry cloth will also work.
5. Re-packing the bearing
There really are lots of grease types, but generally there are two main greases we use and would recommend for the two main bearing applications on the bike. Does the bearing in question need to bear load (ie a linkage bearing) or does it spin (a hub or bottom Bbacket) For load bearing bearings, typically a full compliment bearing is used (no inner cage holds the bearing) which allows for many more bearings to be fitted and carry the load and we would repack these with a thick, high temperature waterproof grease. The thicker consistency doesn’t spin as well but repels moisture and debris evryu well.
The second grease we would use is a finer synthetic grease like Slickoleum, we use it in suspension applications and bearings that spin like hubs, its lighter and smoother consistency causes less drag and will spin faster, it’s highly resistant to moisture but not as good as the above.
Inject the grease with a grease gun, or push/smear grease in with applicator or finger, be liberal, it will press in further when the seals are reinstalled.
6. Reinstall the seals
Gently press the seals in with your fingers so to not damage them, wipe the excess grease off.
7. Reinstall the bearings
Your bearings are ready to go! Depending on the application and location of the bearing, reinstall the bearing following the manufacturers recommendation, usually with a thin smear of grease to fend off moisture ingress and in turn creaking and noise!

