How to Get the Right Chain Length for Your Mountain Bike
Learn the simple steps to measure and adjust your chain length for smooth shifting and optimal drivetrain performance.
Photos: Jordan Riddle
Every drivetrain manufacturer has a different way of measuring the required chain length, which can differ between series of their components. While it may seem easier to assume the chain length on your bike currently is correct, we see a high percentage of new bikes and bikes with their original chain installed coming through our workshop that have the incorrect chain length. Knowing this, it is safer to assume that it is incorrect and to measure it properly each time you replace a chain.
First up, consider that your rear derailleur has two jobs: to shift or derail the chain onto either the cog above or below (easier or harder), and to keep tension on the chain. A failure to do so will result in the chain falling off or slipping under load.
By understanding the derailleur’s function in keeping tension on the chain and considerations such as a dual suspension bike requiring a longer chain to accommodate the rear wheel’s path, calculating the chain length across all systems is pretty easy. Too often we see a chain that is too long for the bike, and then to keep tension on the chain, the B-tension screw is wound in too far to increase tension on the chain.
Each system or manufacturer has its own unique way of calculating the length of a chain. However, they all follow the same principles, and we have a simple method that takes these into consideration.
As the derailleur is trying to keep tension on the chain at all times, the chain must be long enough to rotate around the largest front ring, the largest cog on the rear (1st gear), and travel through the derailleur’s spring-loaded cage and jockey wheels.
Step-by-Step Guide to Setting Chain Length
Step 1
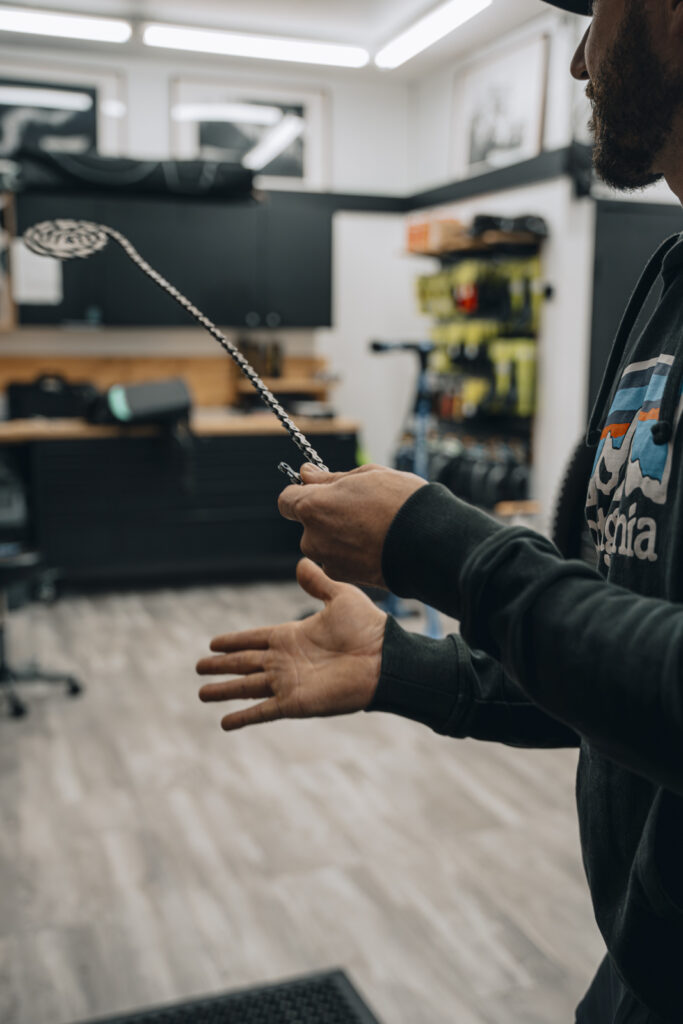
With the derailleur in the hardest gear (smallest cog on the rear), drape the full-length chain over the biggest cogs front and rear.

Step 2
Pull the chain taut until the next male/female links meet, add four links (two male and two female), and hold the chain together. Visualize and mimic the tension a derailleur cage would apply. A 45-degree angle is a good guide and ensures enough length to accommodate chain growth, even on a long-travel bike.

High pivot bikes may require more length, and some manufacturers like Forbidden Bikes provide recommended chain lengths for each frame size. If unsure, add two extra links, install the chain, and trim as needed—you can always shorten the chain, but you can’t add links back!
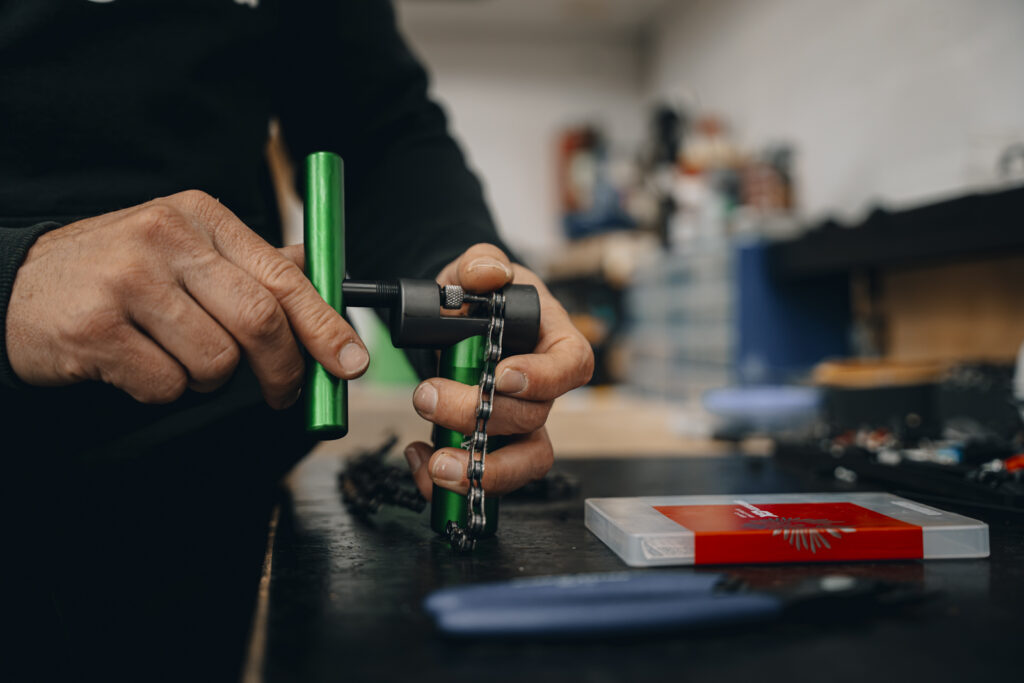
Step 3
Use a quality chain tool to cut the chain. Once cut, install the chain and shift into the easiest (biggest cog) and hardest (smallest cog) gears. The derailleur should maintain tension at all times.
Step 4
Shift into the largest cog and check the gap between the upper jockey wheel and largest cog. The closer it is without interference, the crisper and more precise the shifting.
We recommend adjusting the B-tension screw in 2nd gear (the second largest cog). When the derailleur is in this position, adjust the B-tension screw so the top tooth of the upper jockey wheel lines up (but does not touch) the largest cog.

This allows the derailleur to sit as close as possible to the cassette without interfering, preventing damage to the derailleur, chain, or hanger.
Once set, shift down into the hardest gear (smallest cog) and check that the chain still has tension and wraps sufficiently around the cog. If not, the chain could slip under load, reducing performance and causing wear on drivetrain components.
Chain Length Cheat Sheet
Shimano Systems
Shift derailleur into Big and Big, then find the zero position:
- Hardtail bike with connecting pin: +5/6 links
- Hardtail bike with QUICK-LINK: +4/5 links
- Full suspension bike with connecting pin: +6/7 links
- Full suspension bike with QUICK-LINK: +5/6 links
SRAM Eagle Systems
Shift derailleur into Big and Big:
- Hardtail bike with QUICK-LINK: +2 links
- Full suspension bike with QUICK-LINK: +4 links
SRAM T-Type Transmission
- Open the SRAM AXS app
- Go to Other Tools
- Select Chain Length and Setup
- Enter your bike brand, model, and chainring size
- Follow the installation steps—the easiest method ever!
This guide ensures your chain length is dialled for better performance, longer drivetrain life, and smoother shifting. Whether you ride Shimano, SRAM, or another system, taking a few extra minutes to set up your chain correctly will save you from unnecessary wear and shifting issues down the road.