TESTED: Gnarly Rim Protectors
Gnarly are a new rim protector designed here in Australia - so how do they stack up?
Earlier this year, I was sent a couple of samples of Gnarly Rim Protectors. The pitch from the Australian owned company was simple enough – they wanted to produce an easy to fit rim protection system to stock in bike shops, that didn't weigh a tonne and offered an improved ride performance. This was well ahead of the release, and it's meant I've had a few months using them in a set of wheels.
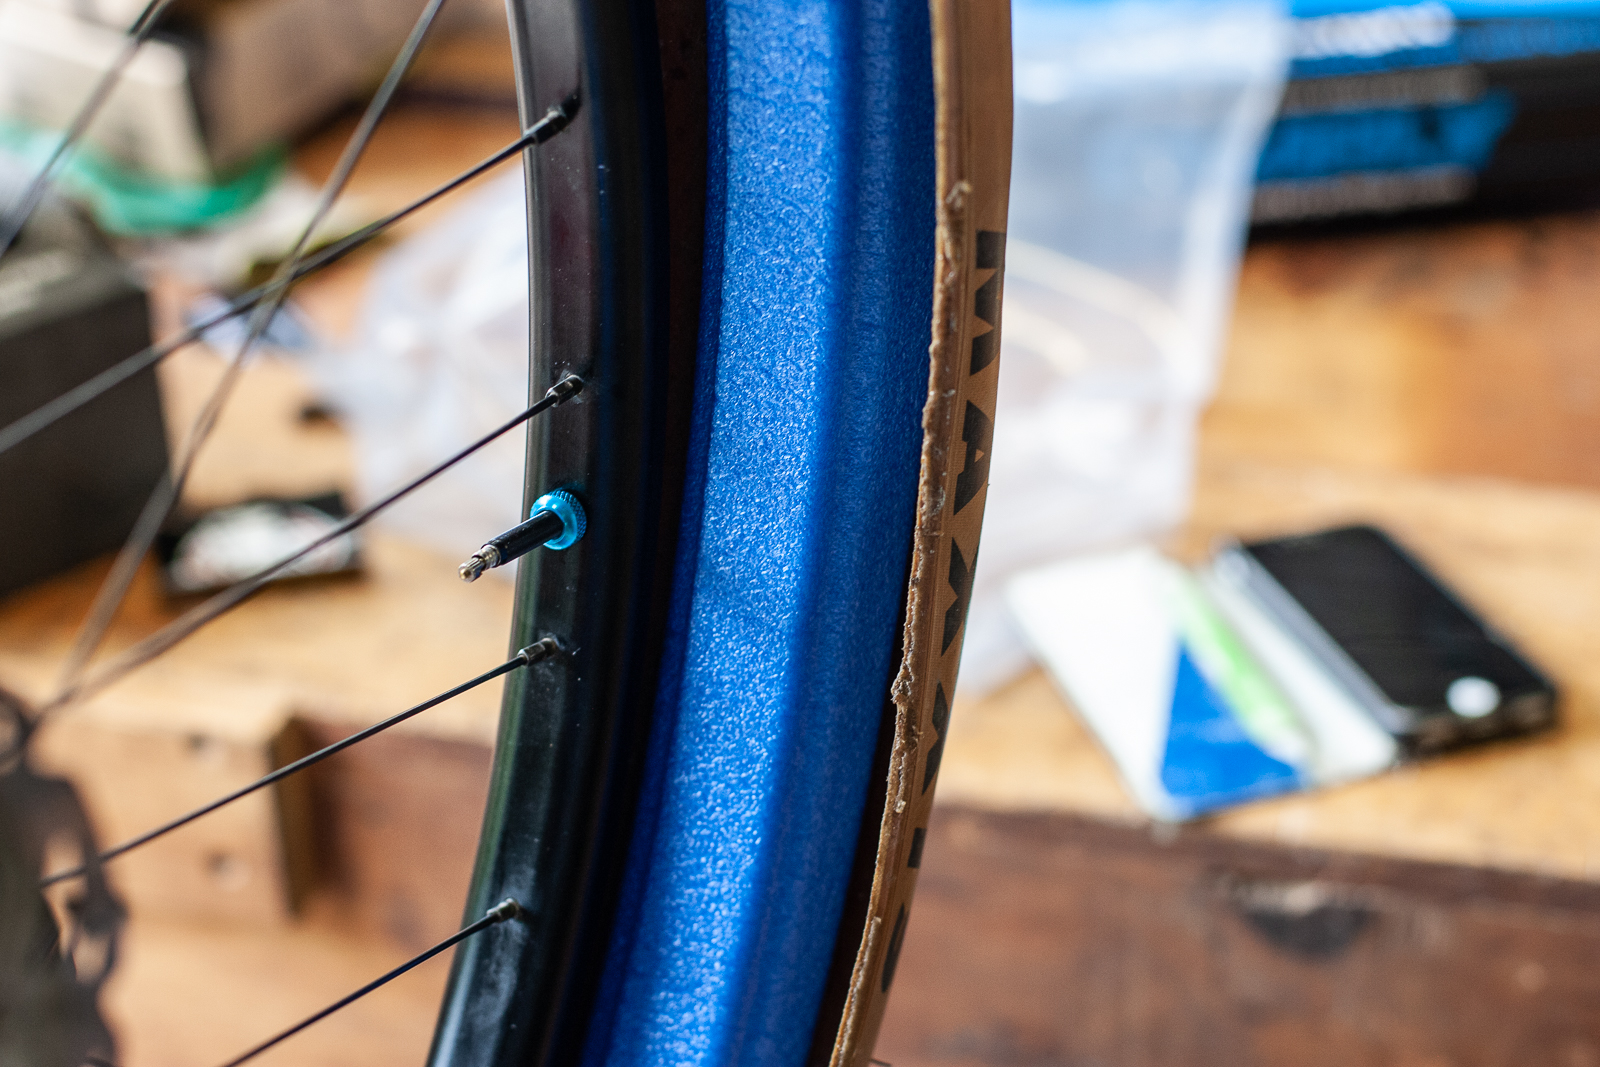
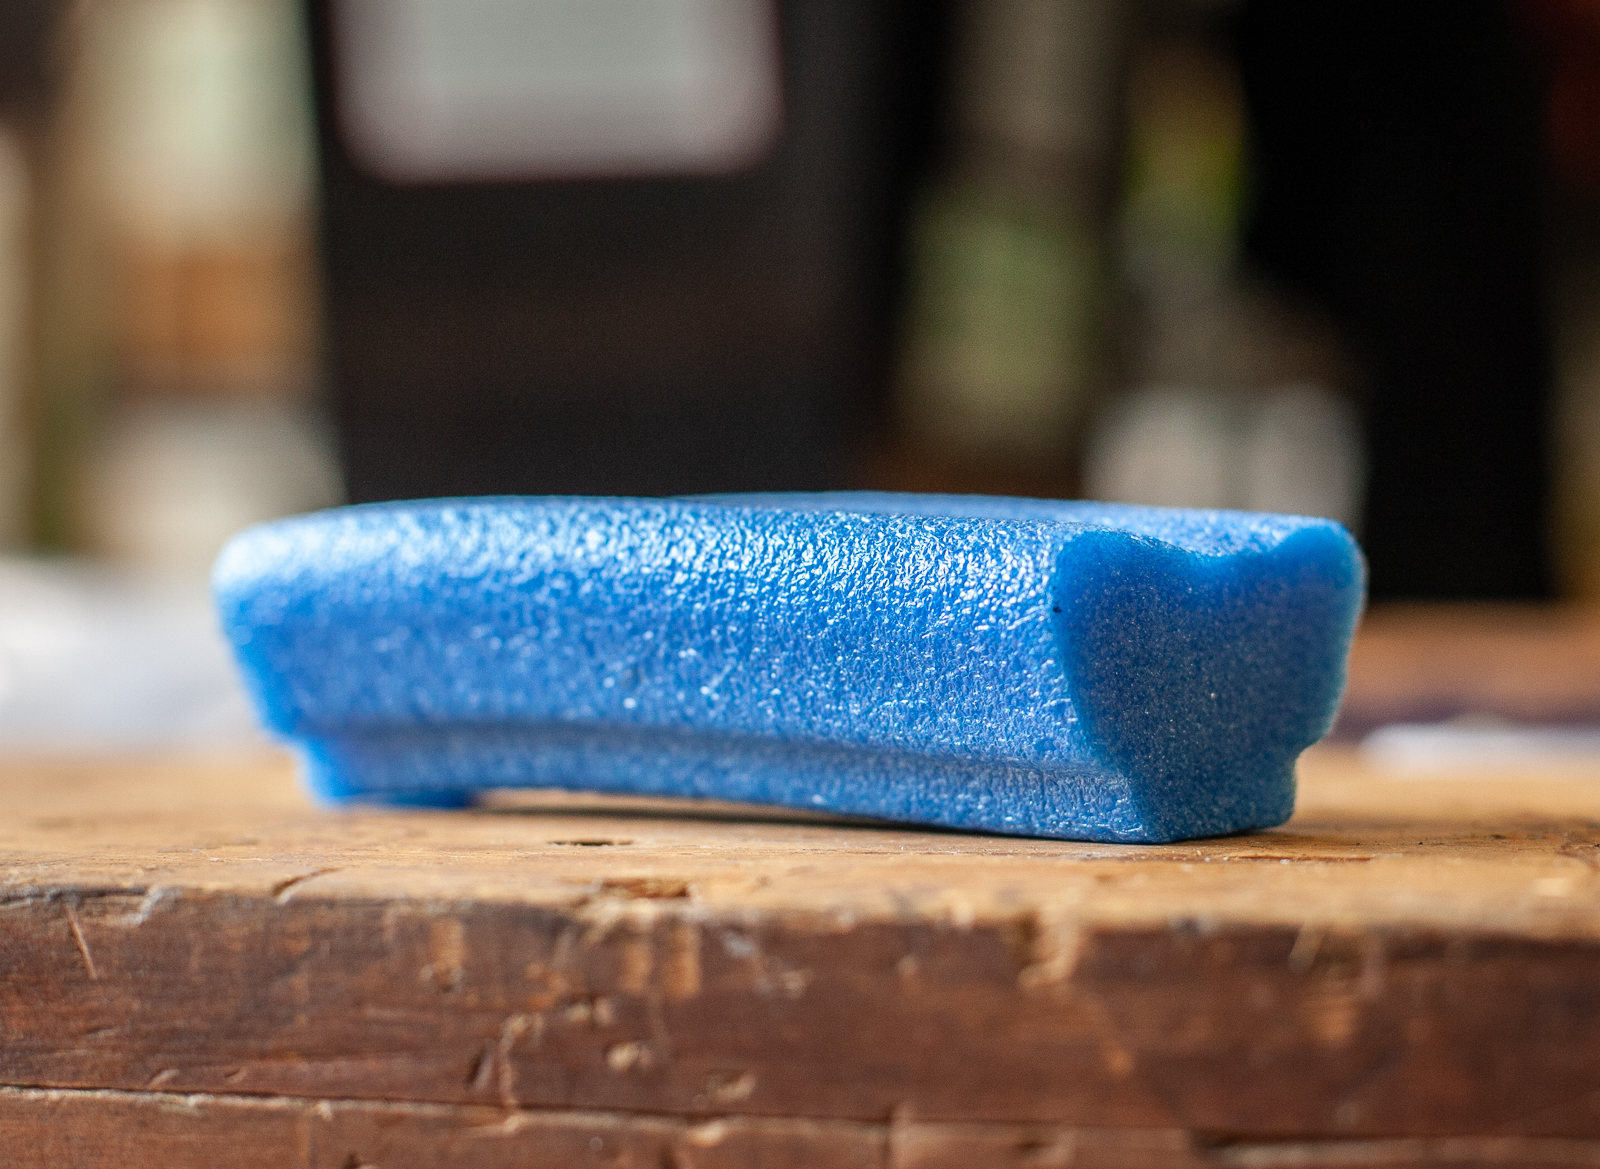
The material is closed cell foam, with shape that is designed to sit into the rim well, and flare out over the bead to hold it in place. The three different width options mean they match to approximate rim and tyre sizes. The grey model suits 2.0 – 2.2" tyres, blue suit 2.3-2.5" tyres, and black suit 2.6-3.0" tyres. Gnarly differs from a product like CushCore as it's a floating system – one that is in the tyre cavity and not stuck to the rim. So getting the right width is important.
As you might notice, it looks a lot like a shaped pool noodle. I actually visited Bunnings the following day after fitting them to compare. The material in a pool noodle is an open cell foam, which would suck up all your sealant. The closed cell foam used for the Gnarly rim protectors doesn't soak up sealant – which is a plus obviously. It's a much more expensive material, longer lasting, and designed to do the work that a tyre insert needs to do.
I was sent out a pair of blue Gnarly Rim Protectors. Each box has one length of rim protector, a colour-matched valve, some tape, instructions and zipties. Yes, each setup can do any wheel size, you cut (and attach) them to fit. The valve design helps keep air moving past the rim protector, as it allows air to come out the sides. This is a huge bonus for getting your tyres inflated tubeless.
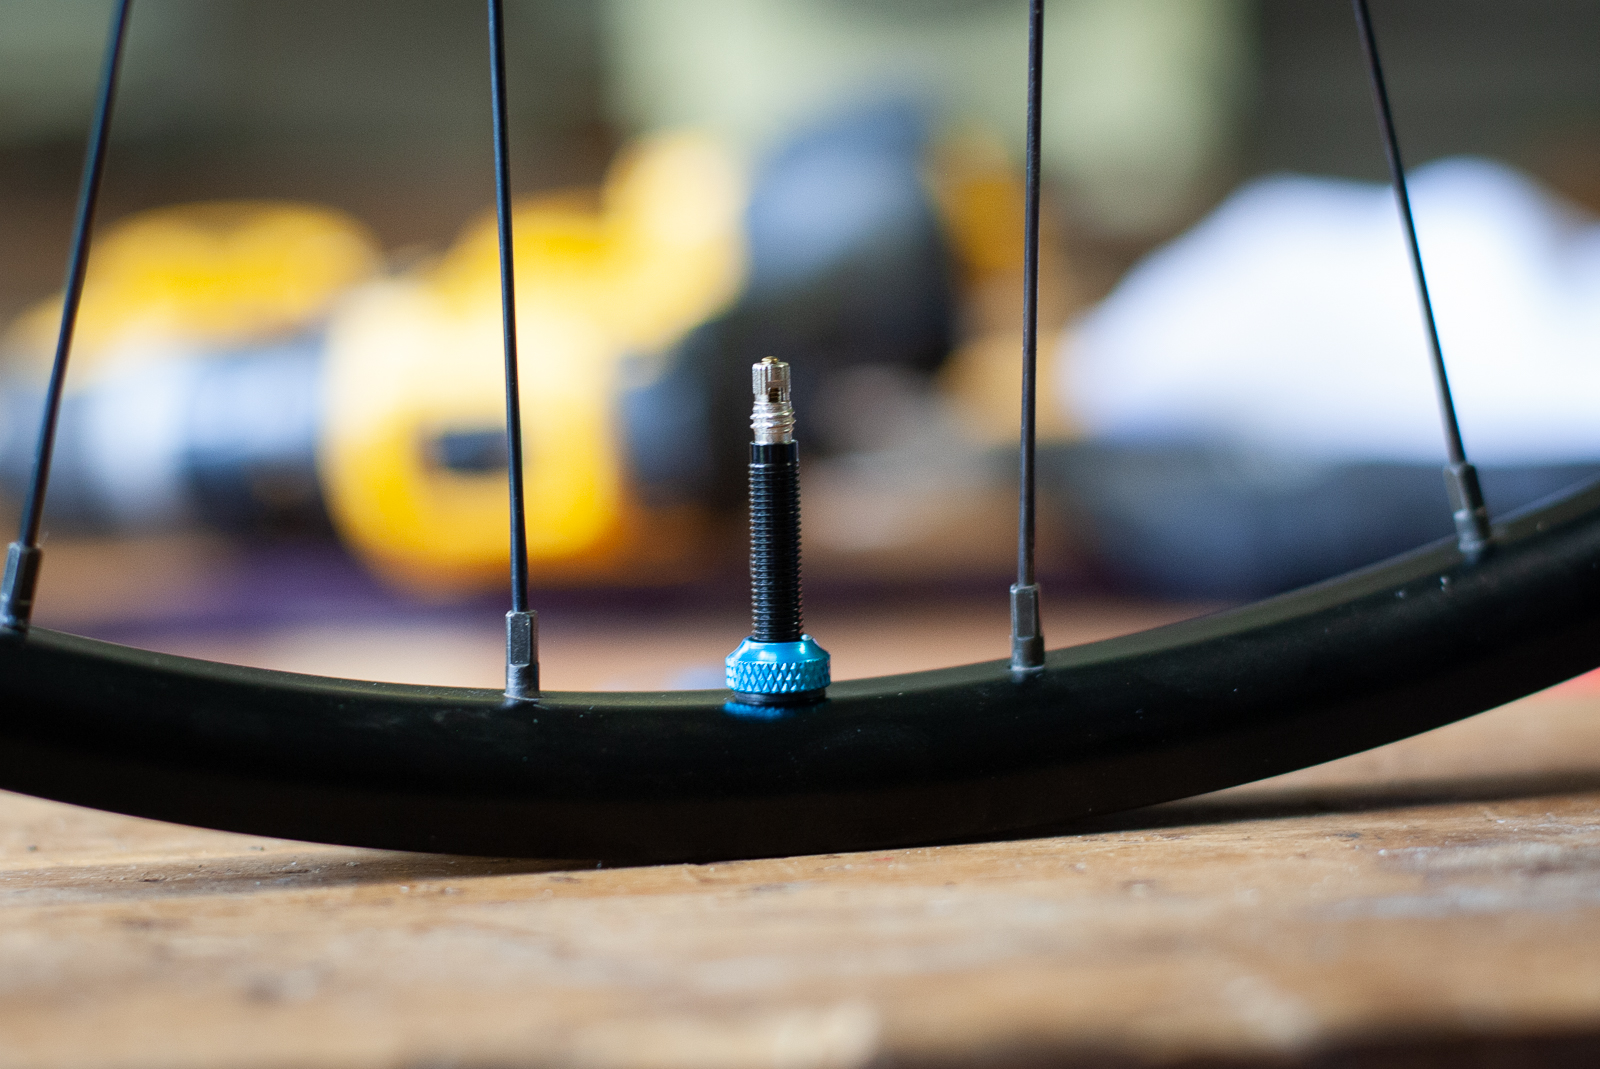
This is similar to a CushCore valve, and something rim protection systems like the Panzer EVO model I tested earlier this year should come with. You can buy the valves on their own for $32.95.
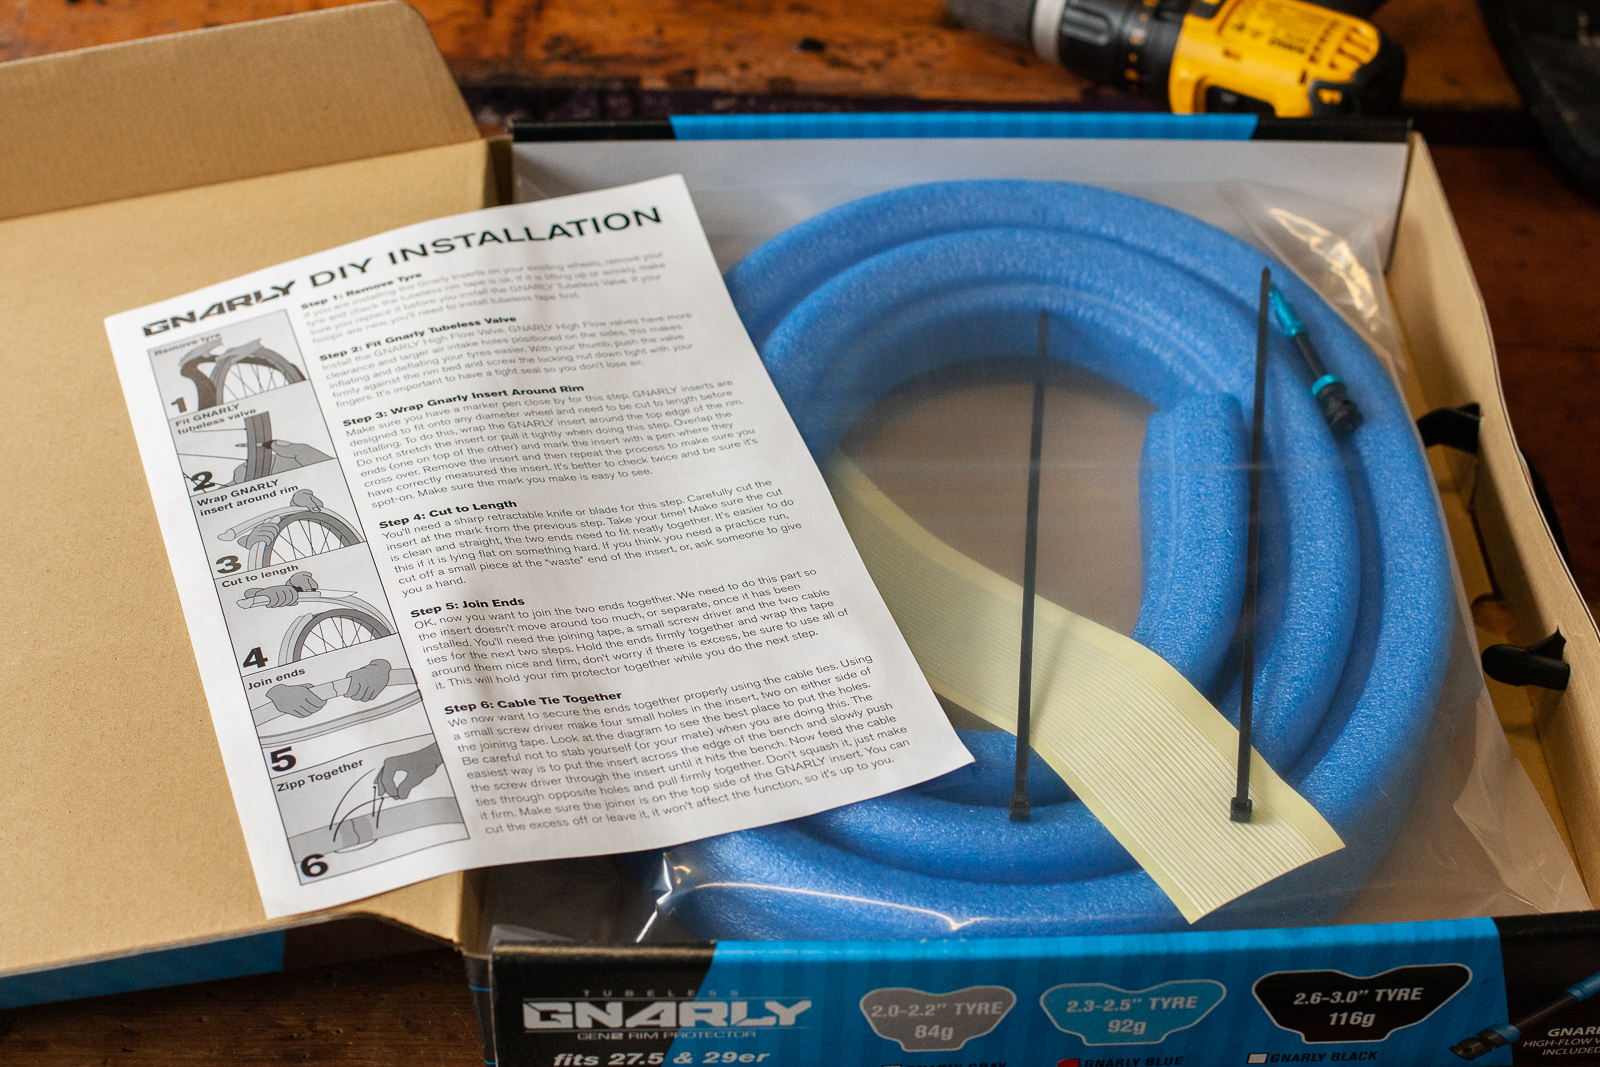
Setting up the Gnarly Rim Protectors
This was pretty straight forward by following the directions, and Gnarly have an instructional video online now that the product has been officially launched. Essentially, you need to find the right length by wrapping it around your rim, then cut, tape, and hold it together with zipties.
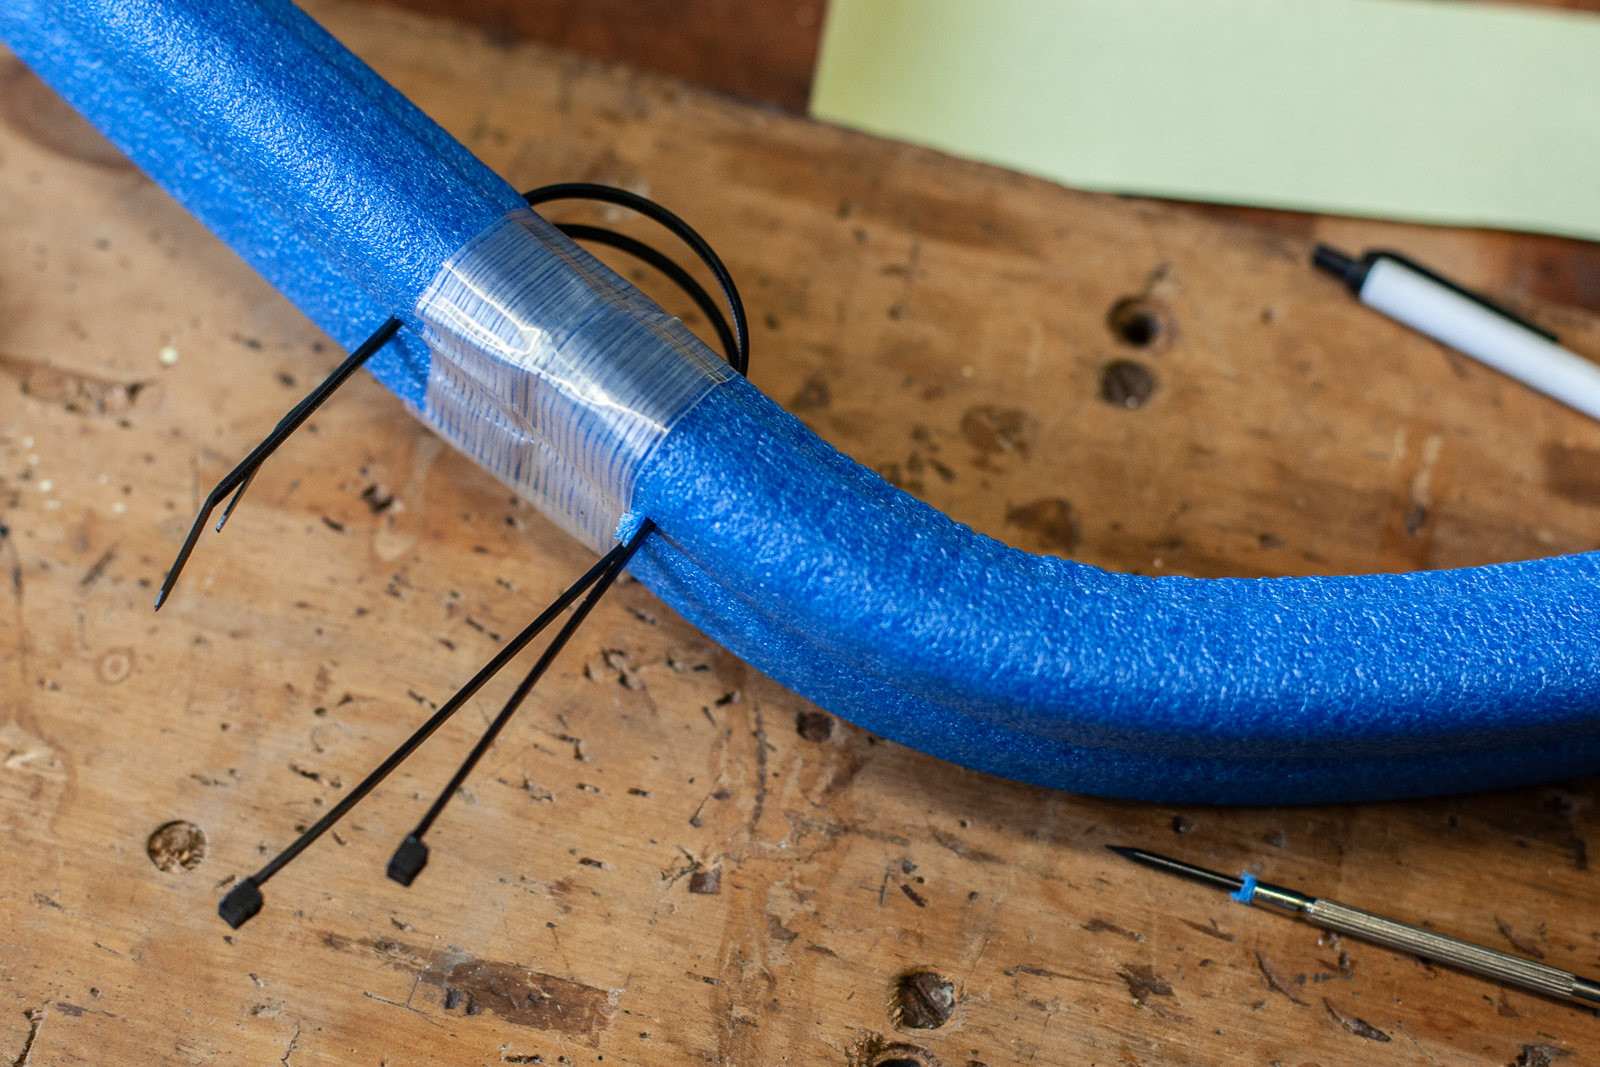
It's rudimentary, but it does the job and has held together for the 8 months or so I have had them. There are benefits of this method for stores, as they can stock kits for tyre widths, not rim sizes. But as a consumer, it's not quite the same benefit. You don't take home a kit that's ready to go, and it introduces more chances for mistakes if you're to confident fitting new items. But there are some major advantages as well.
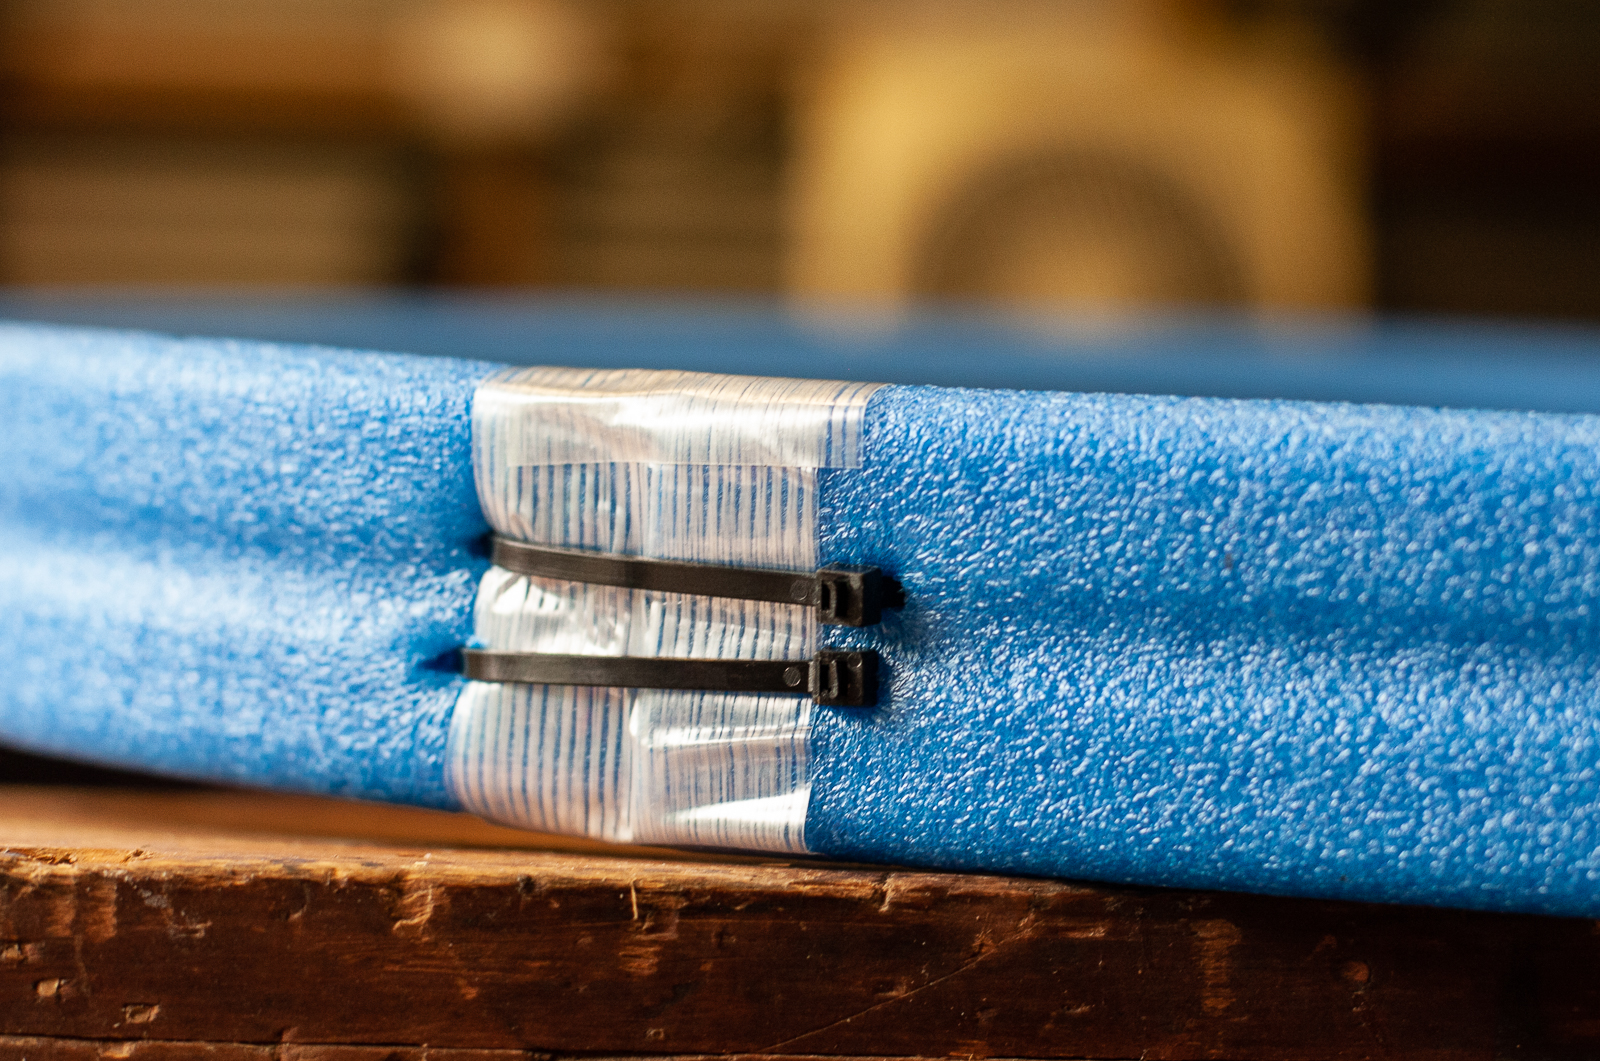
Once cut and attached, the rim protectors weighed about 90g each, which is pretty light! But there's more than just that.
Hunting for more rim protection reviews? Check out these ones!
TESTED: CushCore Rim Protection
TESTED: Rimpact Pro and Original
TESTED: Panzer EVO XC rim protection
WORKSHOP: How to fit CushCore Rim Protection
TESTED: CushCore Gravel/CX Rim Protection
TESTED: Tannus Armour Rim Protection
Some rim protection systems are notoriously hard to fit, and a downright nightmare to remove when you need to repair a flat. You can still tear a tyre, and wear them out when using rim protection systems. If you need to put a tube in you'll be doing it on the side of a trail – although some inserts are beefy enough to ride out on. Probably only once.
With inserts like CushCore being a force fit over a rim, they hold in place with a vice like grip. Following their instructions helps, but it's not a task many would call 'easy'. With the cut and connect method used by Gnarly, it's 'easyish'. In a sense, you're setting the tension of the system. Their instructions say not to pull it taught ot cut it short, so it's important to be accurate.
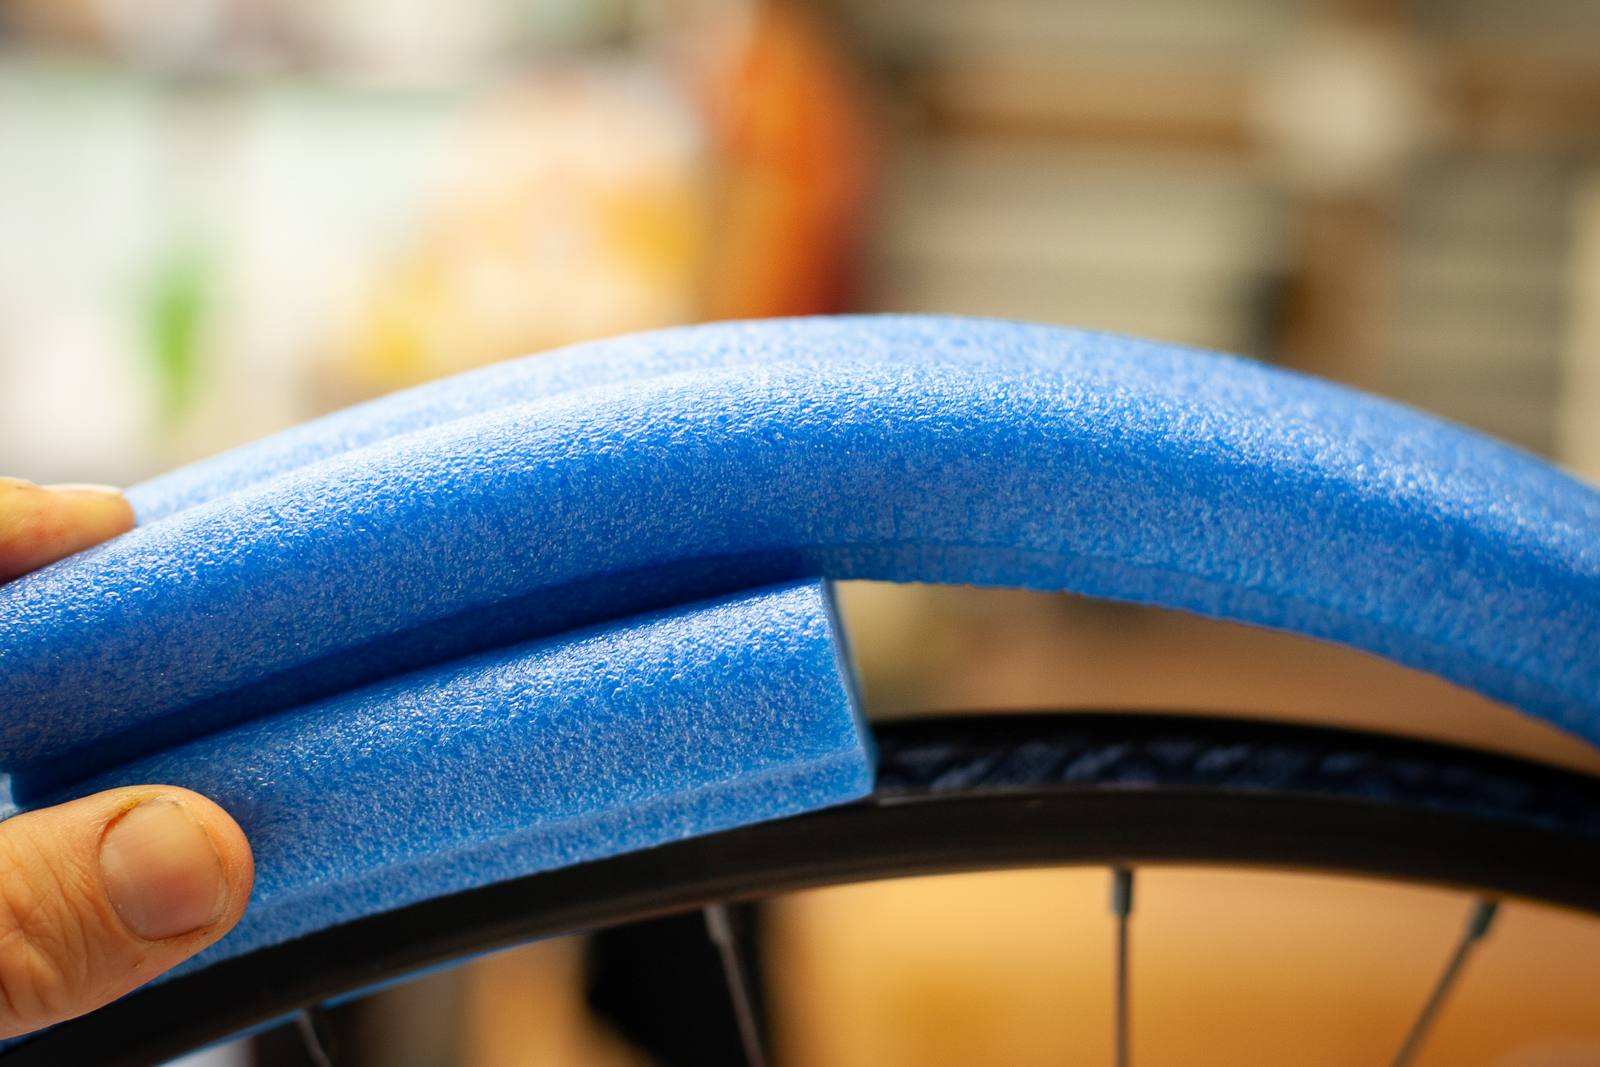
I mounted one side of the bead, then put the Gnarly insert in, and then moved to fit the other side of the bead on. It's pretty easy until the last 20%, and I did need some fresh tyre levers with a good edge on them. I was using a Maxxis Rekon 2.4" that wasn't new, on a NoTubes Arch Mk3 rim. Being a floating system, the difficulty in fitting is a little more like fitting an inner tube. Sure you might need to make sure it stays where you want it when you're finishing the fit up – but you're not fighting it.
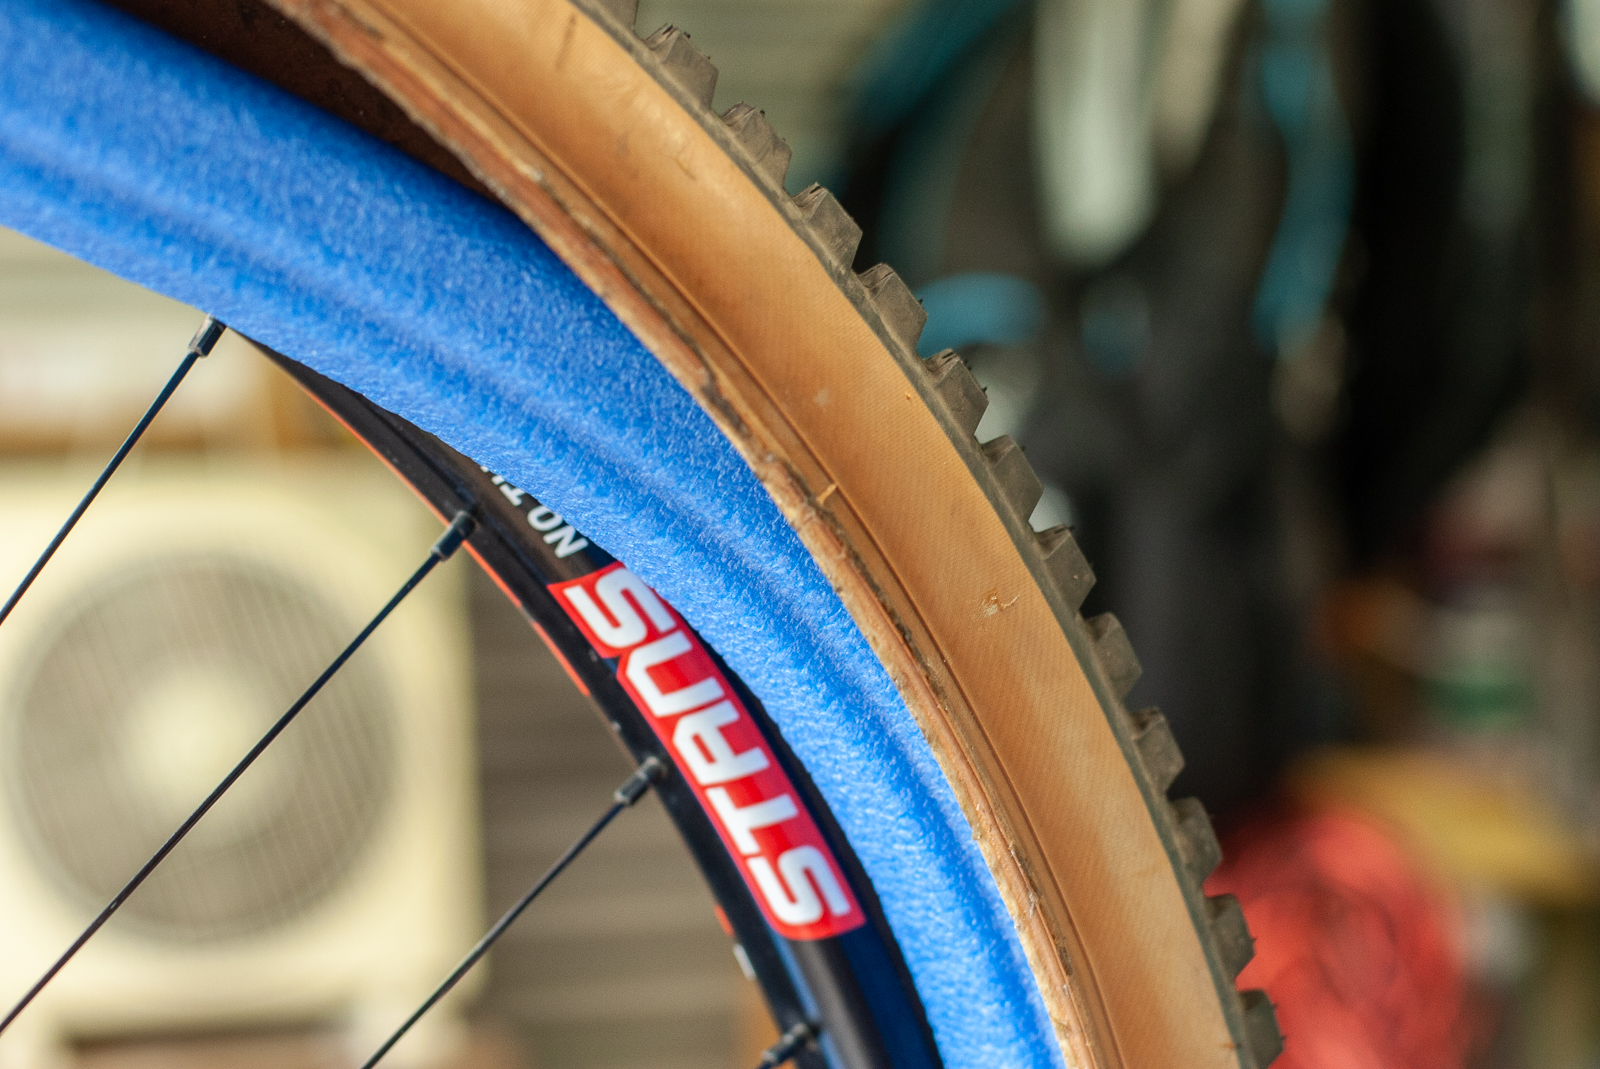
I inflated them with 100mL of Stans sealant, set my pressures and went riding. This is 10mL more than recommended for a 2.4" tyre, as there is a little more surface area to cover.
On the trail
My first ride on the Gnarly rim protectors was earlier this year, right after coming off the Panzer EVO inserts, and using CushCore on my gravel bike. All in all, the Gnarly was an easier system to set up and get out the door.
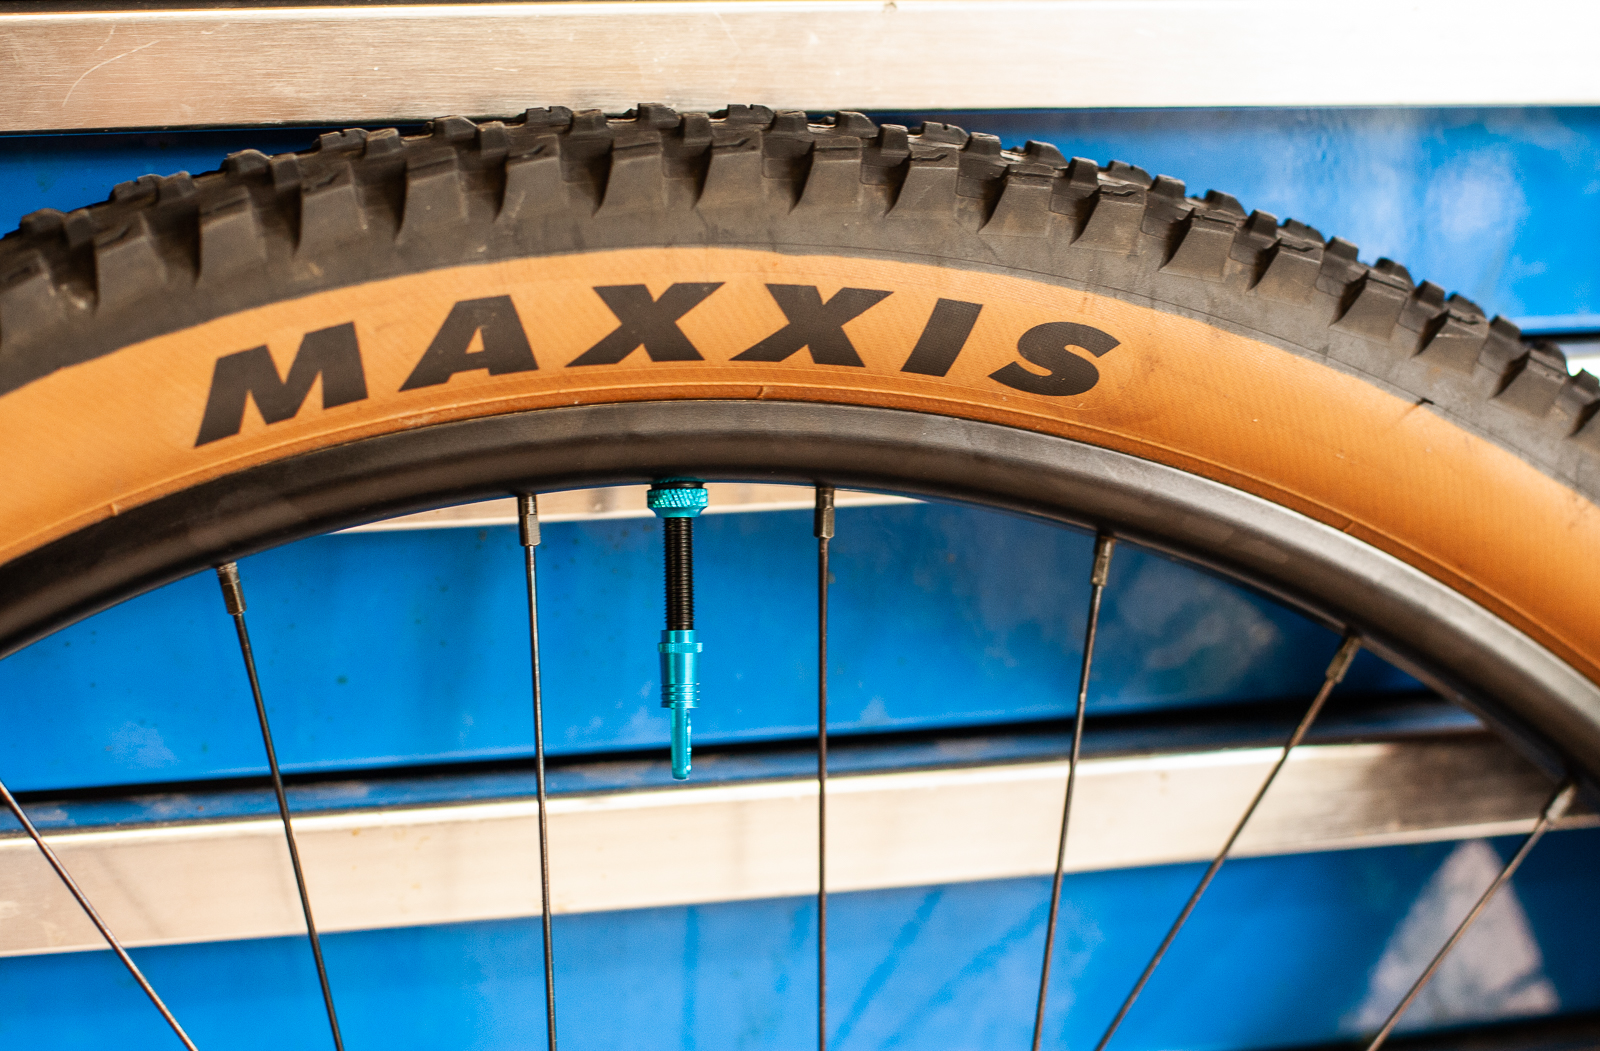
On the trail, the difference to riding the same tyres and wheels without inserts was immediately noticeable. I was running a tad lower pressure, more like an 18/19psi setup front to rear, compared to 19/20. This is with a 60tpi 2.4" tyre. The lower pressure aids in traction for the predominantly loose over hardpack conditions on my local trails.
While the floating system does take up some air volume, it doesn't have that vice like grip on the bead like a CushCore system does. So I was happy to enjoy lower pressures to get the rim protection, and I did get a little bit more stability – but not like I've experienced with CushCore. It wasn't a case of being able to wildly adjust my tyre and pressure setup – more of a case of having rim protection that offered some bonuses in lower pressure and added stability. And that's a big bonus, as the Gnarly system will still protect your tyre sidewalls and your rims – reducing the chance of ride ending damage.
It's important to note that tye stability and bead locking wasn't the goal for this product, it was ease of fitting/removal and ride quality. If you want something to ride hard and blow corners up, this may not be the ideal solution.
I used the wheels with the Gnarly Rim Protectors in them on and off for a few months on my both hardtail and full-suspension bike, and when it came time to remove them it was really simple. I popped the bead out of the rim, used a tyre lever to pull it off the rim on one edge and pulled the Gnarly insert out by hand.
The Gnarly rim protector doesn't have any signs of damage, but I'm not a huck to flat rider. They've done the job of protecting the rim, and did allow a bit more range for tyre pressure as well, being able to find a little more traction with lower pressures, with some assistance to stability at the same time.
Verdict
The Gnarly Rim Protectors are a simple rim protection system that is a cinch to fit and remove. It's light weight without being fragile, with three widths available so you can find something for almost any mountain bike wheel and tyre combination.
While setting up the size is a boon for stores in terms of holding stock, it does leave a margin of error for a home mechanic. It is by no means difficult, but this is another case of measure twice, cut once.
Once that's done, the ease of fitting and removal is fantastic, and that is a big help if you're the kind of rider who wants to change tyres to suit conditions a lot. The downside with the ease of fitting is it reduces the overall security and support of the system – compared to CushCore who really need to be considered the market leader in terms of additional sidewall support and locking a bead in place. But it depends if that's the features you need.
This may, or may not be a deal breaker for you. It depends on how you ride, your ability in the workshop, or you preference to get your local shop to look after fitting parts and accessories for you.
When I consider pricing, with a single Gnarly Rim Protector kit (for one tyre, with valve) starting at $109.95, but selling for $114.95 for the mid width I tested (and $119.95 for the widest), they are reasonable value – for the people who they suit.
If you needed to pay a workshop to fit a pair of CushCore ($220-260 per set) compared to fitting a set of these yourself ($220-240) a set, you would come out ahead. But as a standalone product on their own, they are a bit expensive, especially when a twin pack of Rimpact Original sells for $130 (with valves), or $157.50 for the Pro/Original setup that we tested earlier this year.
I liked the Gnarly Rim Protectors, and I'll likely pop them in and out of some wheels when the trails I'm riding require it – which is actually something you can do quickly! At $119.95 an end this is a well-priced way to protect a fancy carbon rim. But if you know you're going to slam into a lot of things with a lot of force (looking at you, eMTBers) then the CushCore option with reinforced tyres is the better choice, with more security and potentially better ride improvements. All up, I think the Gnarly suits trail riders who don't want a product that is too heavy or difficult to fit and remove. They could also work well for cross-country and marathon racers, looking for some extra insurance against wheel and tyre damage in events where the trails are a lot rockier. They worked with Stan's sealant, which you can't used with the Panzer inserts, so that means you can also use the Stan's DART system for puncture repairs. The only downside then is the higher cost of the Gnarly product.
Kudos to Gnarly for being an Australian company getting the design done here. Inserts like this are a popular item and I suspect the pricing may need to be adjusted to get more people trying these inserts out, as they should suit a lot of riders.
RRP: From $109.95 per end
From: GnarlyOZ
Hits:
– Easy to fit and remove
– Size options to suit your tyre width
– Come with a great quality valve
– Light weight
– Can improve the ride quality once you get your setup dialled
Misses:
– Won't provide the overall sidewall support of CushCore

