How to take drops at speed
For any drop, there’s definitely a sweet spot when it comes to the right speed to hit it. For novice to intermediate riders, the right speed is much more important to get right.
Words: Jared Rando Photos: Damian Breach
Many seemingly insignificant trail features can turn into a decent drop at speed. What might be half a metre at 15kph can easily become one and a half metres when your adrenaline is cranking and your brakes are a distant memory. The proper technique is critical to get this right – and it’s all about control.
Before you attempt any serious drop, or drop off at speed, you should be well and truly capable of dictating exactly how the bike lands at low speeds – be it front wheel first, both wheels at the same time or rear wheel first. This level of control over small drops is crucial before you start moving up in the ranks. If you’re not there yet, keep practicing on the small stuff until you can get it right. Once you have that mastered, here’s how to get it done at speed.
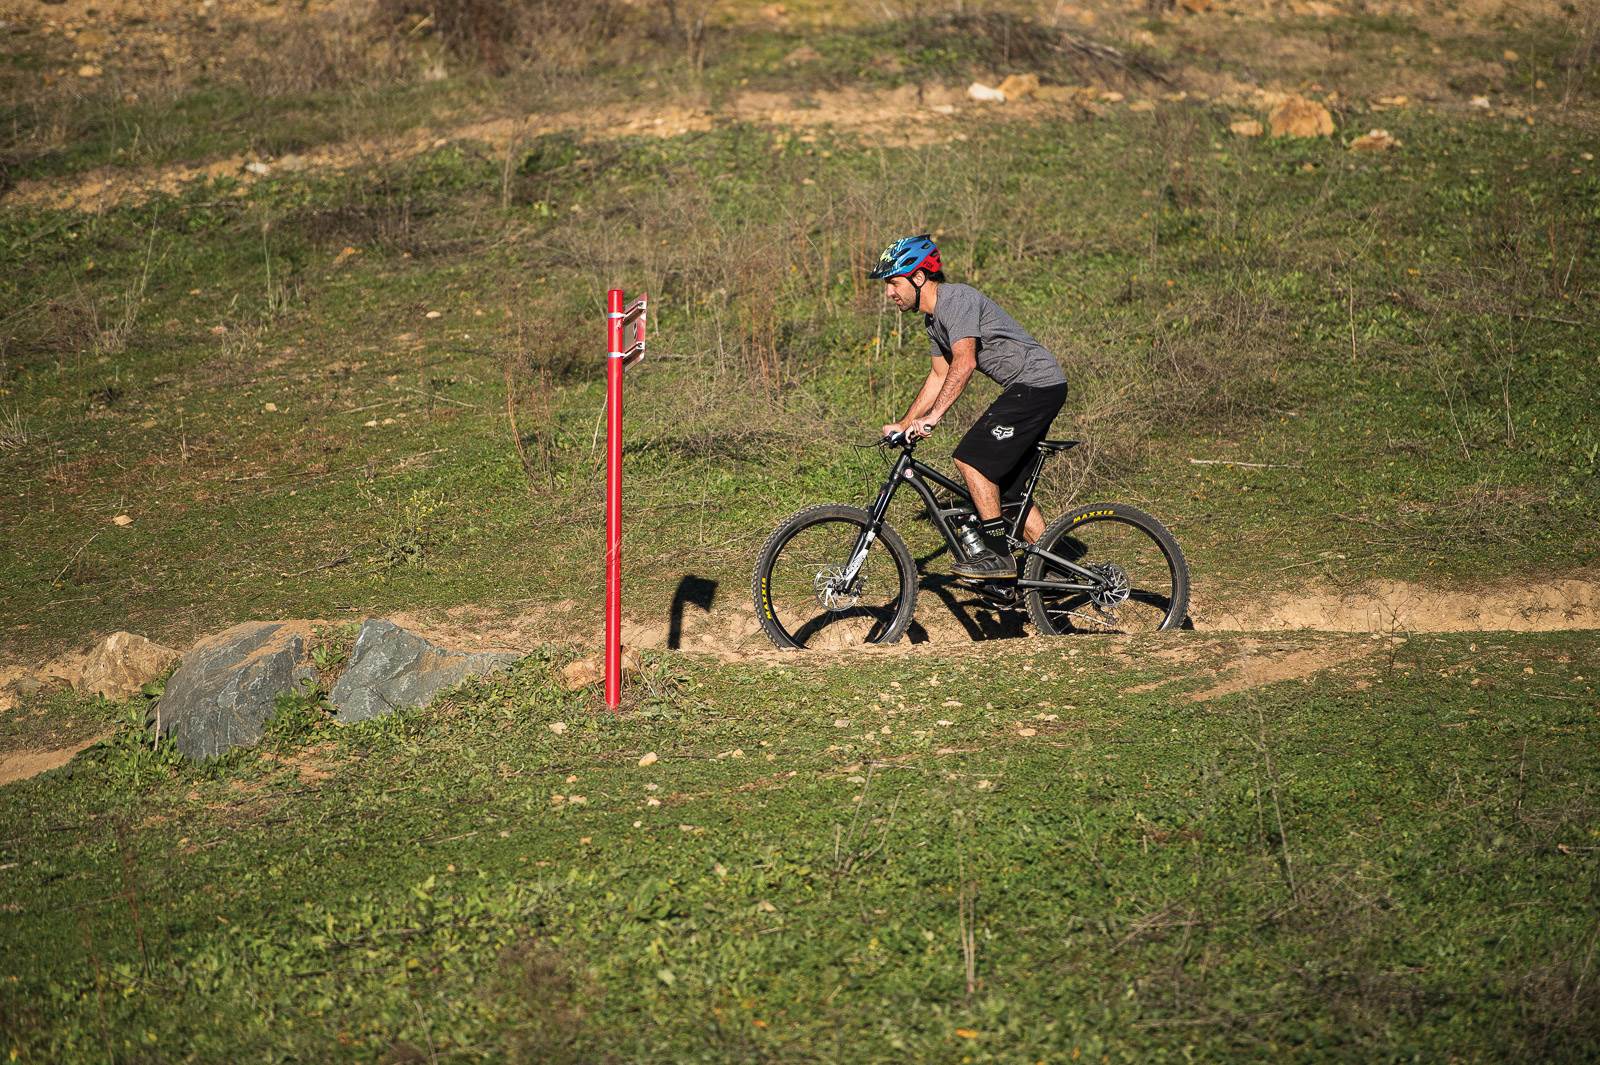
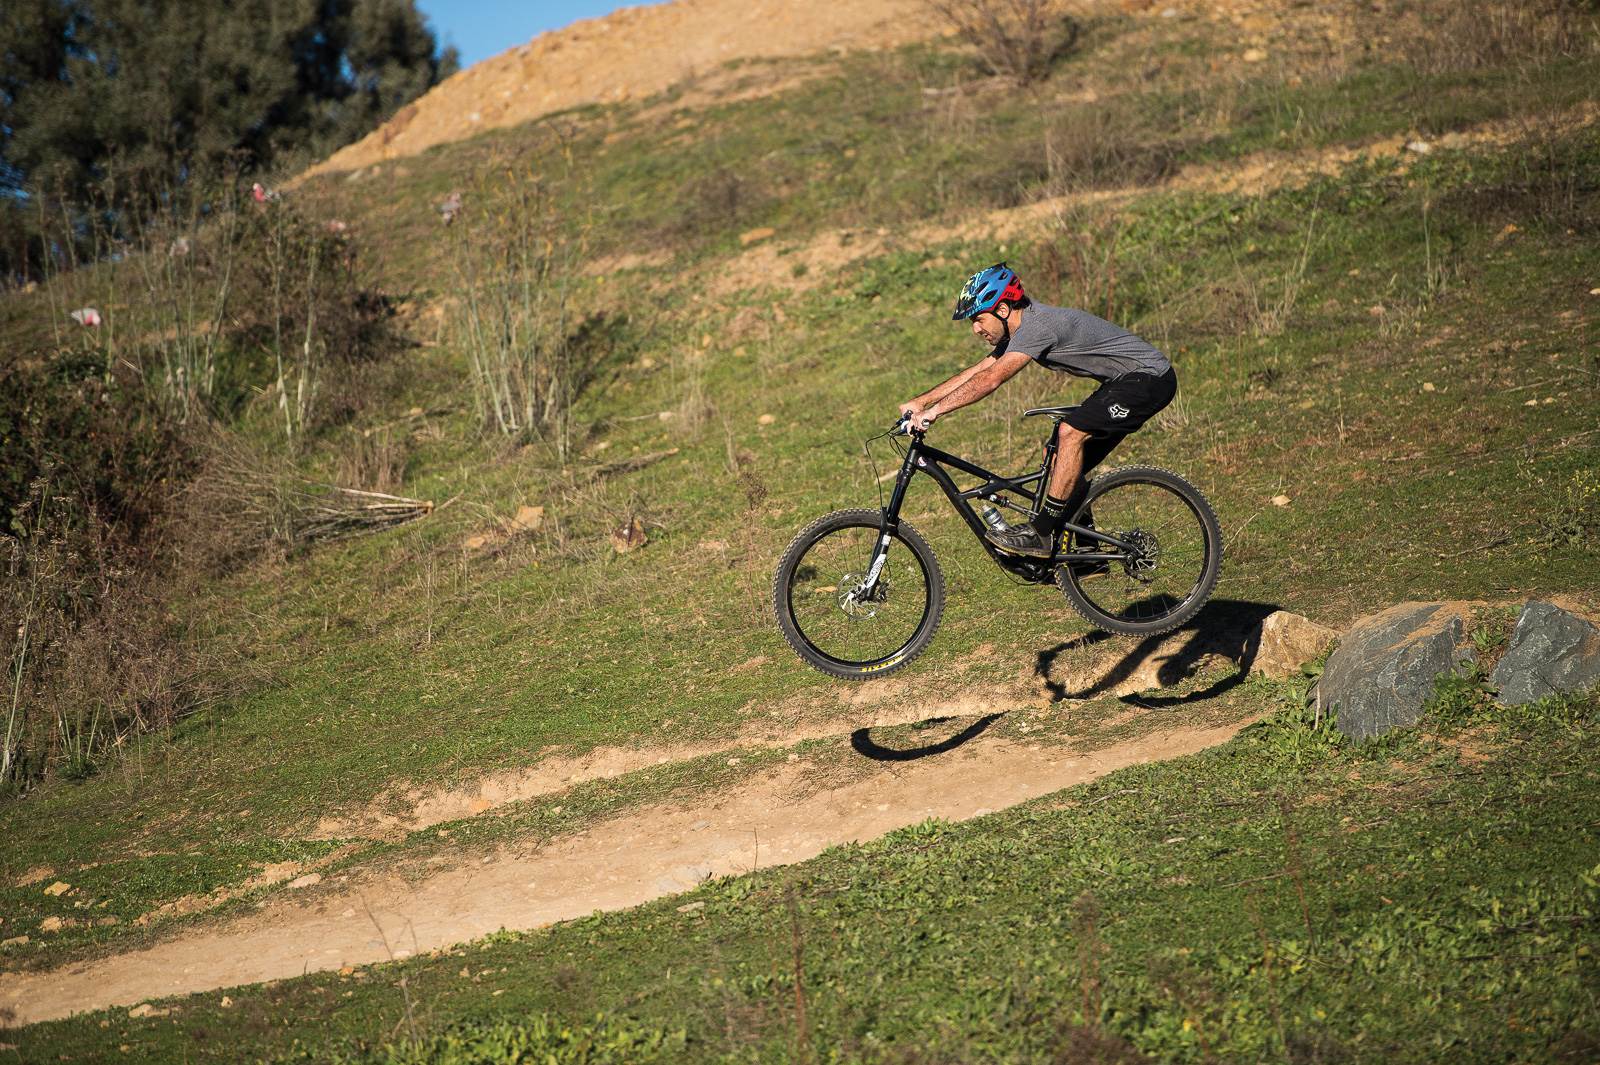
Step 1 – Take note of the lip and prepare to get back
The first thing you need to take note of is the edge of the drop. Look for the smoothest line and anything that could potentially buck your rear wheel. At high speed, even the slightest lip can buck you over the bars if you aren’t ready for it. Get ready to get your weight way back – this can be critical if you get bucked. For 99 per cent of drops at speed, you’ll look to land slightly rear wheel first.
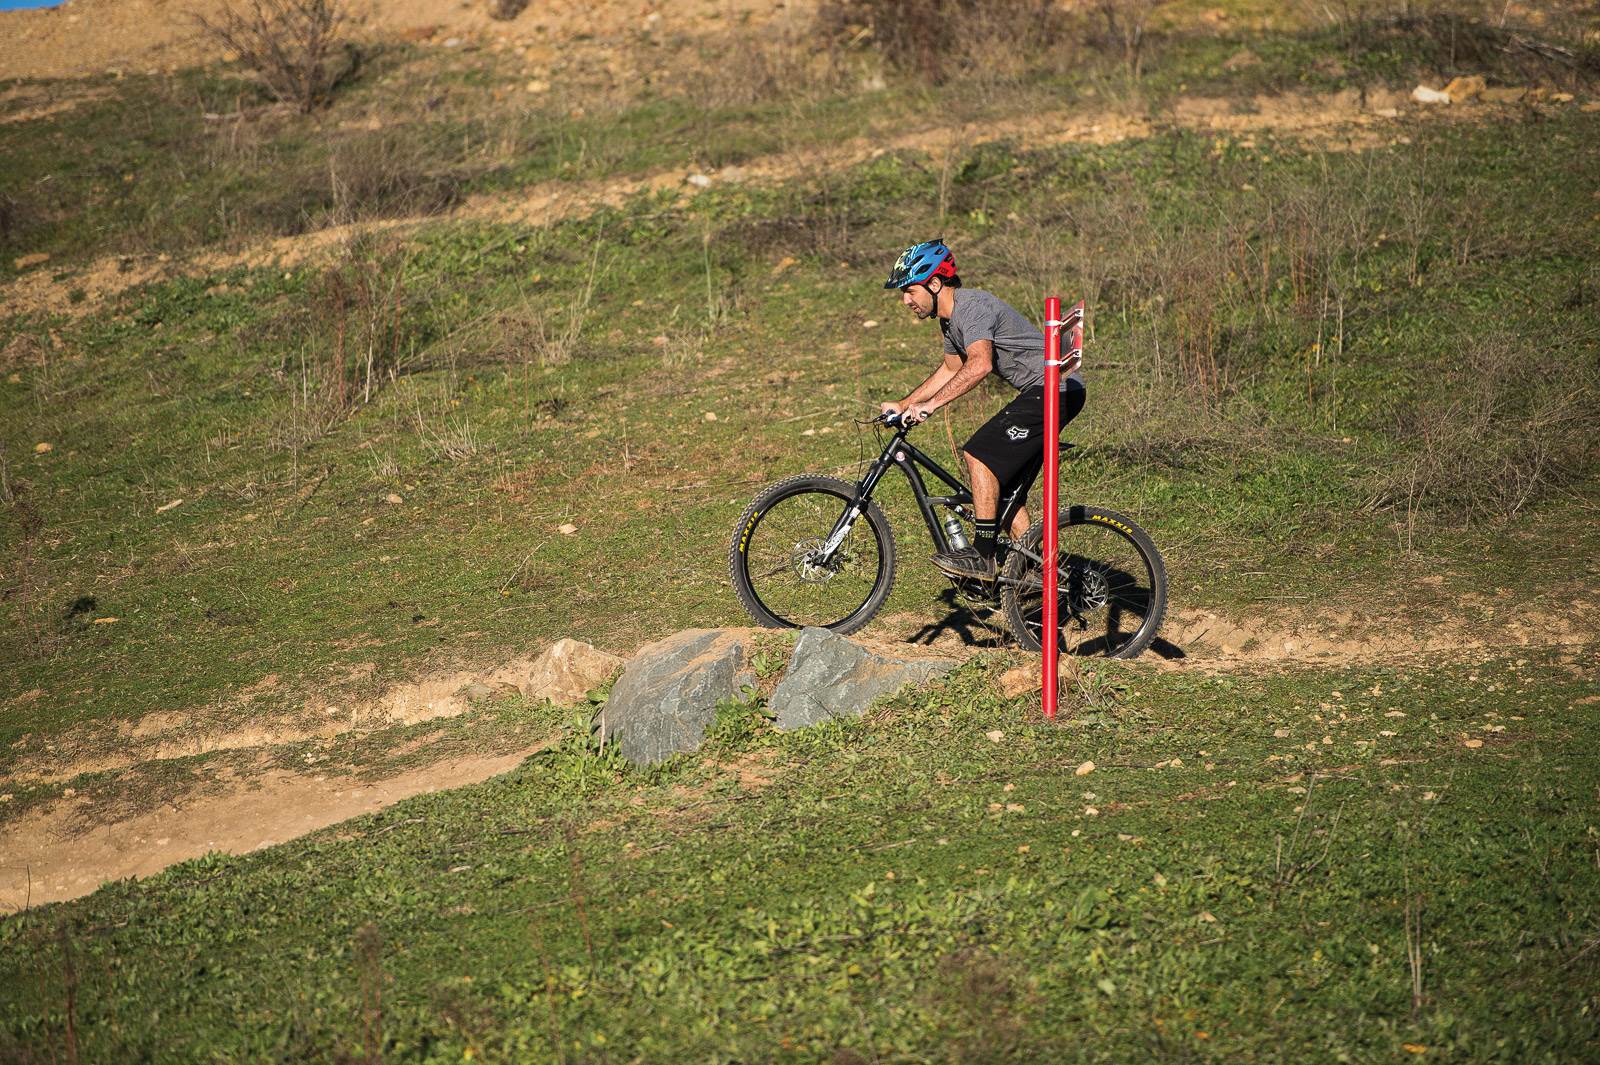
Step 2 –Spot your landing as soon as you can
As soon as you can, you want to spot your landing because once you are in the air, there’s no chance of adjusting where you come down. This is the last chance you have to adjust your line. At the same time, you need to begin to shift your weight back and get ready to pull on the bars to keep the front wheel up. Keep your weight over your legs – your arms should be steering, holding on and not much else.
Step 3 – Keep your weight low
As you hit the drop you want to keep your weight as low as possible as this will get you to the ground (and back in control) as quickly as possible. Keeping your weight back is also important not only to keep your wheel up, but also as a safety measure if you hit anything on the landing. Getting back and low as far as possible is the key part of this technique. Remember that when you land, you want to absorb 90 per cent of the shock with your legs, so aim to land on them, not your bars.
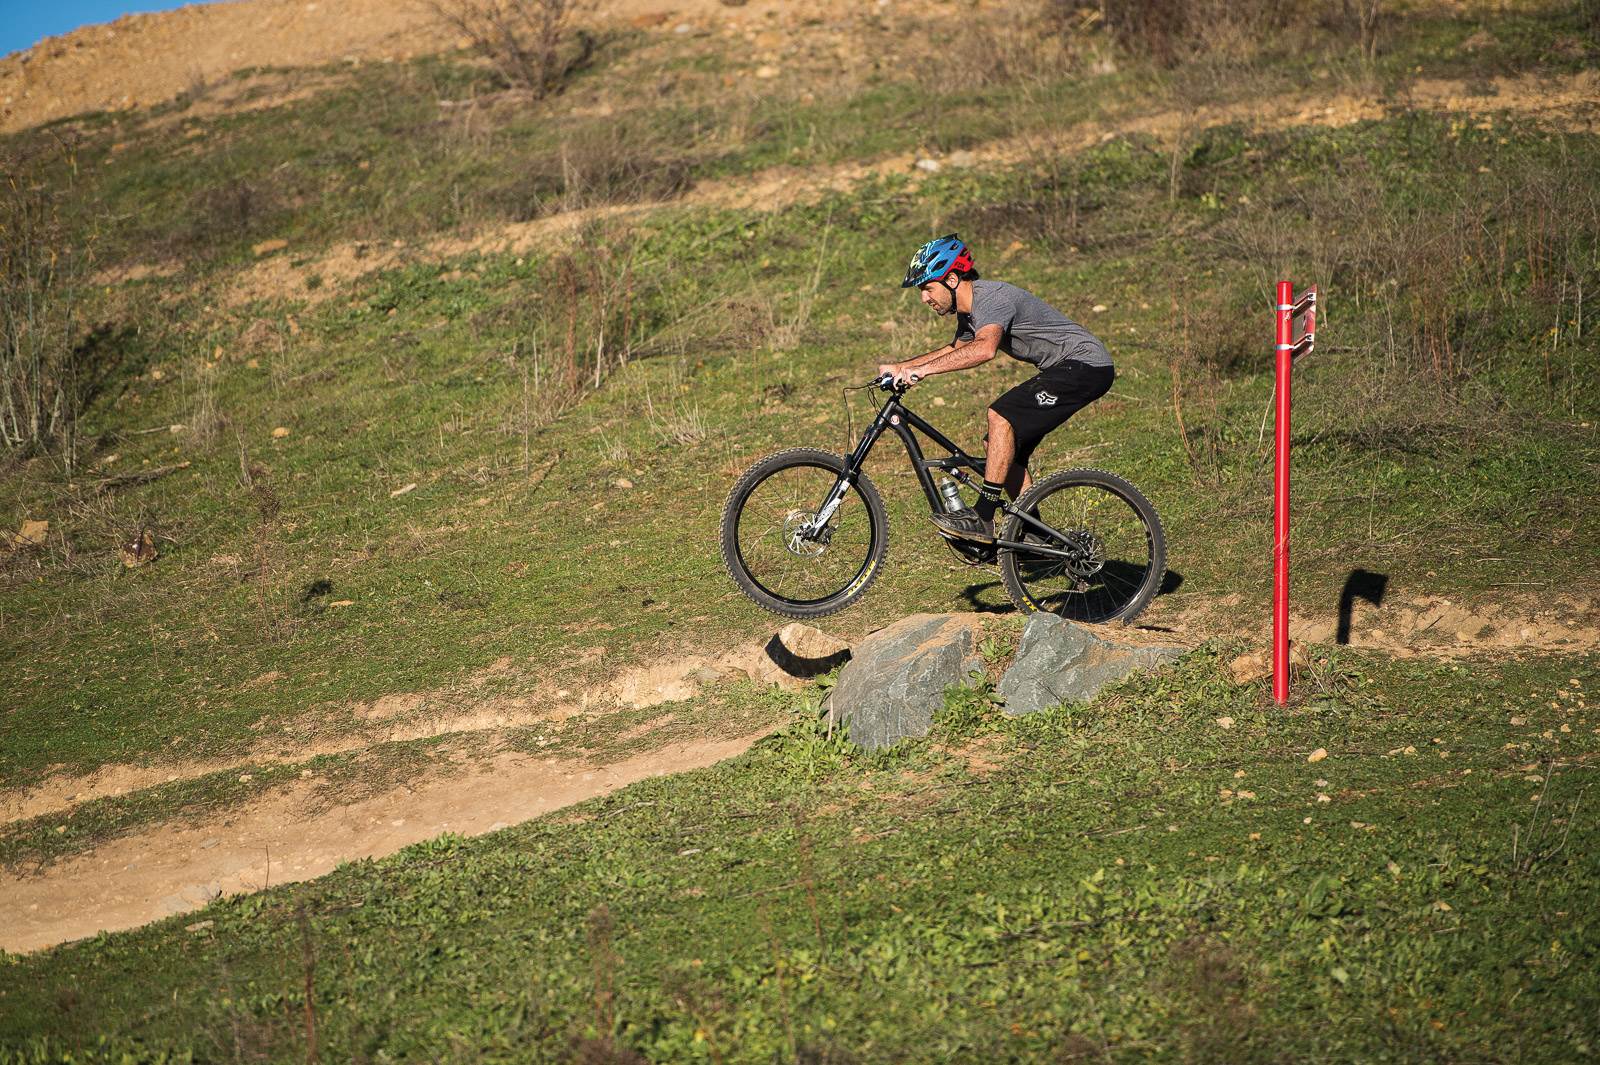
Step 4 – Keep your weight back
Once you are in the air, keep your weight back. You don’t want to have your front wheel too high in the air either. Think about a plane coming into land and look to follow a similar motion with the rear wheel dropping just in time to touch down upon landing.
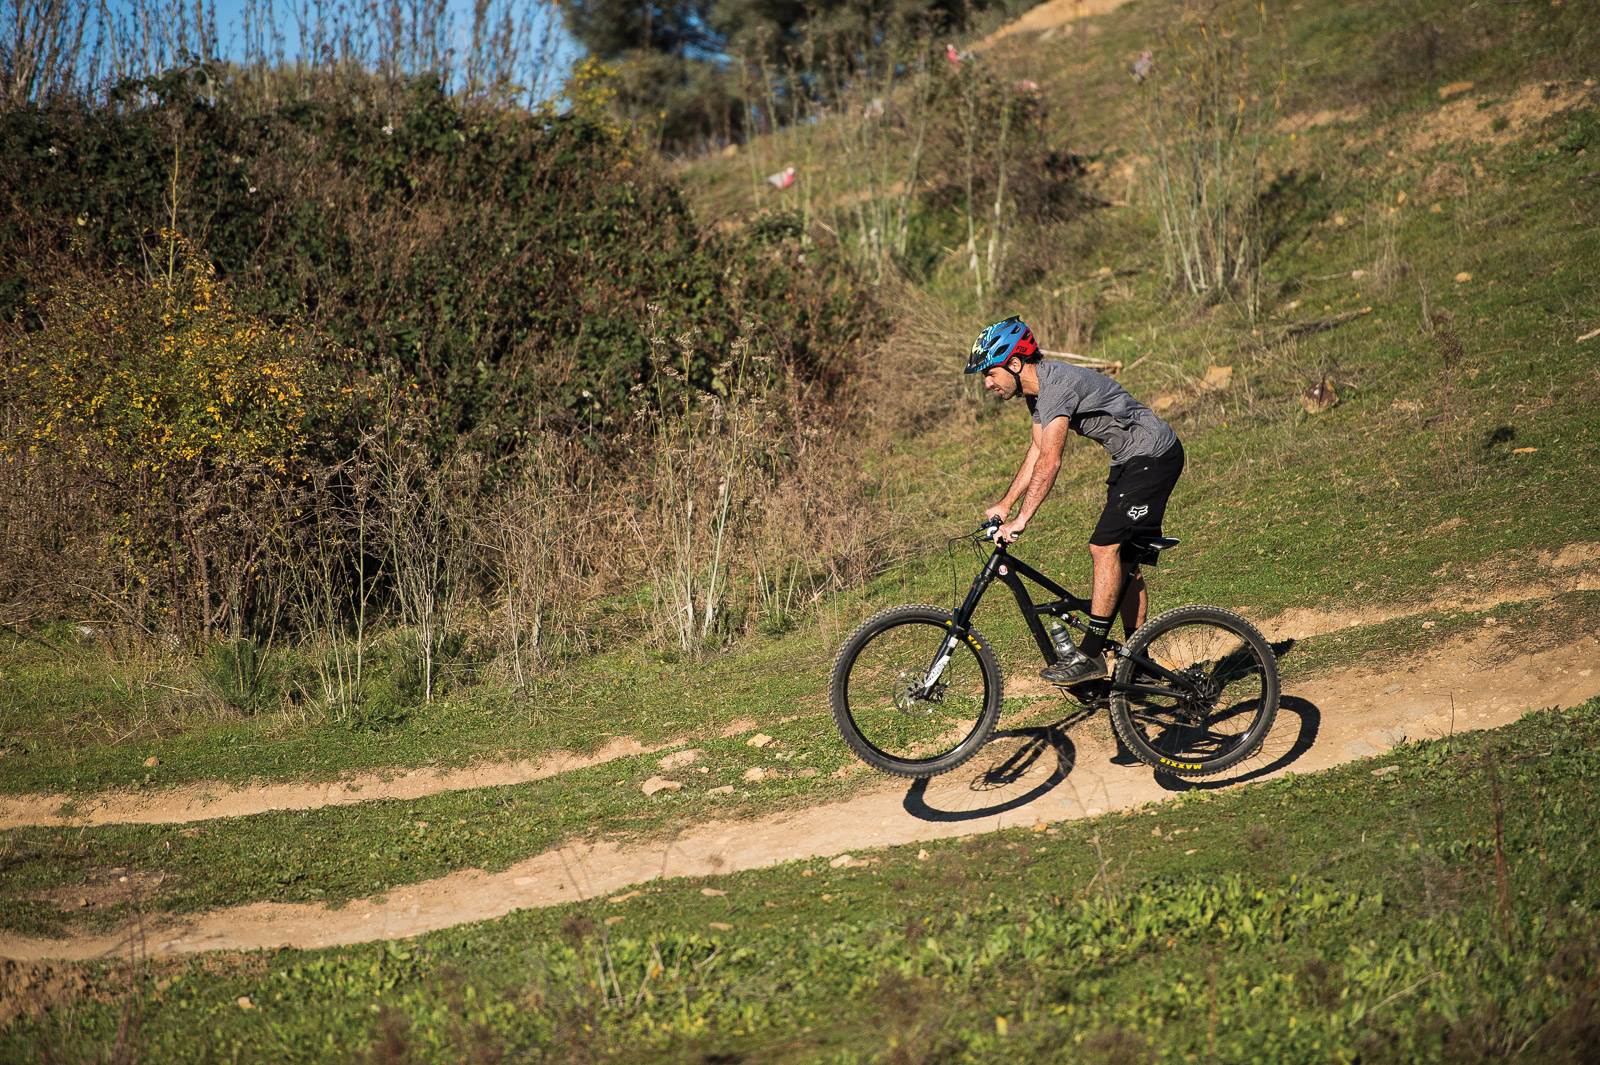
Step 5 – Bring your rear wheel down for landing
This is where practicing over small drops really comes into its own. Look to push the rear wheel down gently with your legs just before you touch down. This will allow you to absorb the majority of the impact with your lower body, which will leave your arms to do the steering.
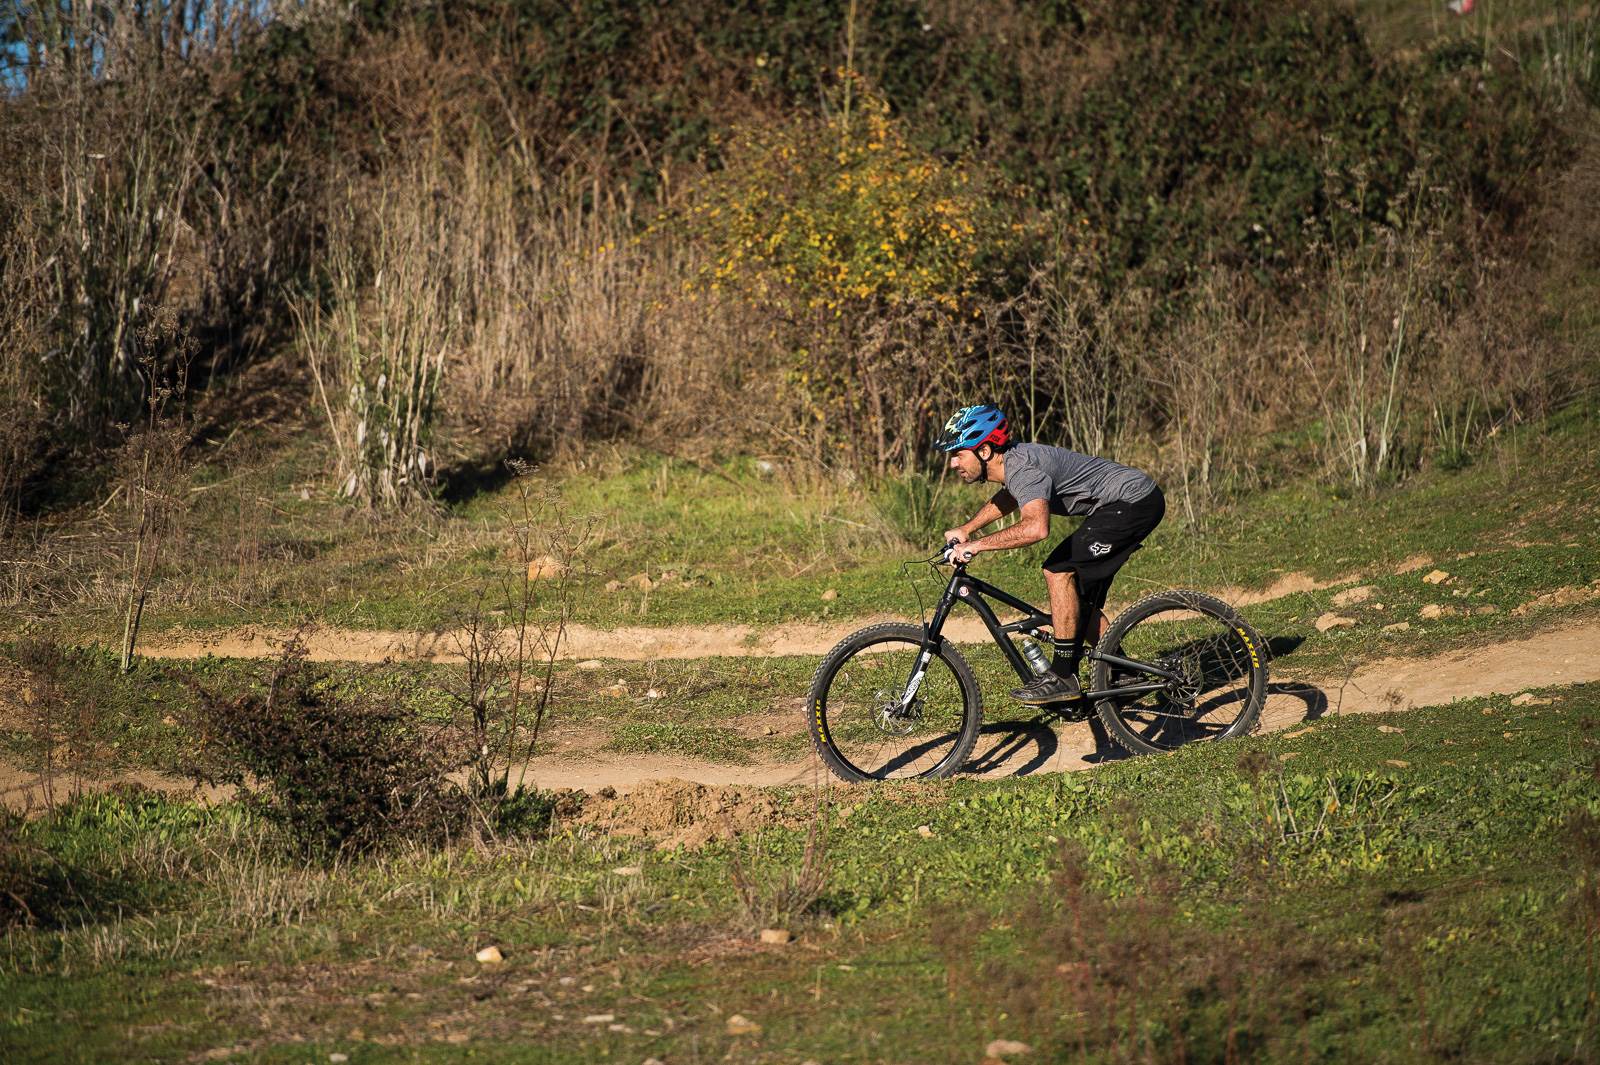
Step 6 – Soak it all up
As you soak up the impact, keep your weight in a central to slightly rear biased position, using your legs to take the initial hit. Exaggerating the motion is a great way to learn how to deal with the larger impacts if (and when) you go just that little bit too far and end up performing the glorious “huck to flat” move. As always, when exiting, look up as far as possible, get your weight into a neutral position and prepare for what’s next!