How to do nose wheelie turns
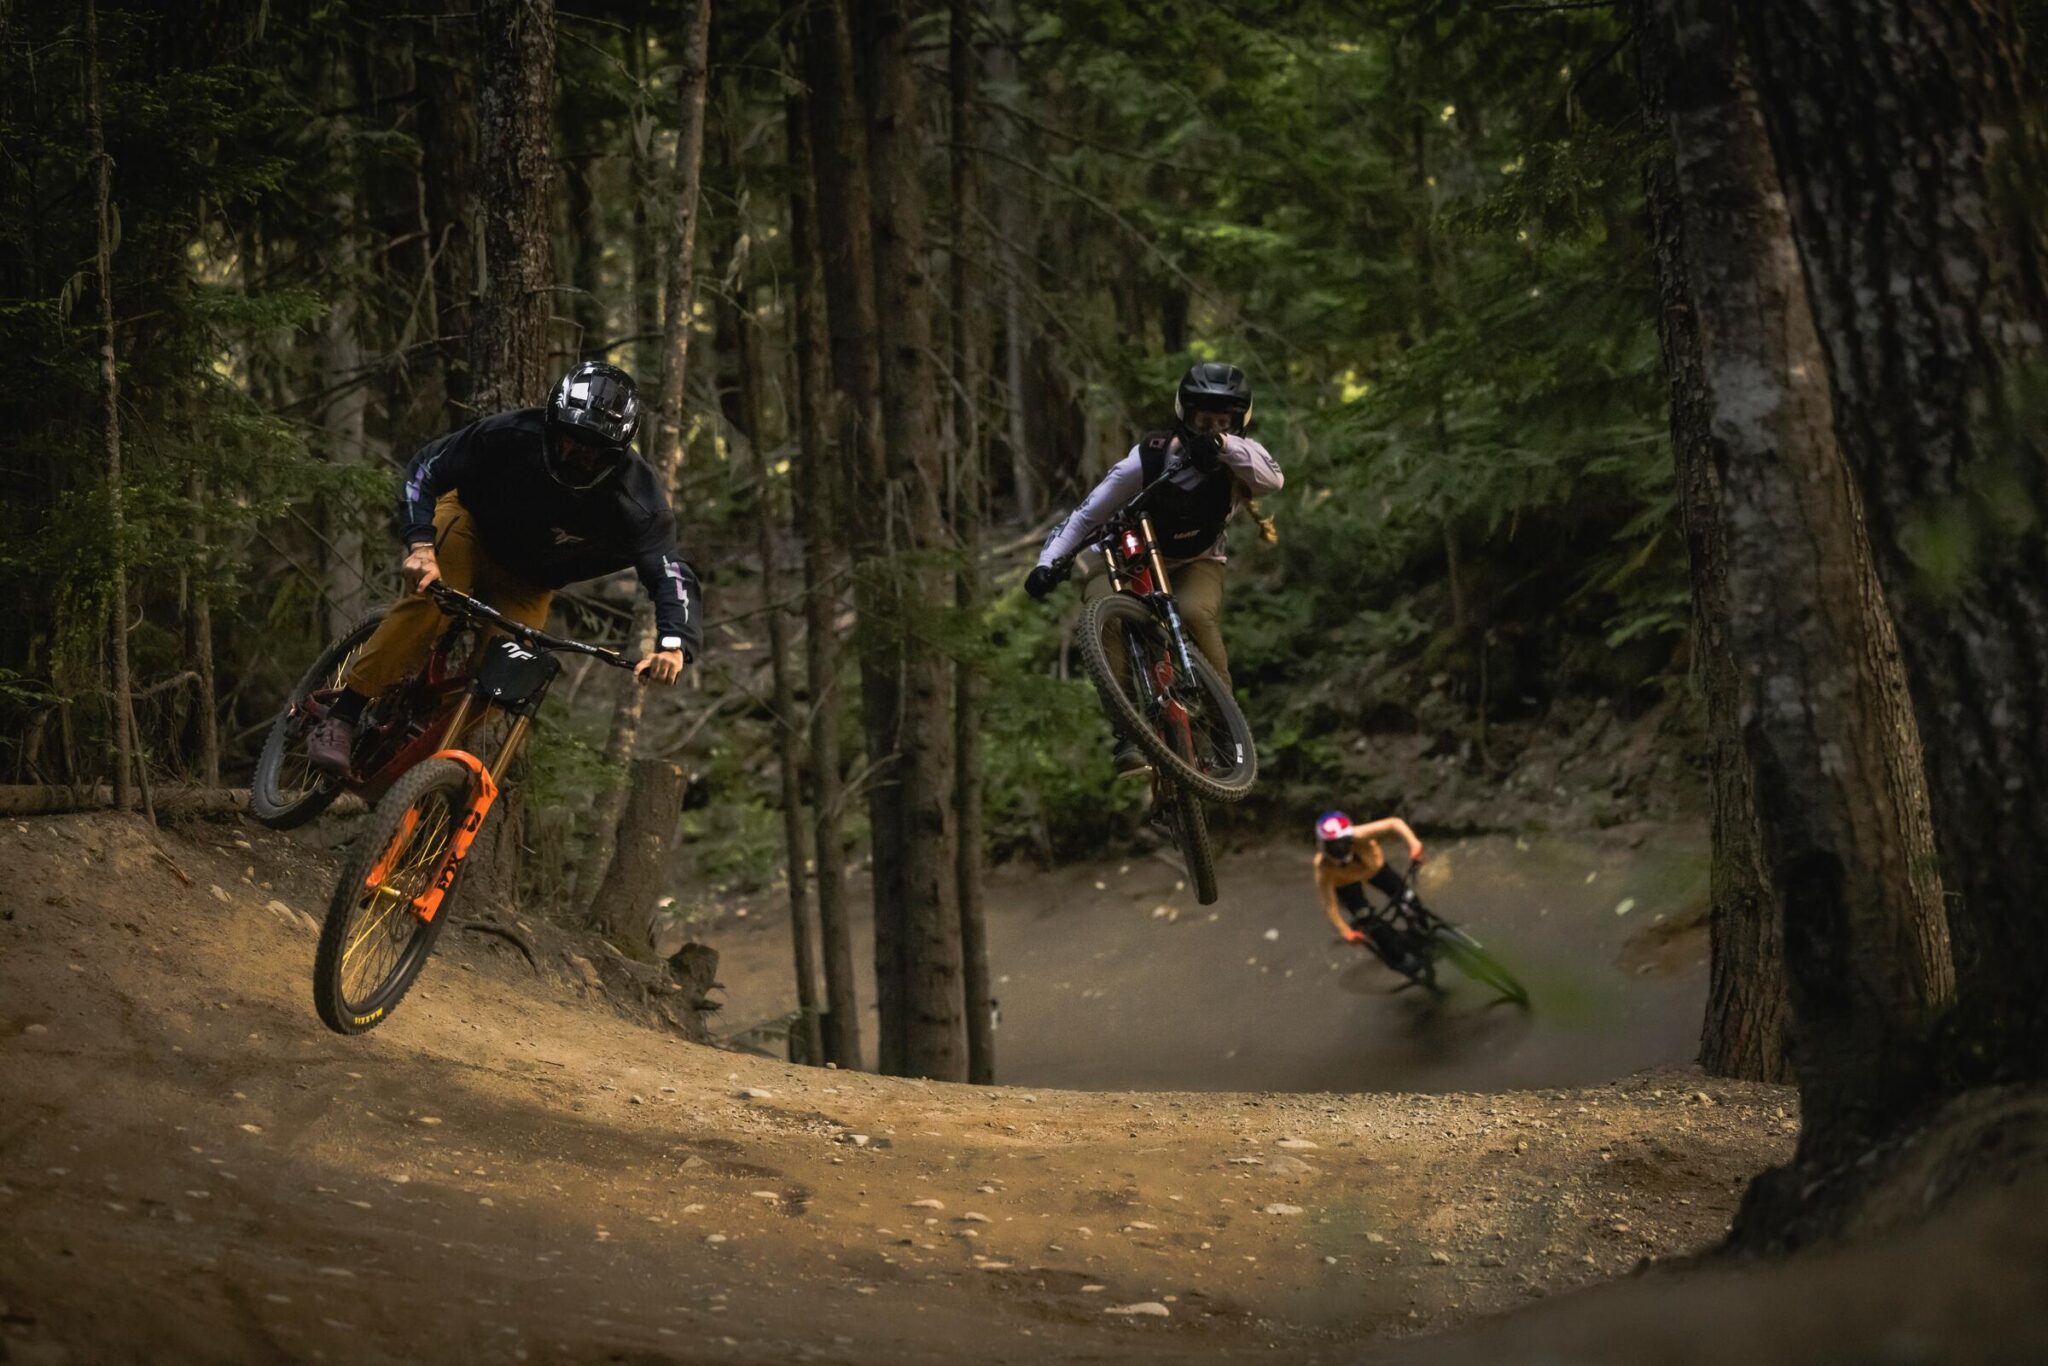
Switchbacks aren't always built for mountain bikes, but by mastering the nose wheelie turn, they don't need to mean you have to dab. Jared Rando shows you how.
Words: Jared Rando
Images: Nick Waygood
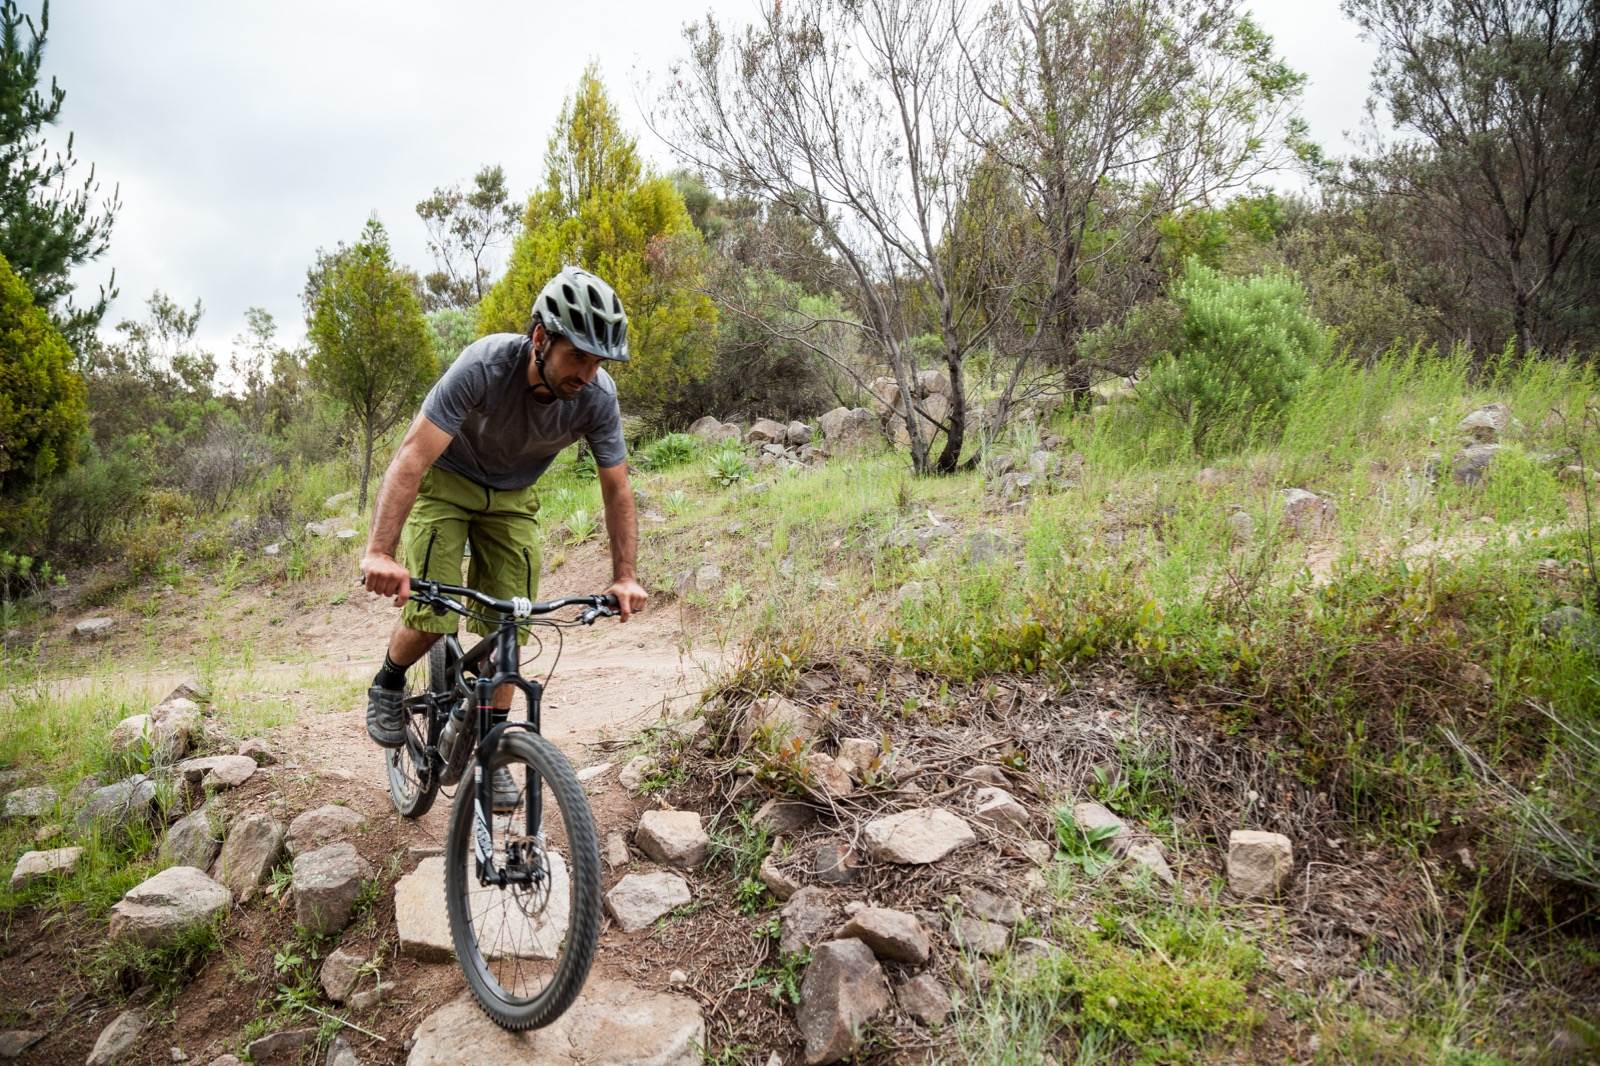
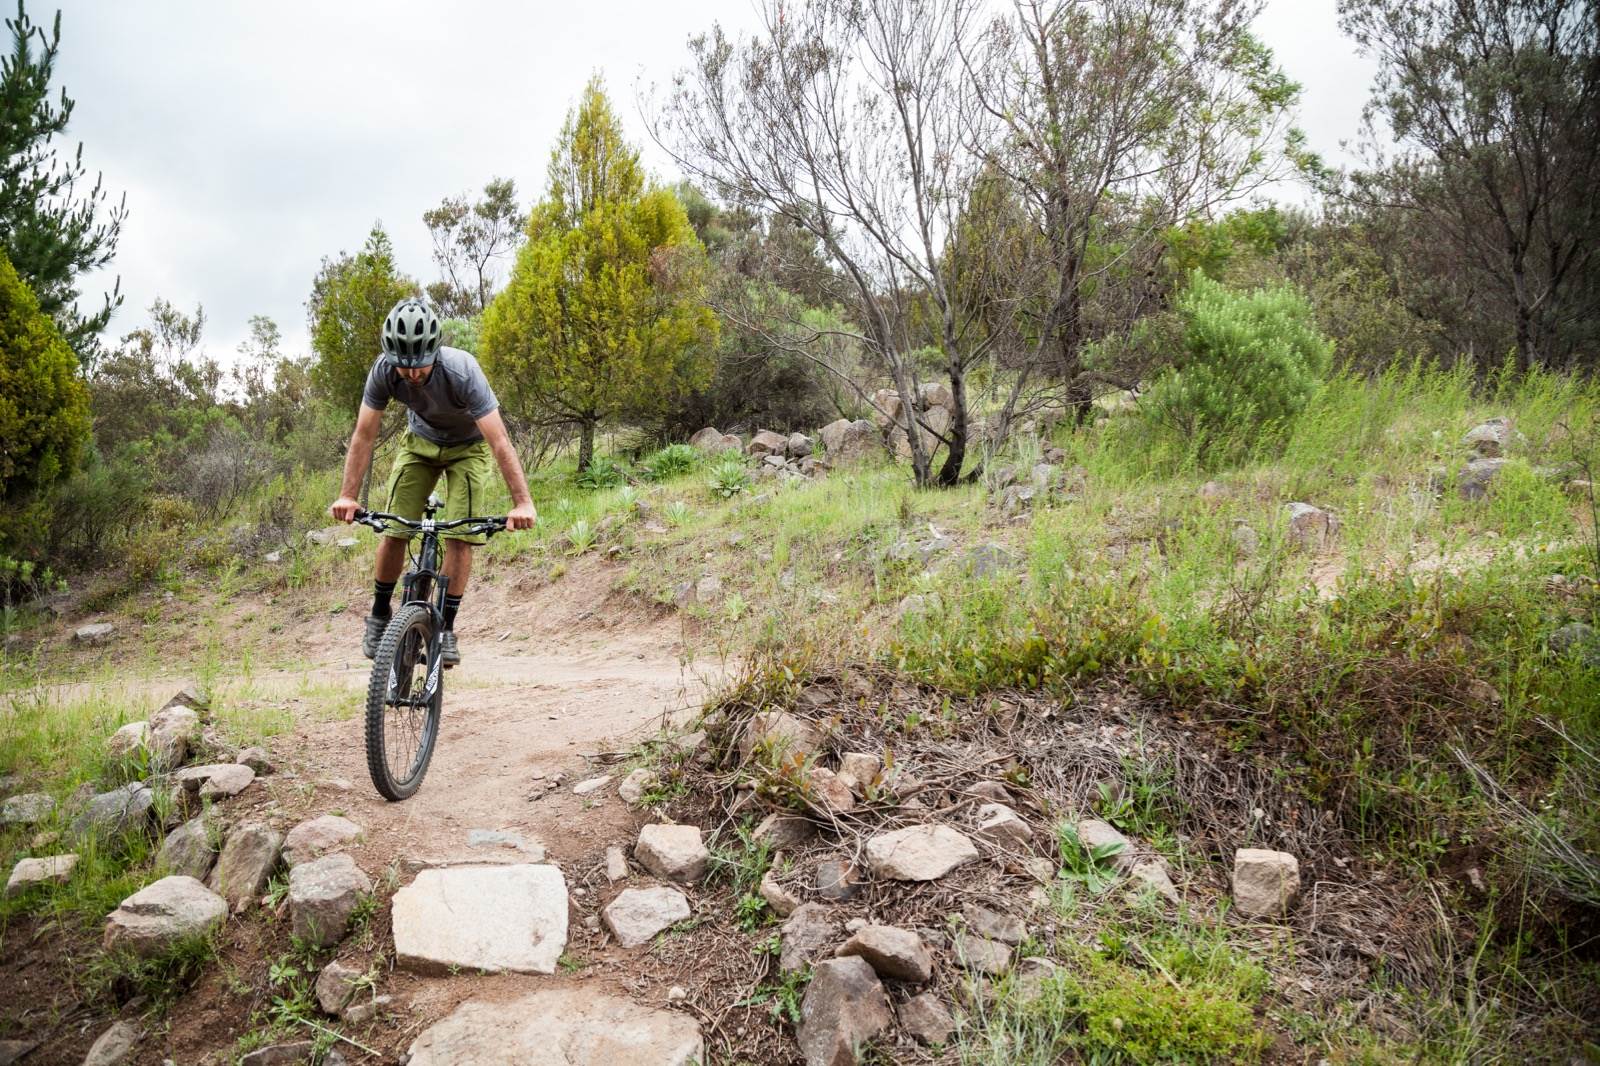
It’s an all too common story; you’re ripping down an unknown trail at warp speed and getting a little reckless because you’re just having way too much fun. All of a sudden a switchback creeps up on you and bam! Before you know it you’re on the inside of the turn, hard on the brakes with the edge coming up quick.
There is a technique which can save you in this situation, and also help you get around those tight alpine switchbacks you might come across as you descend a 200 year old hiking trail in the French Alps – the nose-wheelie turn.
It’s an age-old mountain bike skill and something which is becoming less and less common in this day and age of custom built mountain bike trails. But, get off-piste and there’s a good chance this age-old technique will come in handy at some point. Just remember, practice it in a safe area, before taking it to the dirt. Footpaths, tight turns around trees on grass and parking lots are a great place to hone this skill.
Just remember to use it wisely and only when required. There’s something unsettling about riding down a hill behind someone who feels the urge to nose wheelie around every turn! Here’s some tips to get it dialled:
Step 1
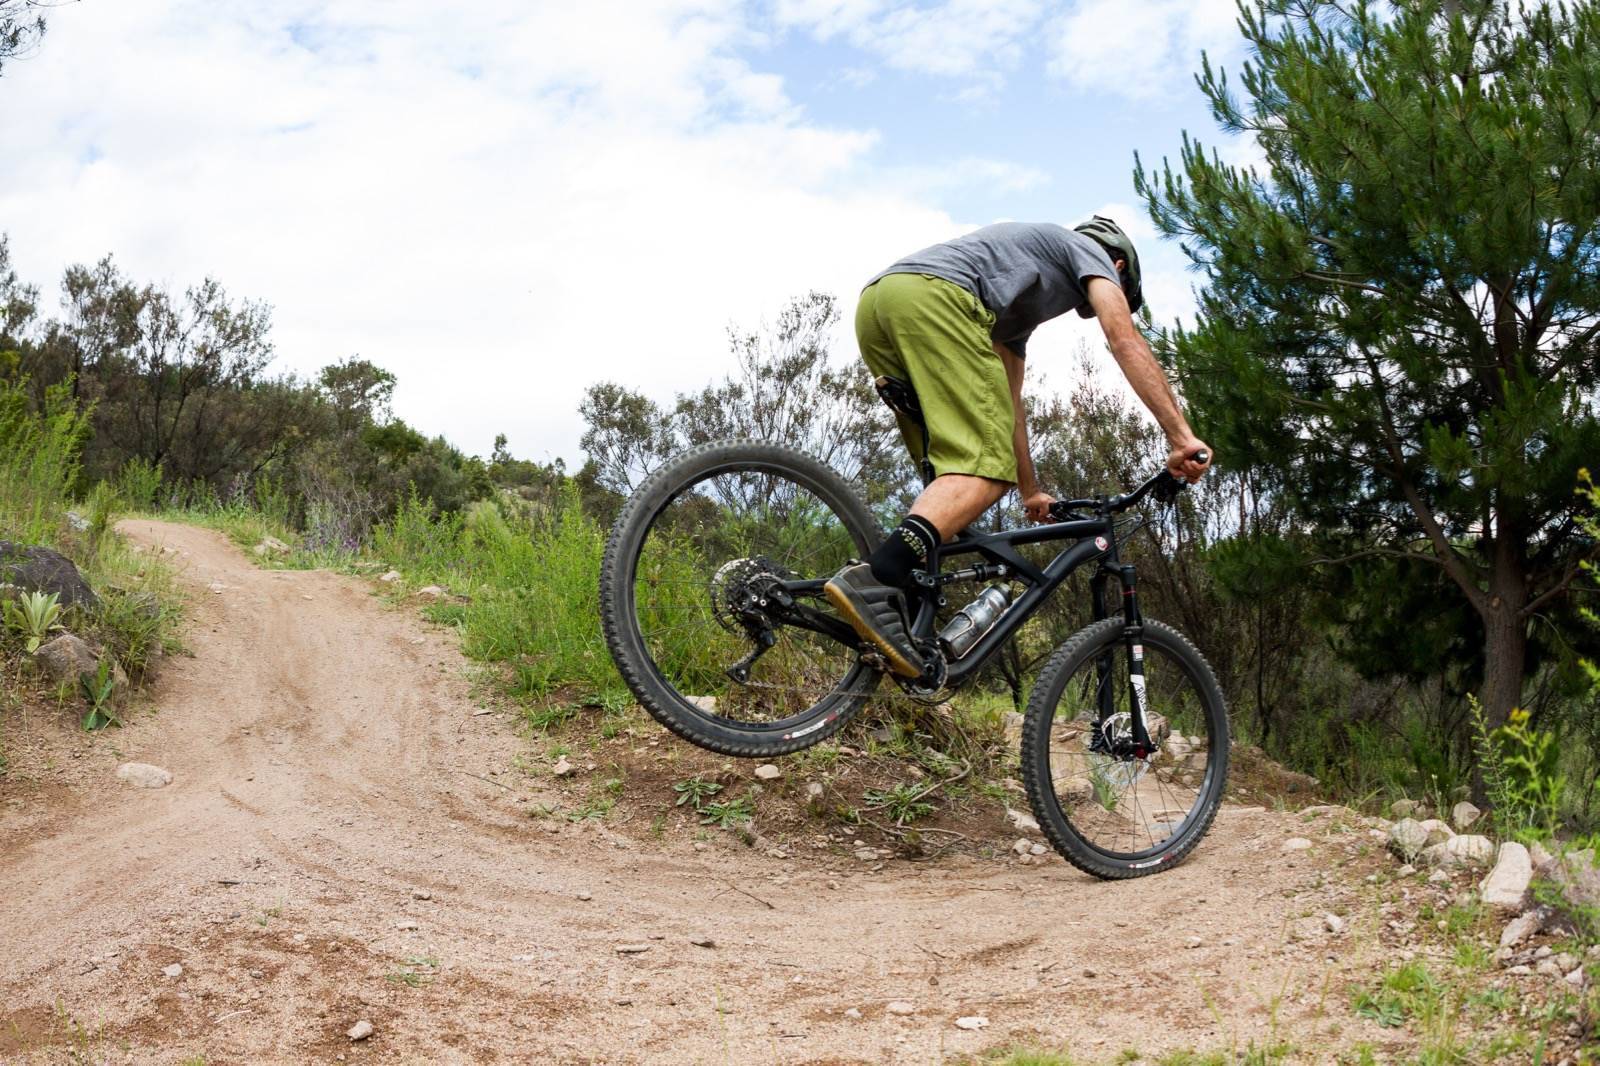
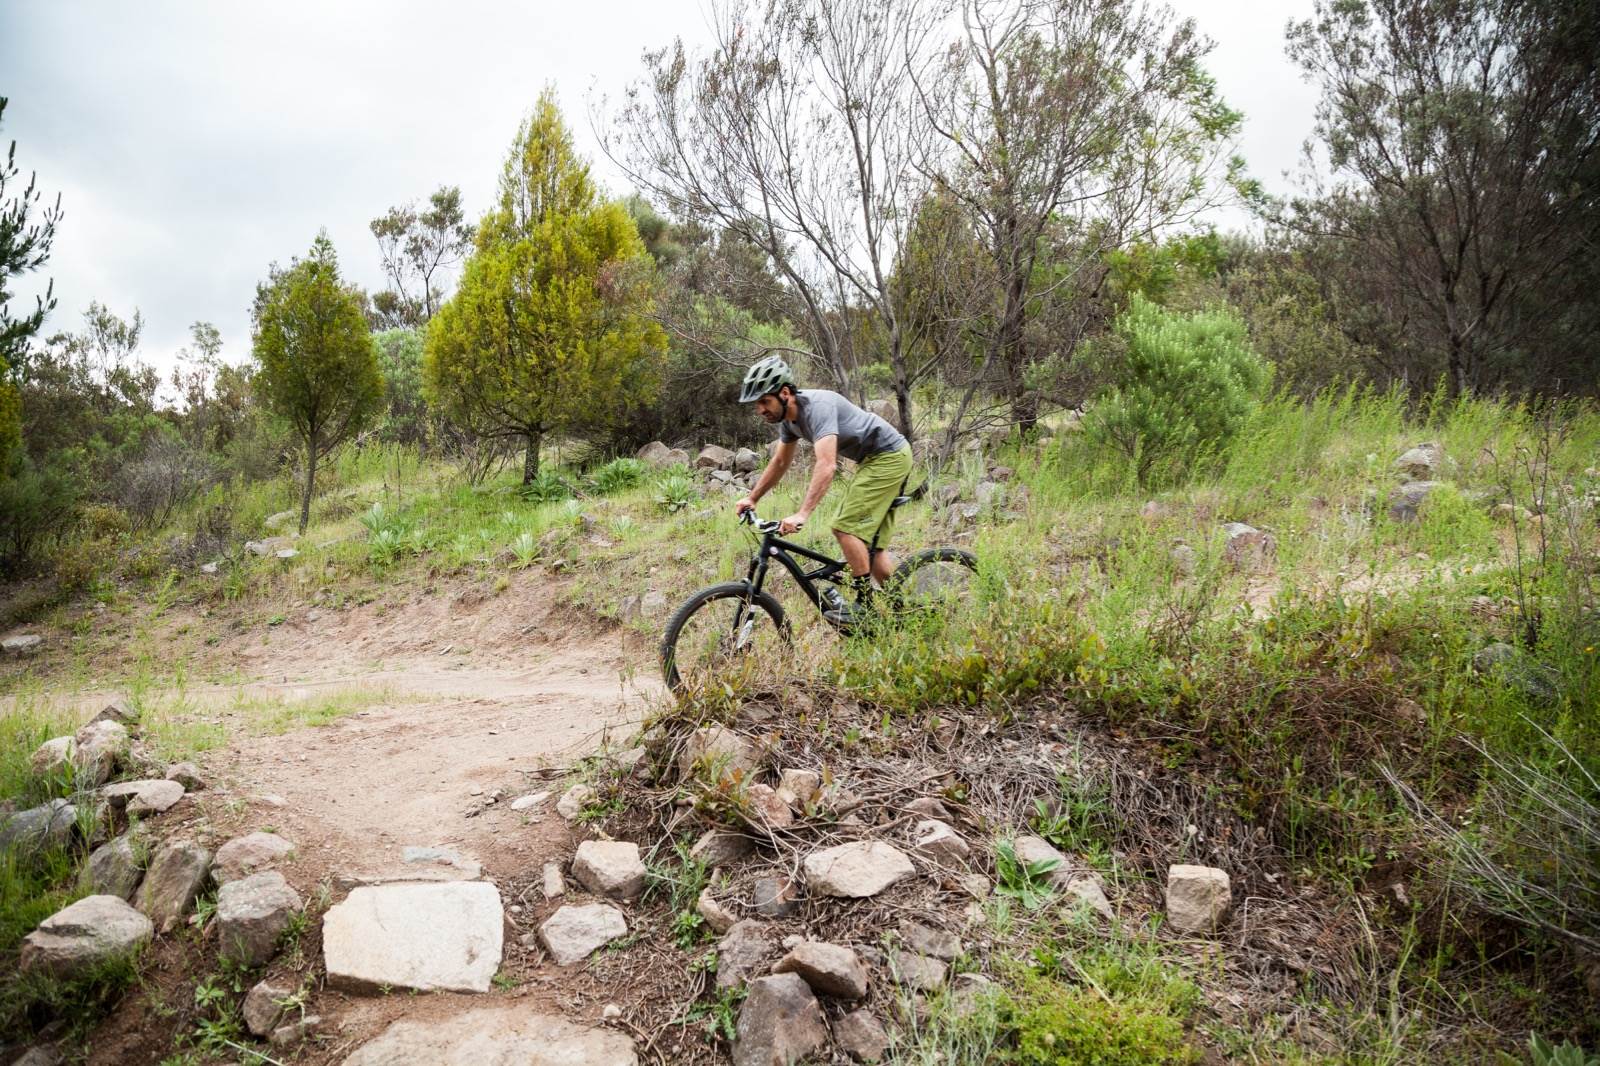
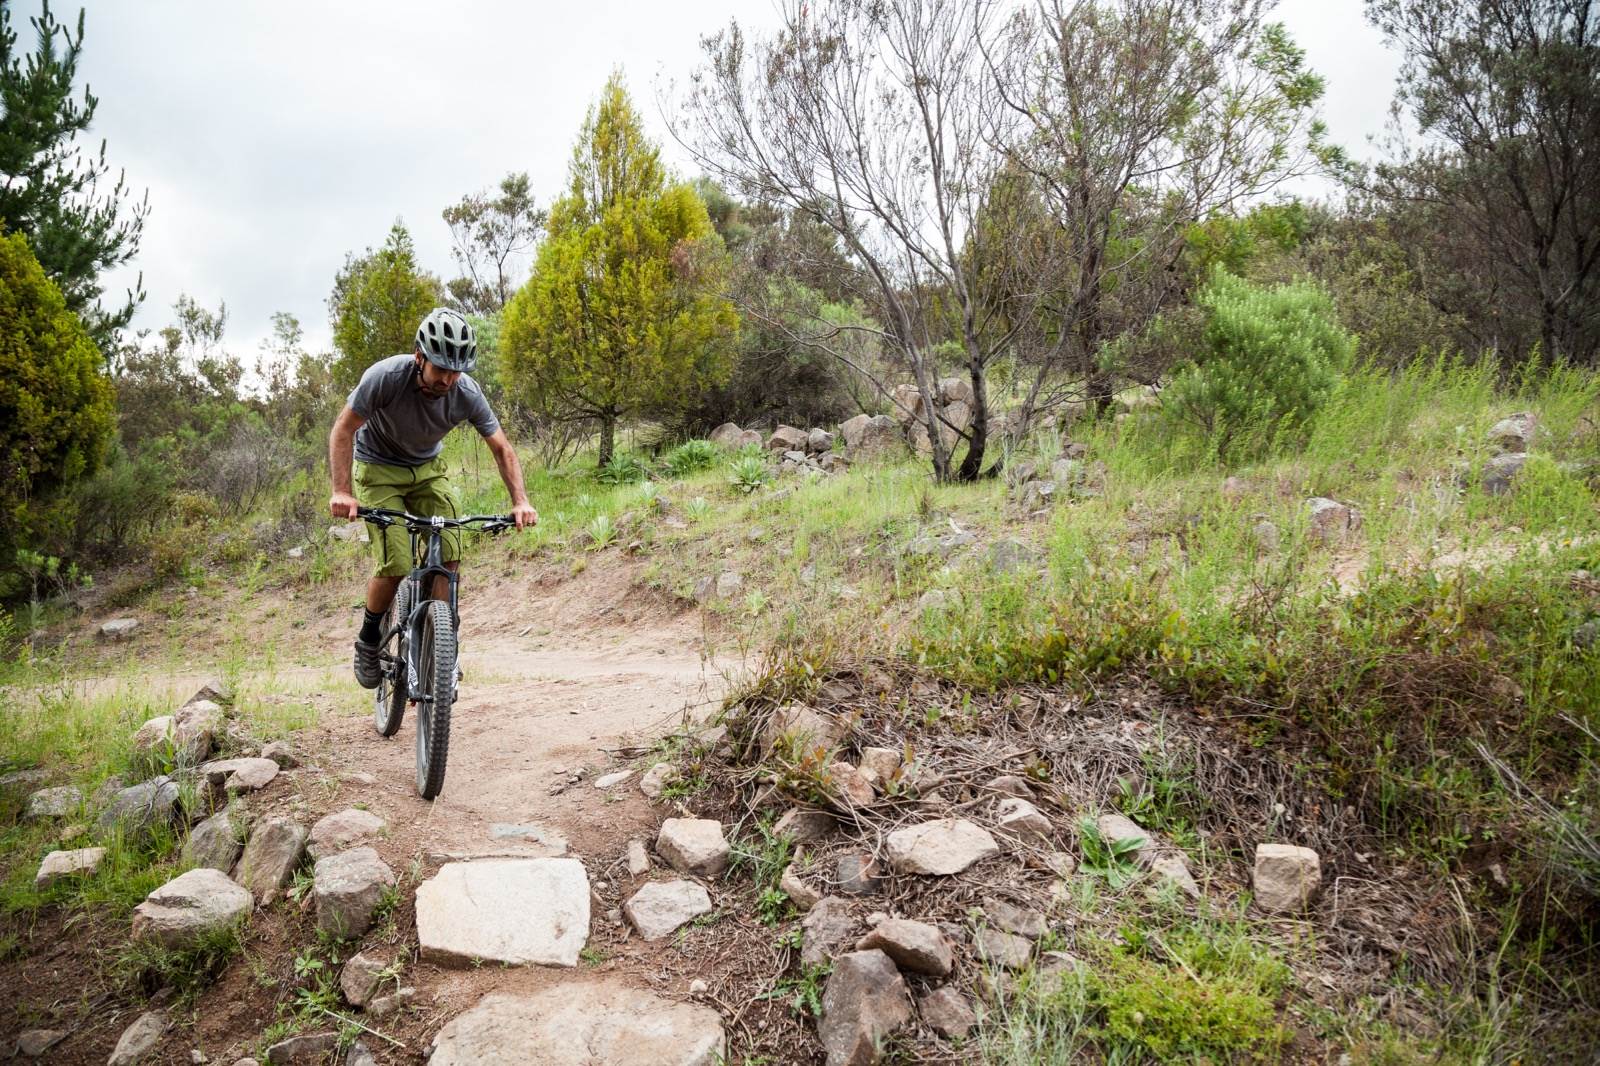
As you enter the turn, get your weight back as you brake hard. This is not something you want to do at speed. You’ll also need to spot a safe point to execute the turn and look to make as much of the turn on two wheels before you attempt to make it on one. Look for hard, clean surfaces. Loose gravel is going to make it much harder.
Step 2
You’ll want to aim for the inside of the turn, rather than the outside to give you enough room to flick your rear wheel around. At this point, if you are going too fast, the best bet is going to be to brake as hard as you can, get your foot down and admit defeat. Otherwise, control your speed, spot your turning point and begin to shift your weight forward and ease on the front brake. Gently…
Step 3
Executing the turn is all about brake control. The best thing to do is practice on flat ground, first doing straight endos and then learning how to flick the rear wheel by turning the bars one way and kicking your feet the other direction to shift the bike. It’s also important to feather the brake, not jam it on and understand that releasing the brake is going to stop you from going over the bars.
Step 4
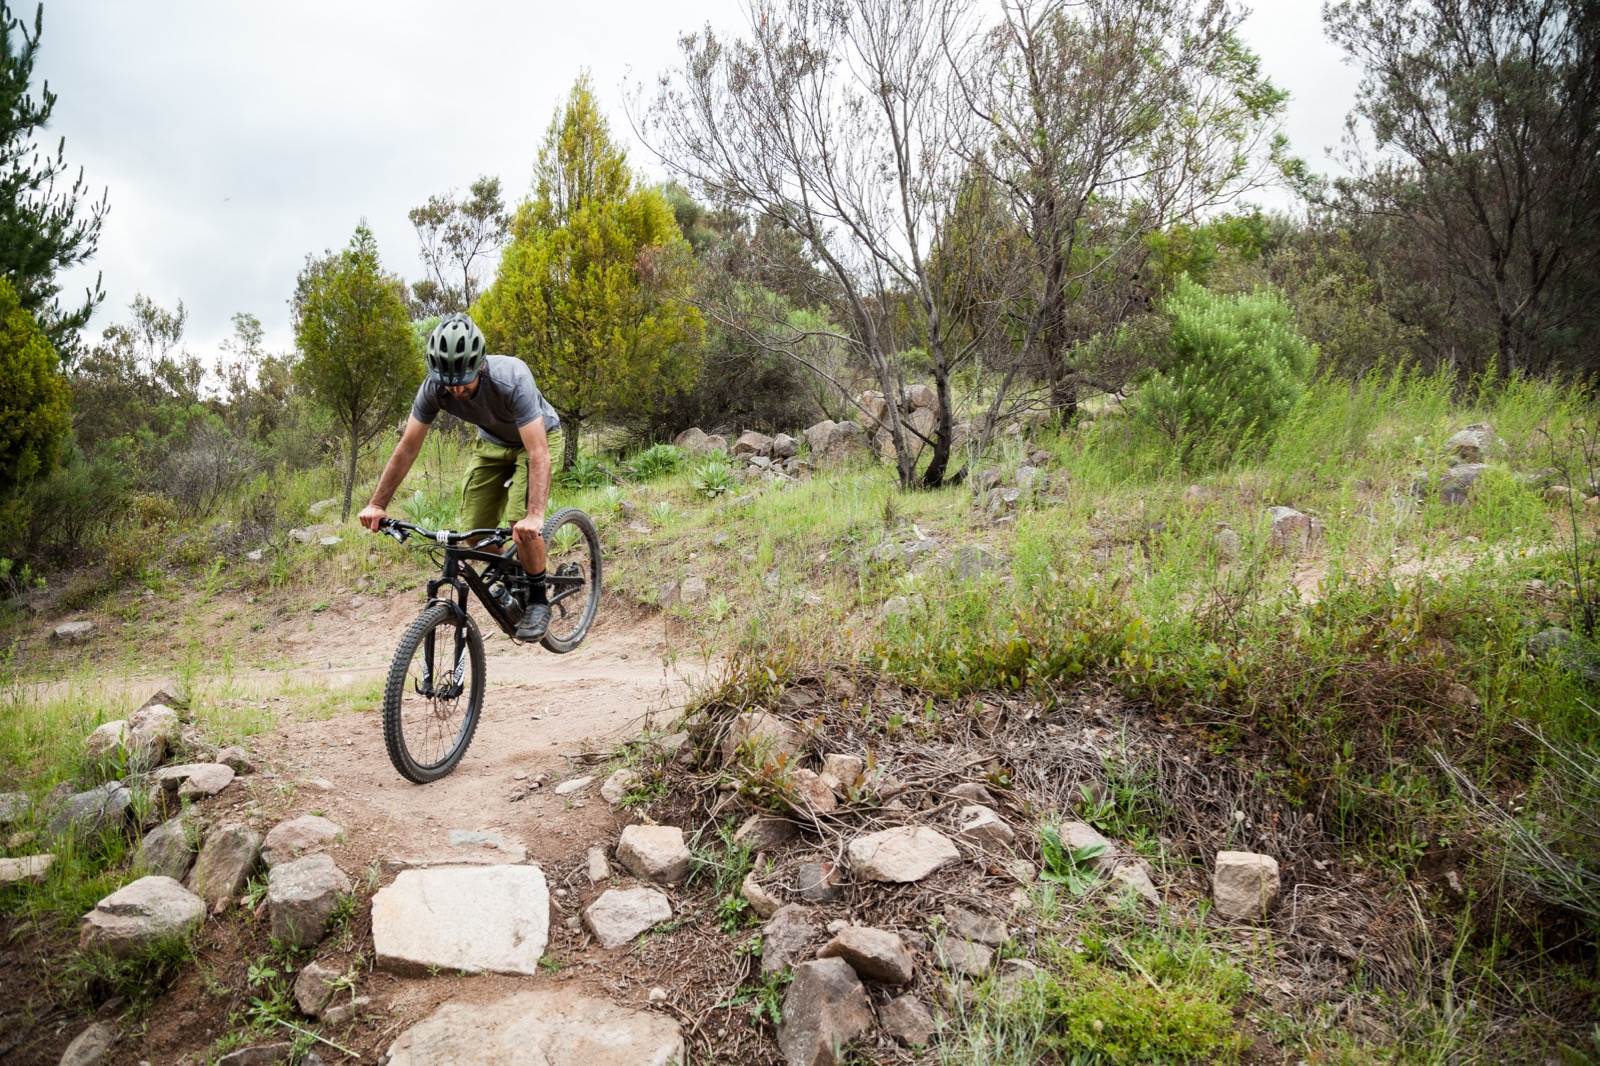
As you come around, ease off the brake to assist in bringing the rear wheel down and pushing you out of the turn. Ideally, you’ll want to complete the process with the rear wheel fairly close to the ground and as quickly as possible. Get it wrong and it’s going to be a quick trip over the bars.
Step 5
Once you have finished up, it’s simply a matter of looking ahead and pedalling out as in most cases you’ll just about come to a complete stop. Just remember not to get on the pedals too hard as with all the movement, there’s a good chance of a bit of a gear jump and crunch as you take off, especially if you slam the rear wheel down.