How to do a lower leg service
One of the best things you can do for your suspension fork is to do lower leg services at suggested intervals. Here's how.
Photos: Jordan Riddle
While the exact procedure may differ from manufacturer to manufacturer, we will take look at why the lower leg service of any fork is extremely important, and how to pick tell tale signs your fork may be in desperate need of a service. Your two visible stanchions slide on multiple bushings within the lower leg (lowers) of the fork, protected by a dust wiper or seal to keep debris out and lubricant in. The more precise these tolerances the better debris stays out and the smoother the action. Too tight, too loose or with contaminates in the mix and excessive wear and friction will occur. Any additional friction in your fork will make your front end feel harsher, resulting in trail feedback, a skittish feel and less traction.
When forks were open bath and had sometimes hundreds of millimetres of oil sloshing about in them everything ran smoothly. Now our dampers are far more advanced and no longer share fork oil with the lubricant. As a result, modern forks have as little as 10ml of “splash lubricant” in the lowers for the stanchions and bushings with low frictions seals that both need frequent cleaning and lubrication – so let's take a look.
Tools needed
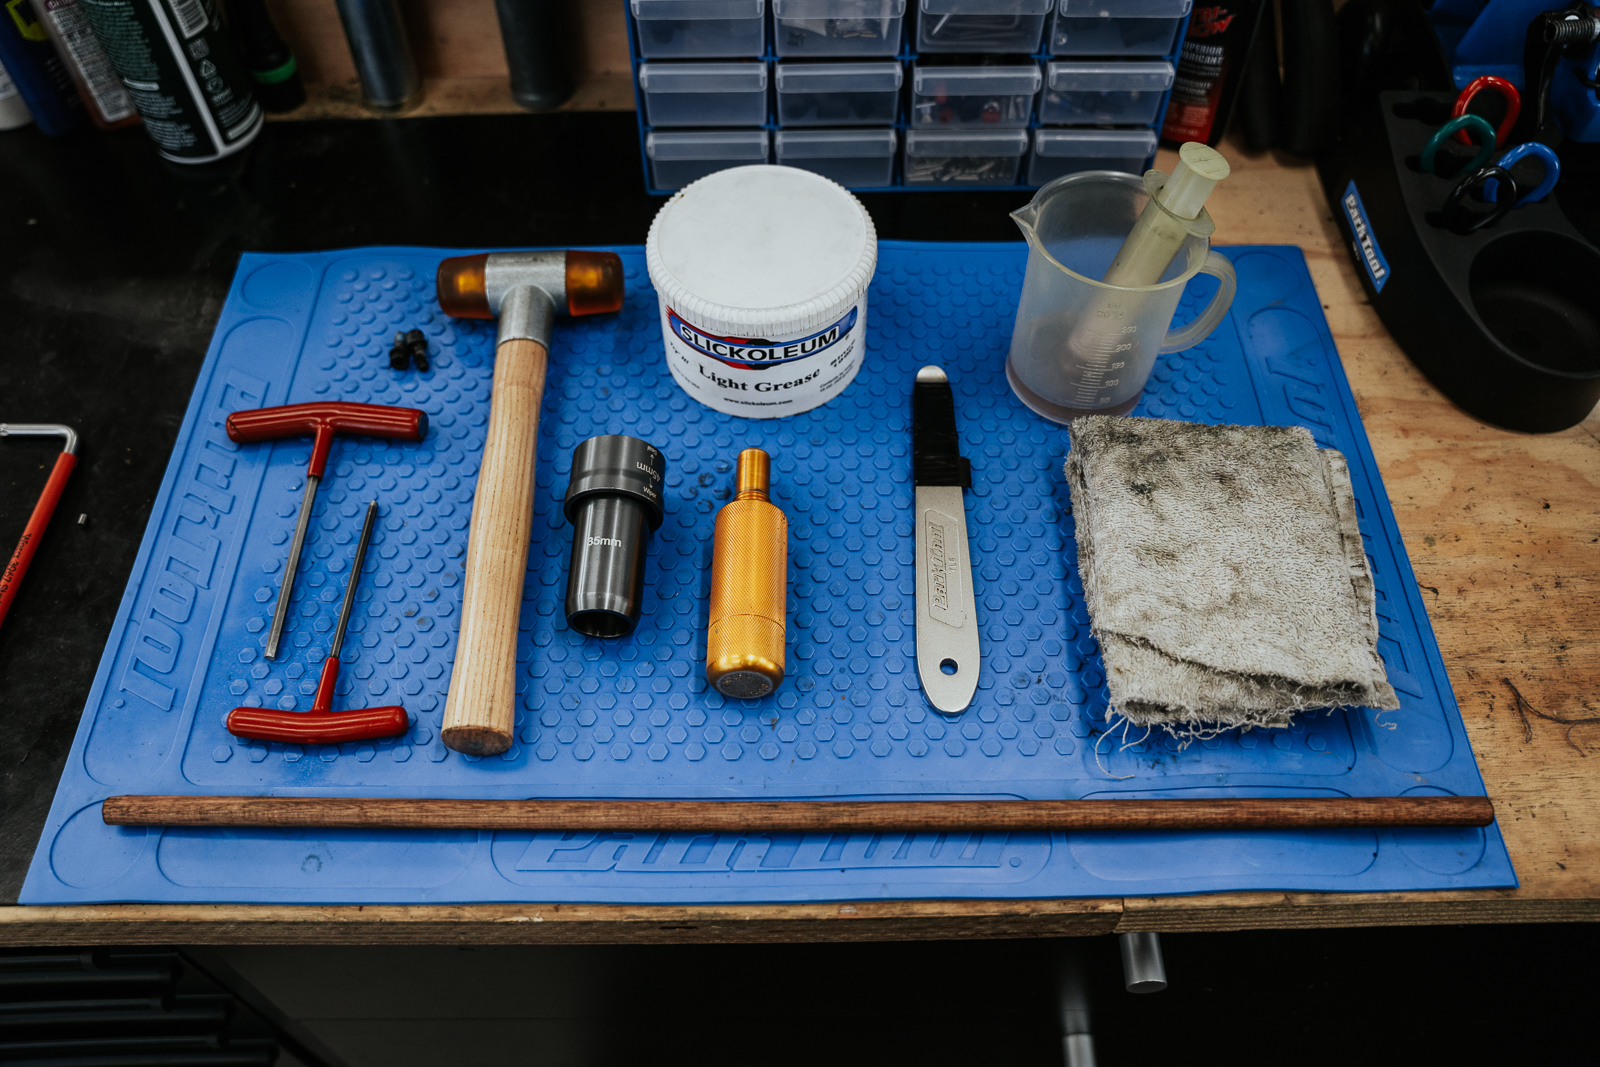
Step 1 – start clean and remove the fork
A clean bike, fork and workspace will reduce the risk of getting grit and contaminants into the fork, grit = friction and wear which is bad. Remove your front brake and then your fork.
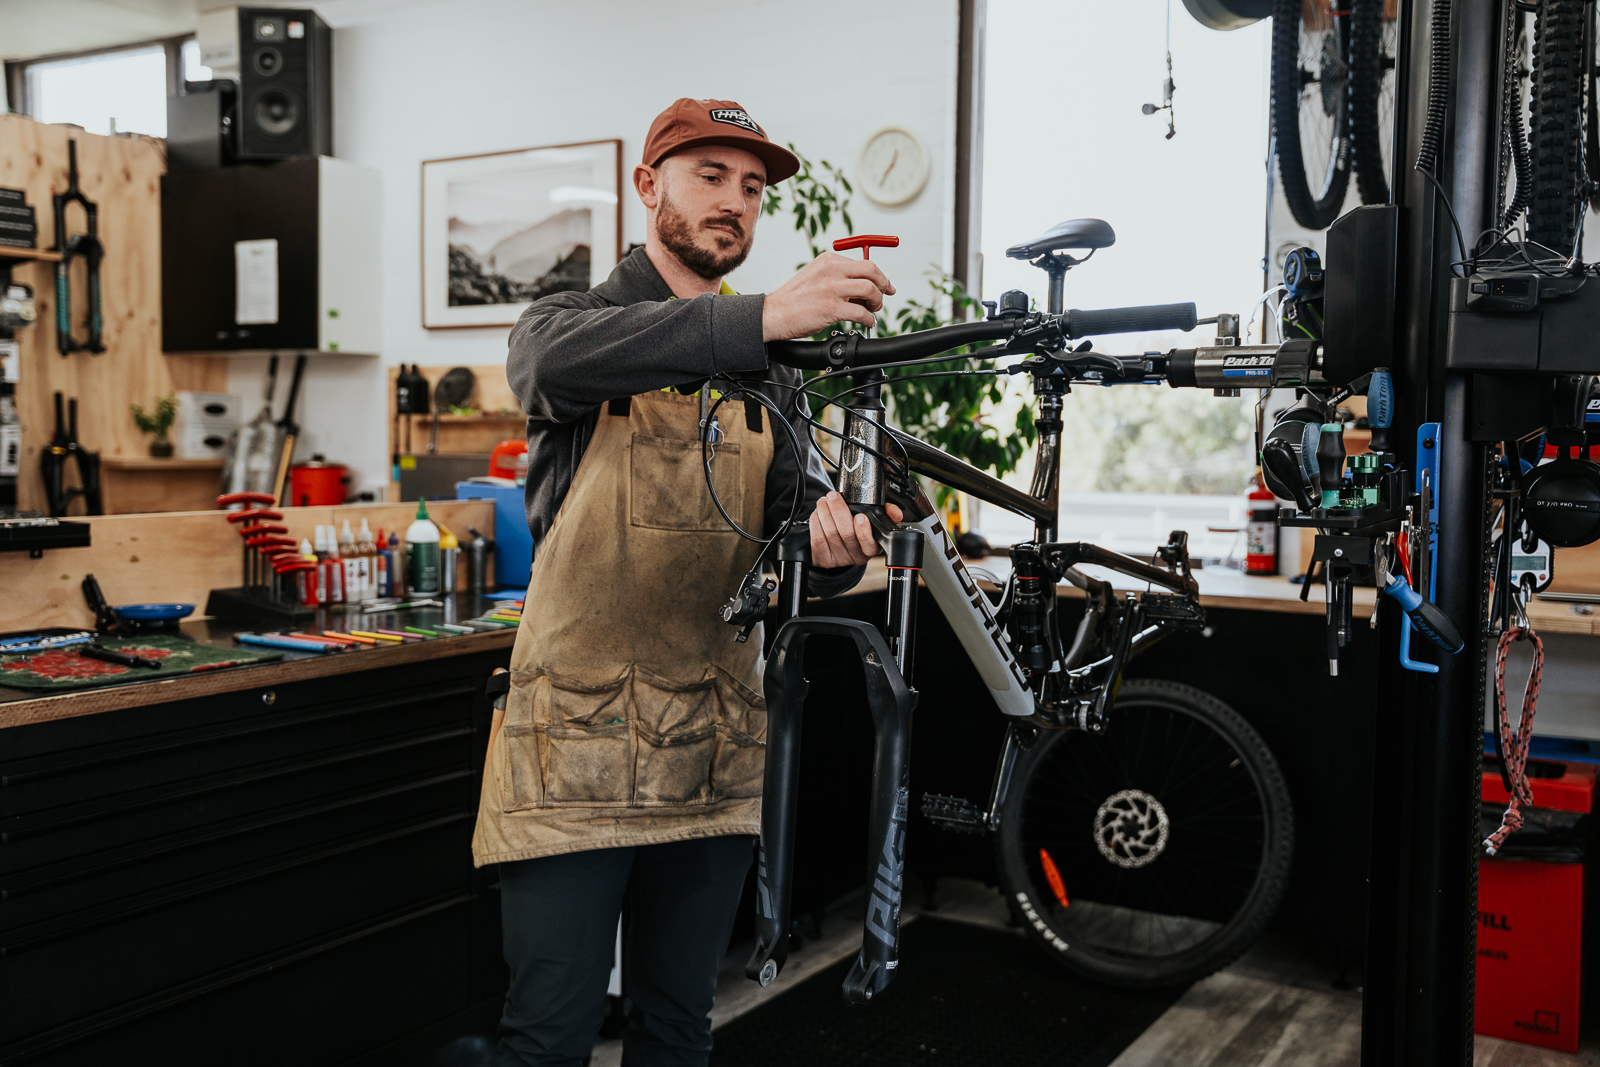
Step 2: Loosen base nut (or bolt) a few turns only.
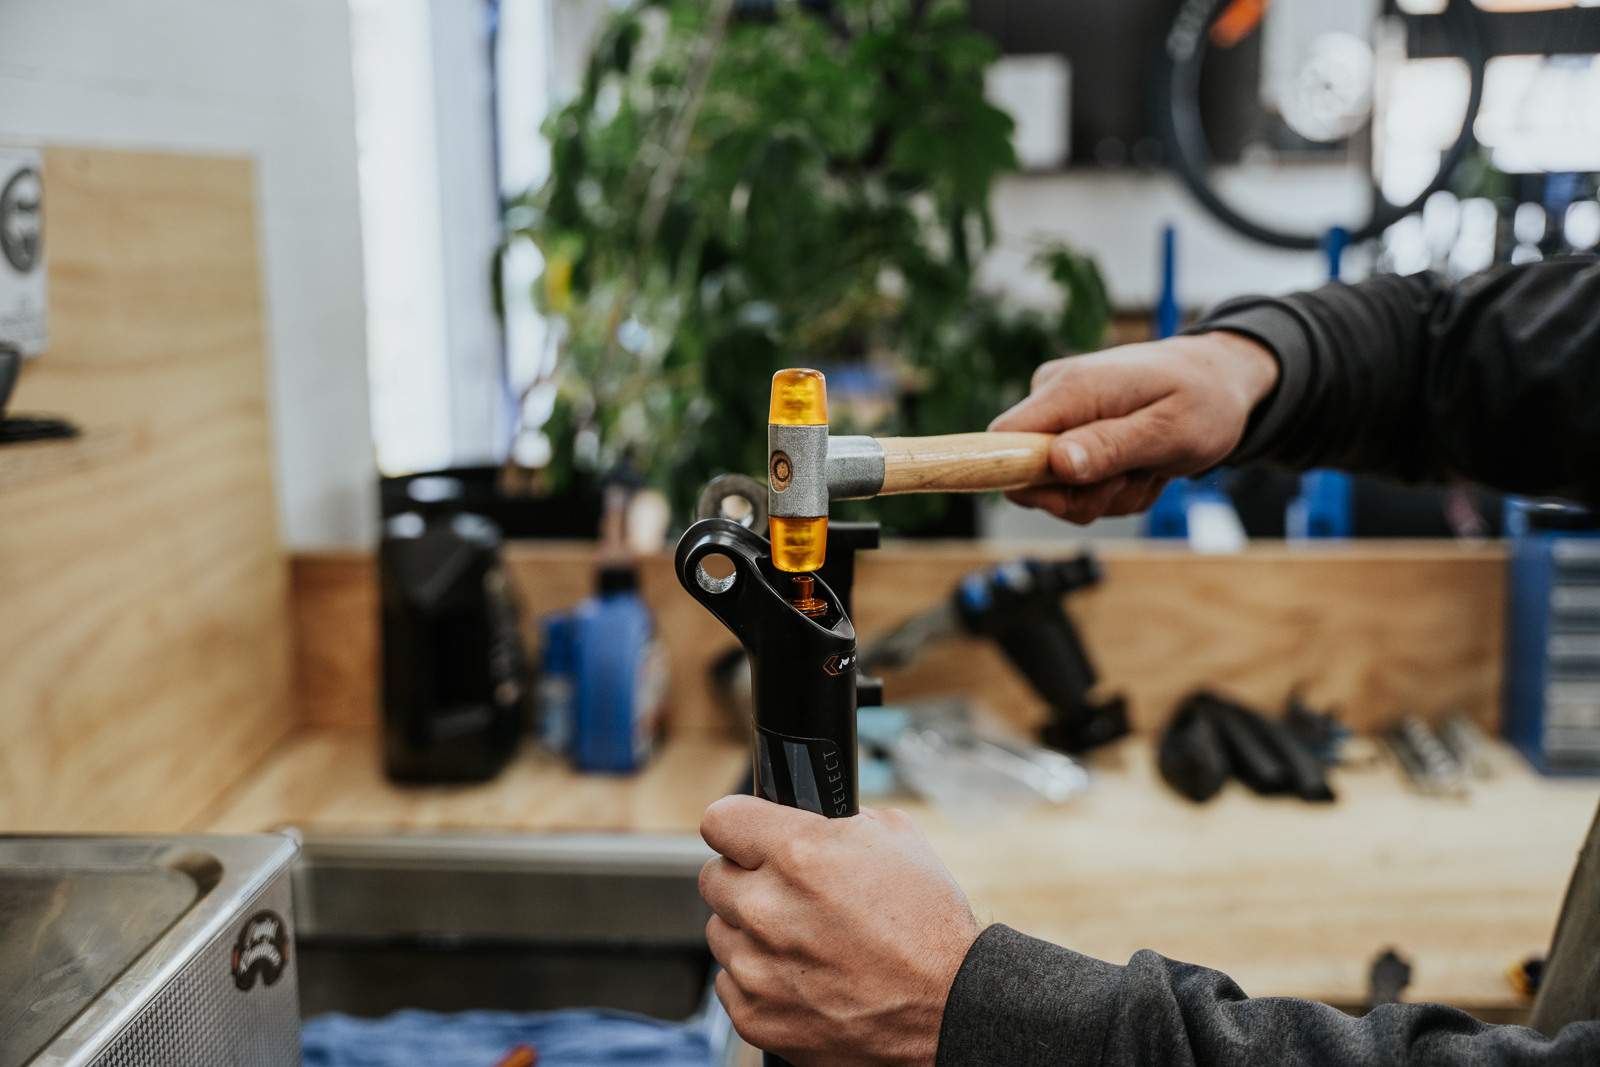
Tap directly with a soft mallet (or use a drift), we are breaking the bond between the lowers and the damper/air assembly which are normally a tolerance fit so pretty tight.
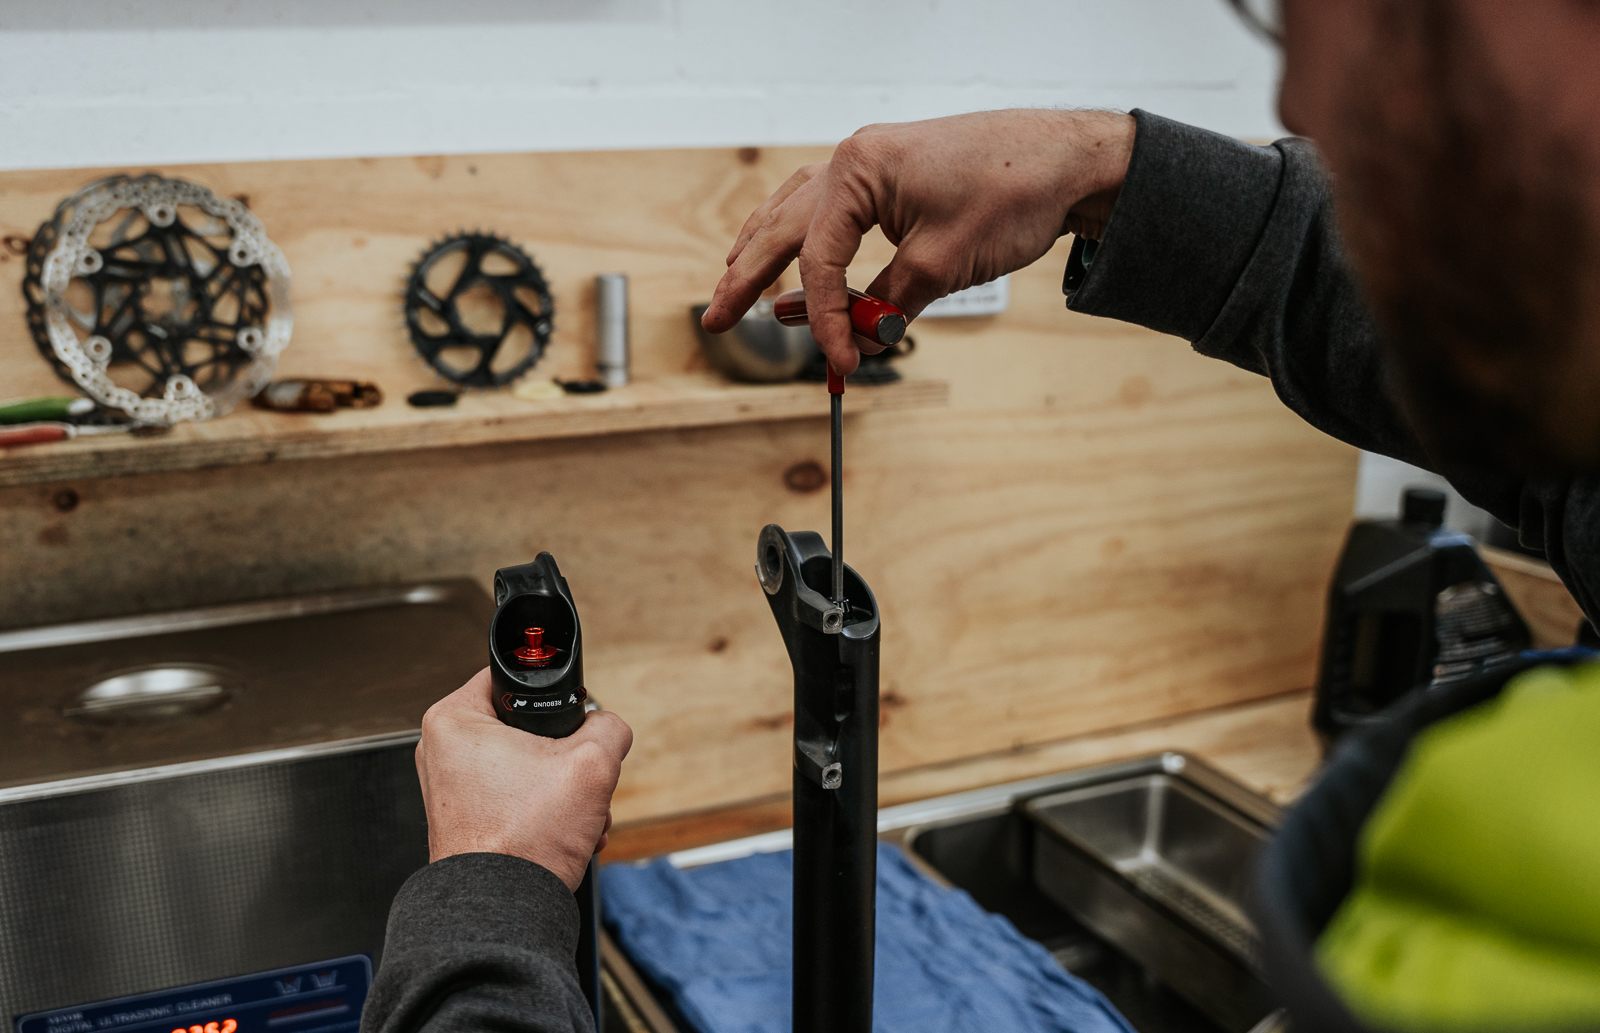
To reduce the risk of damaging the threads, do not unwind the nut/bolt all the way before hitting with mallet.
Step 3: Slide lowers off the stanchions
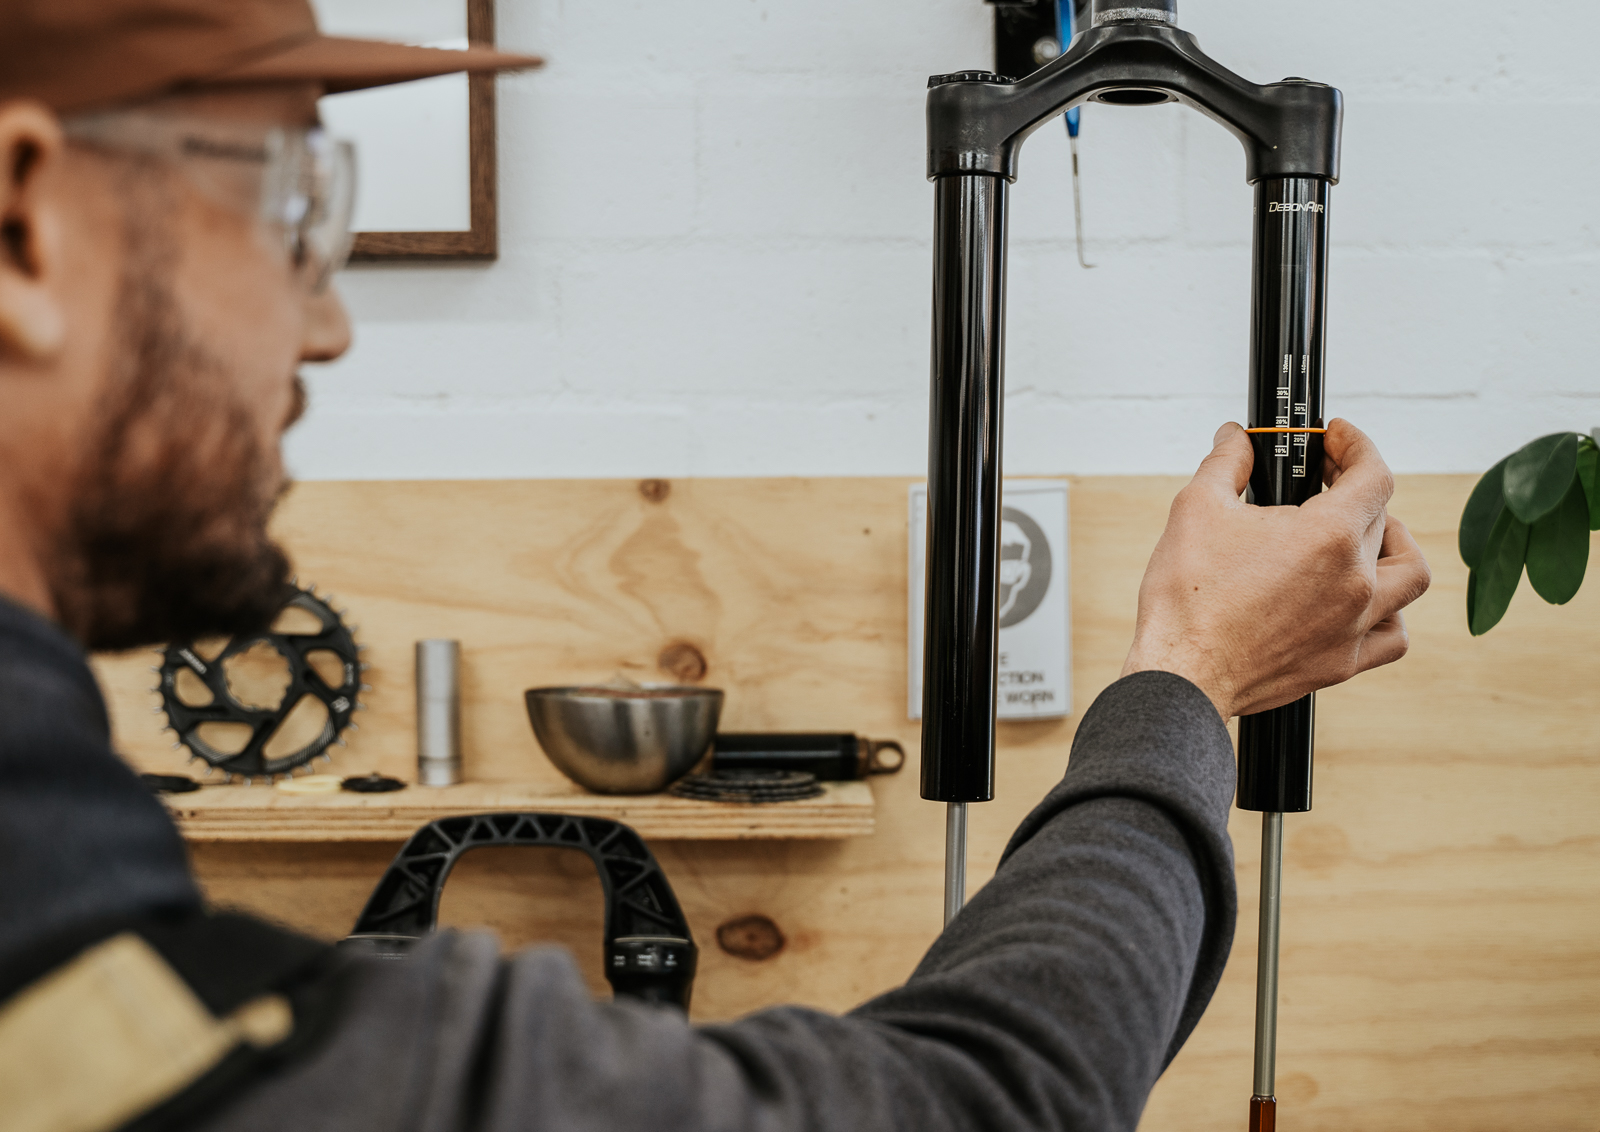
Inspect the upper legs for scratches, dents or excessive wear caused by debris under the seals, wipe the stanchions clean, replace sag indicating o-ring if your seal kit has a replacement.
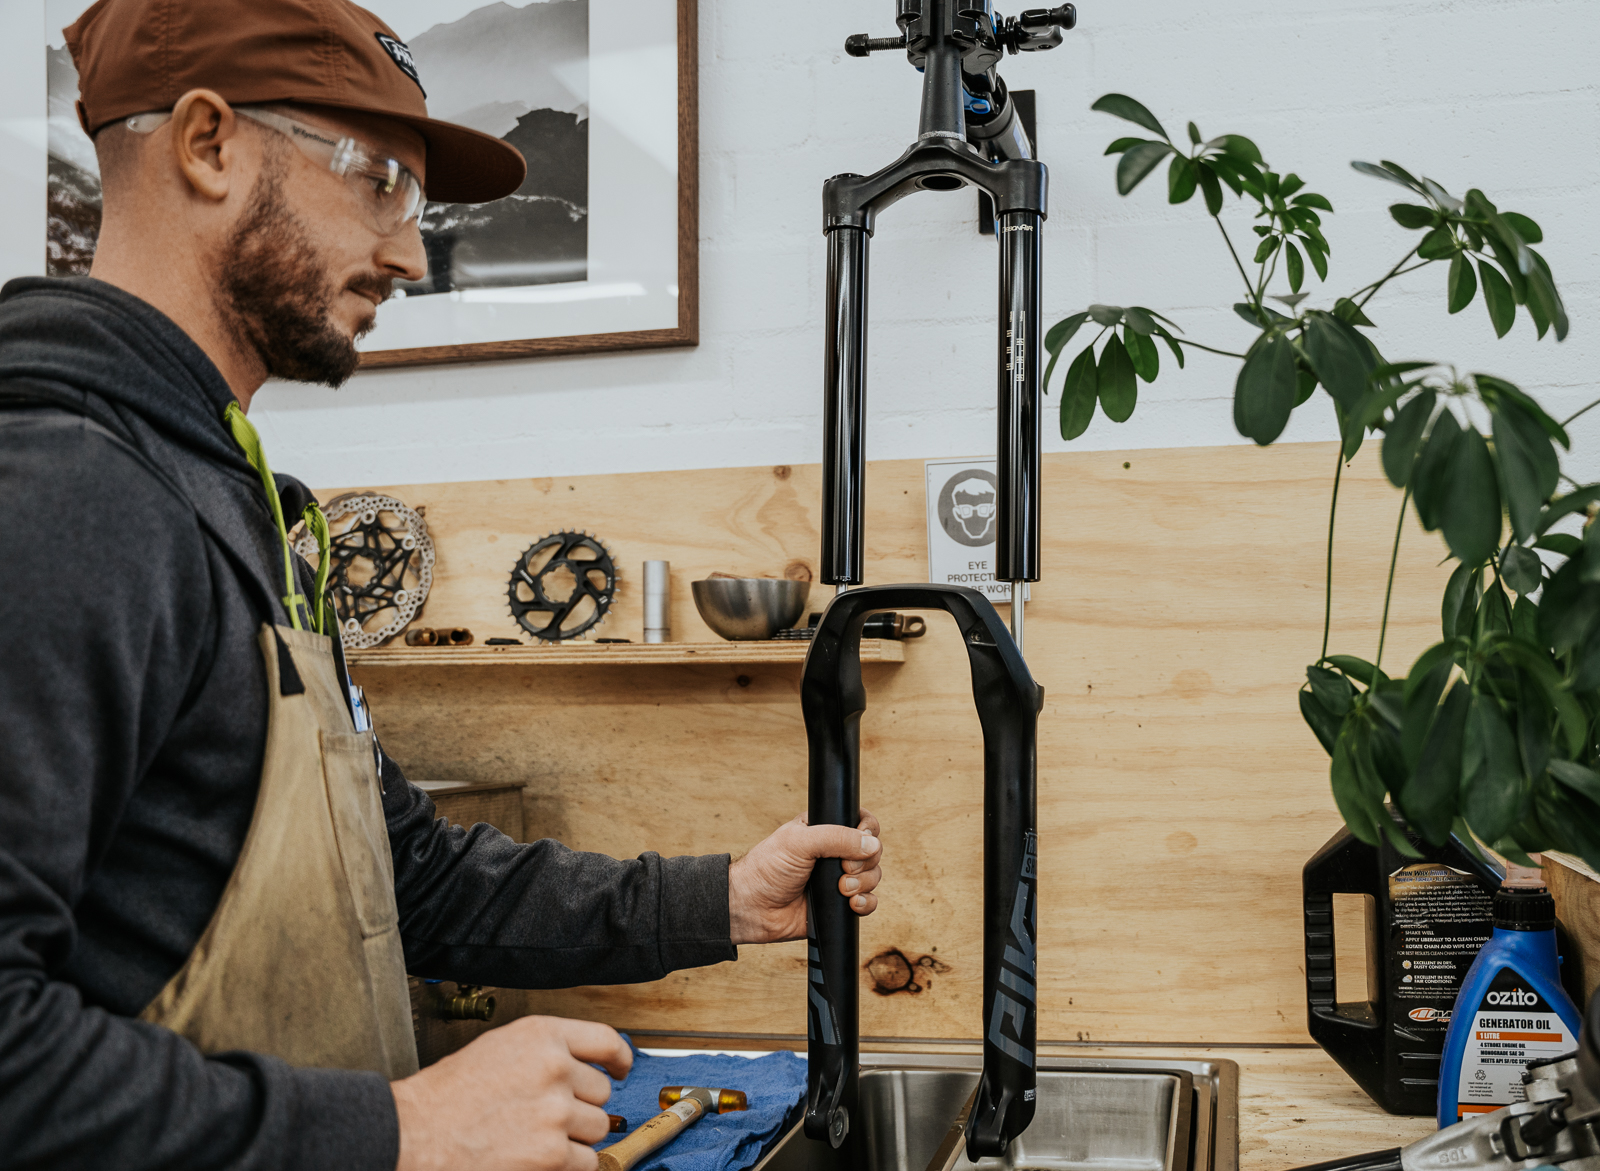
Lay out the parts in the order you have removed them, as a reminder for the order to fit the new parts.
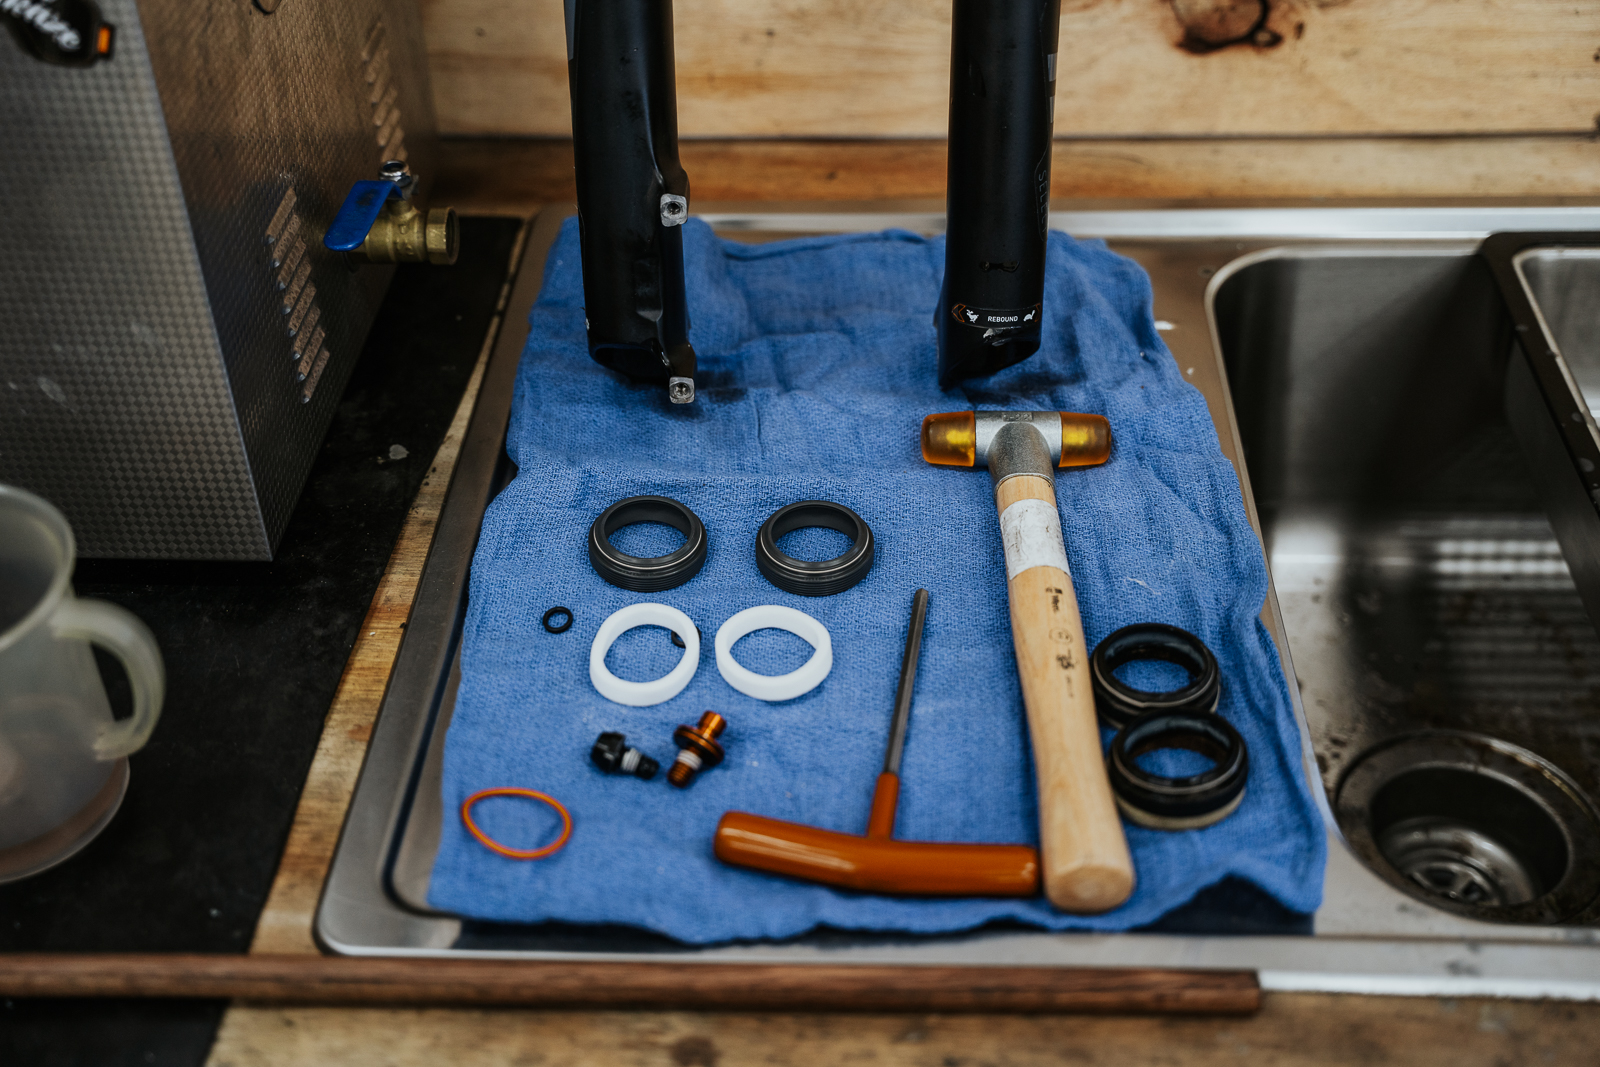
STEP 4: remove old seals and foam rings
We like to use a large flat tyre lever. We have seen all sorts of things used to remove the seals, most valid except a sharp screw driver as we are trying to prevent damage to the lowers which would deform them, this could damage the seal or stanchion or at a minimum increase the friction and cause the fork to bind, all of these things are bad and care should be taken when removing the seals!
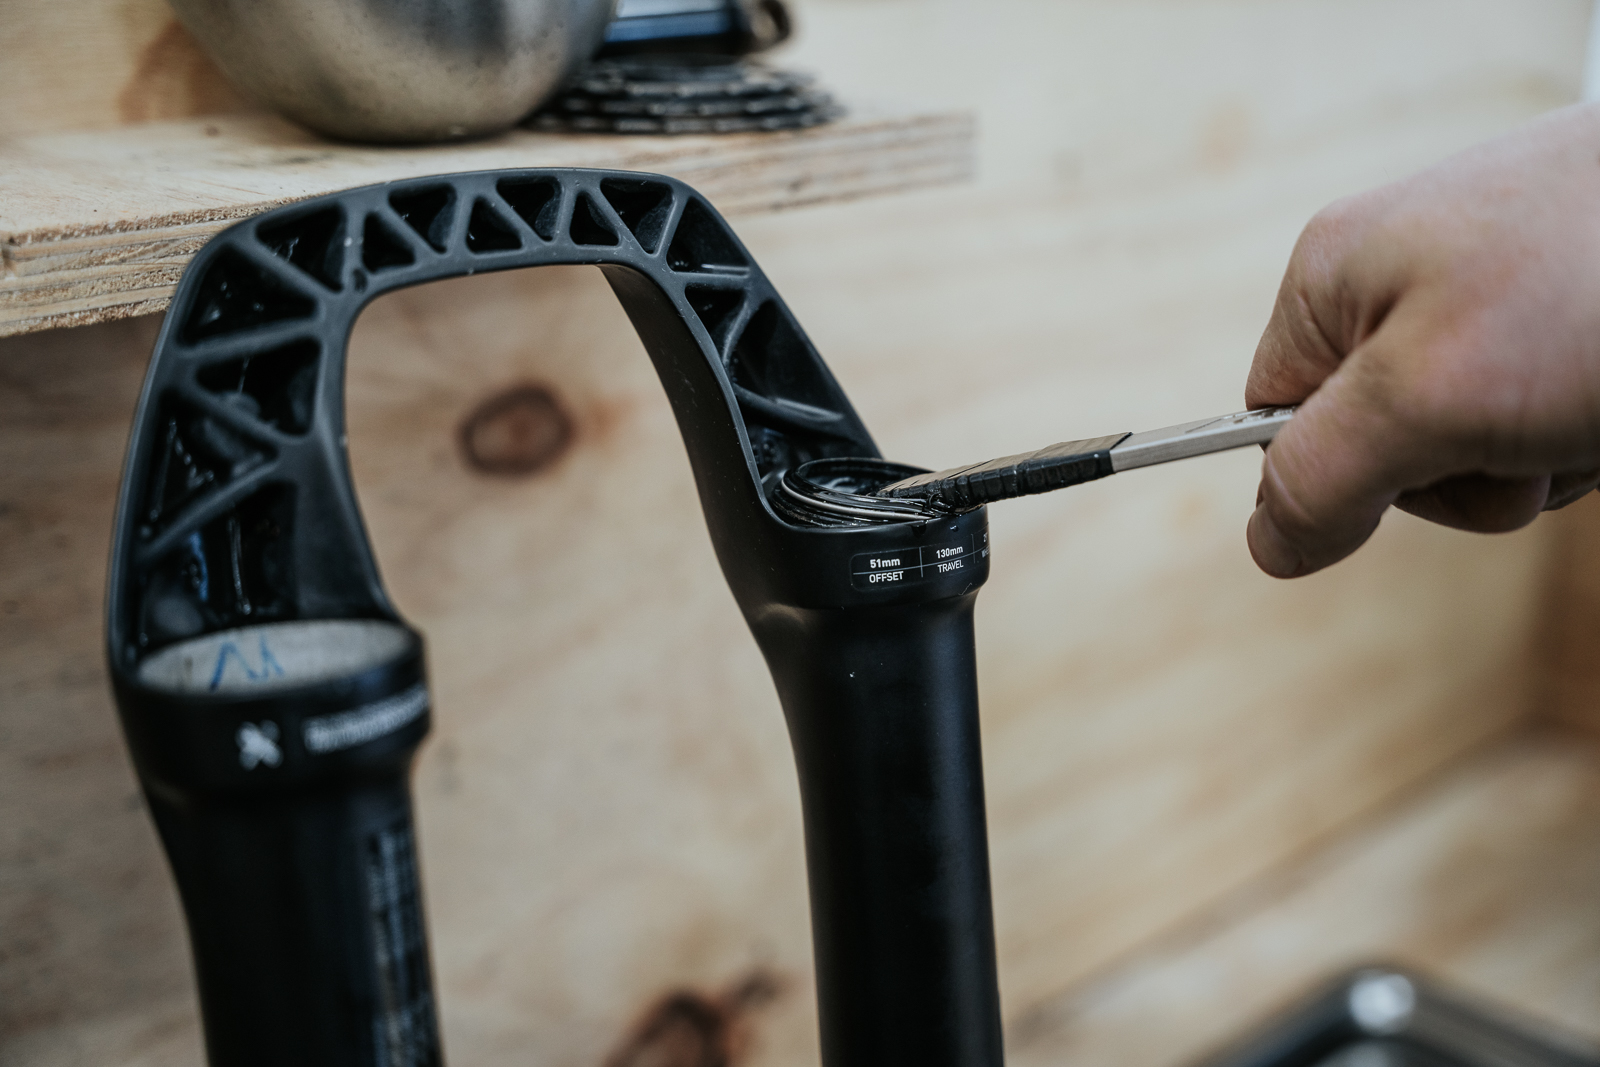
STEP 5: clean lowers and seal seats
Clean those lowers and seal seats, if the lower seat where the seal is to be driven into is dirty, a spray with isopropanol and brush may be required to remove all the debris. We like to use a “rag on a dowel” method, it gets right in there and wont cause any damage to the inner lower leg or bushings that are housed within.
Step 6: Install new seals and foam rings
Install seals and foam rings. For many forks we install the foam rings first, pre-soaked in fork fluid, in some cases we install them dry, followed by the seal and then lubricate them before installing the stanchions. Why, you may ask? We have found some seal/lower interfaces to be tighter or looser than others. With the latter, when on a long travel fork, the pressure within the lowers at full compression is often enough to pop those lubed up seals and presoaked foam rings right out of the lower, for these forks (pictured) we will install them dry and lubricate last.
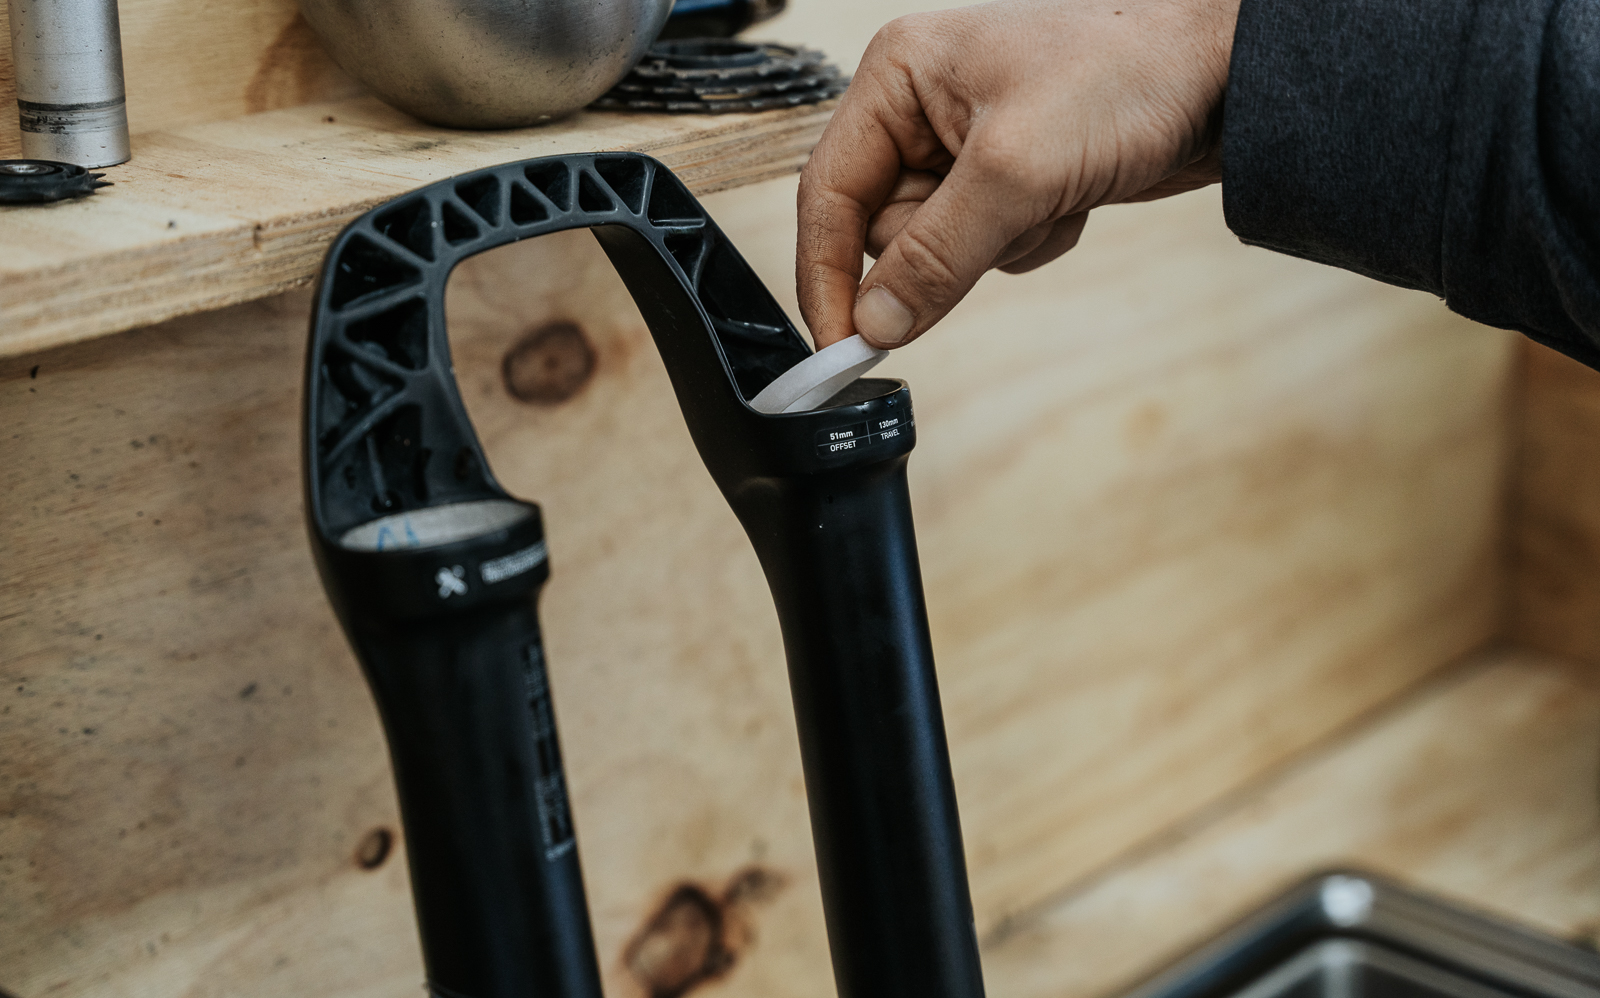
If the seal is a tight fit, a presoaked foam ring is the best method. Before installing the foam rings we like to give them a little stretch so they sit hard against the lowers and are less likely to get caught or damaged by the stanchion as the lowers are installed.
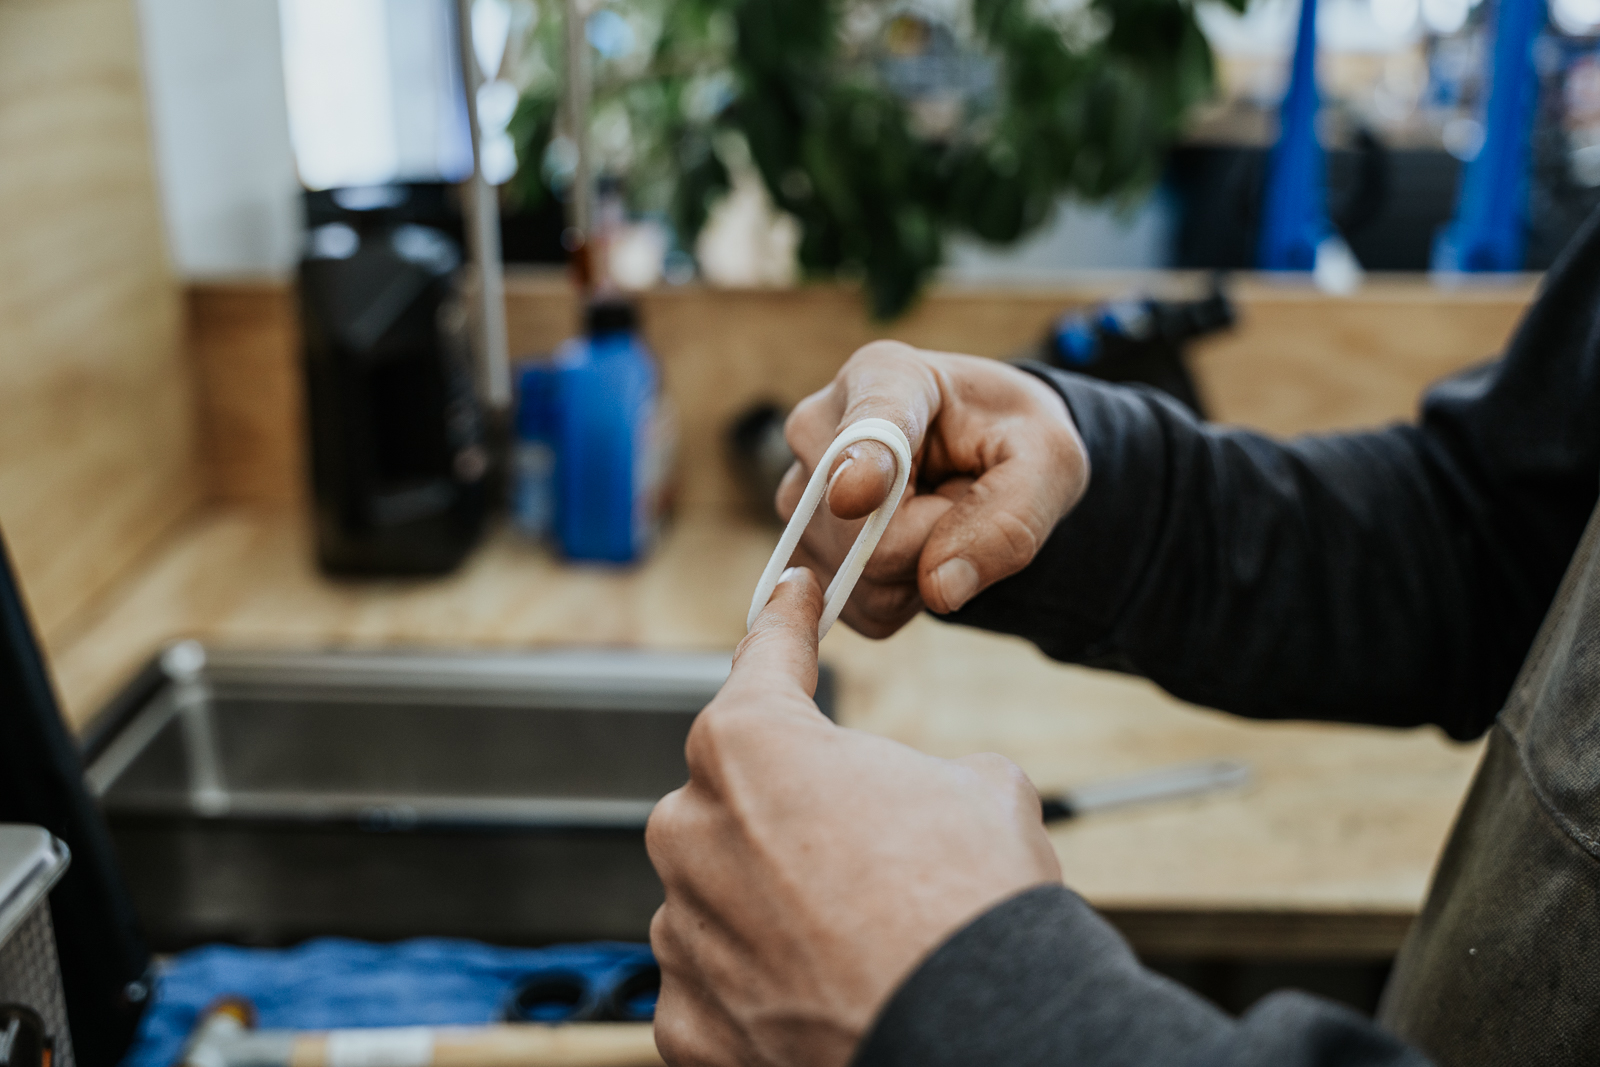
Pop the index fingers from either hand into the foam ring and rotate it around, its will stretch out a little, then contract back to its original size later when the fork is reassembled.
STEP 7: Press the new seals in
We love our Enduro Seal driver, however there many on the market that will do the job just as well. With 3D printers becoming readily available, printing off you need in a few hours is probably just as easy as borrowing one these days.
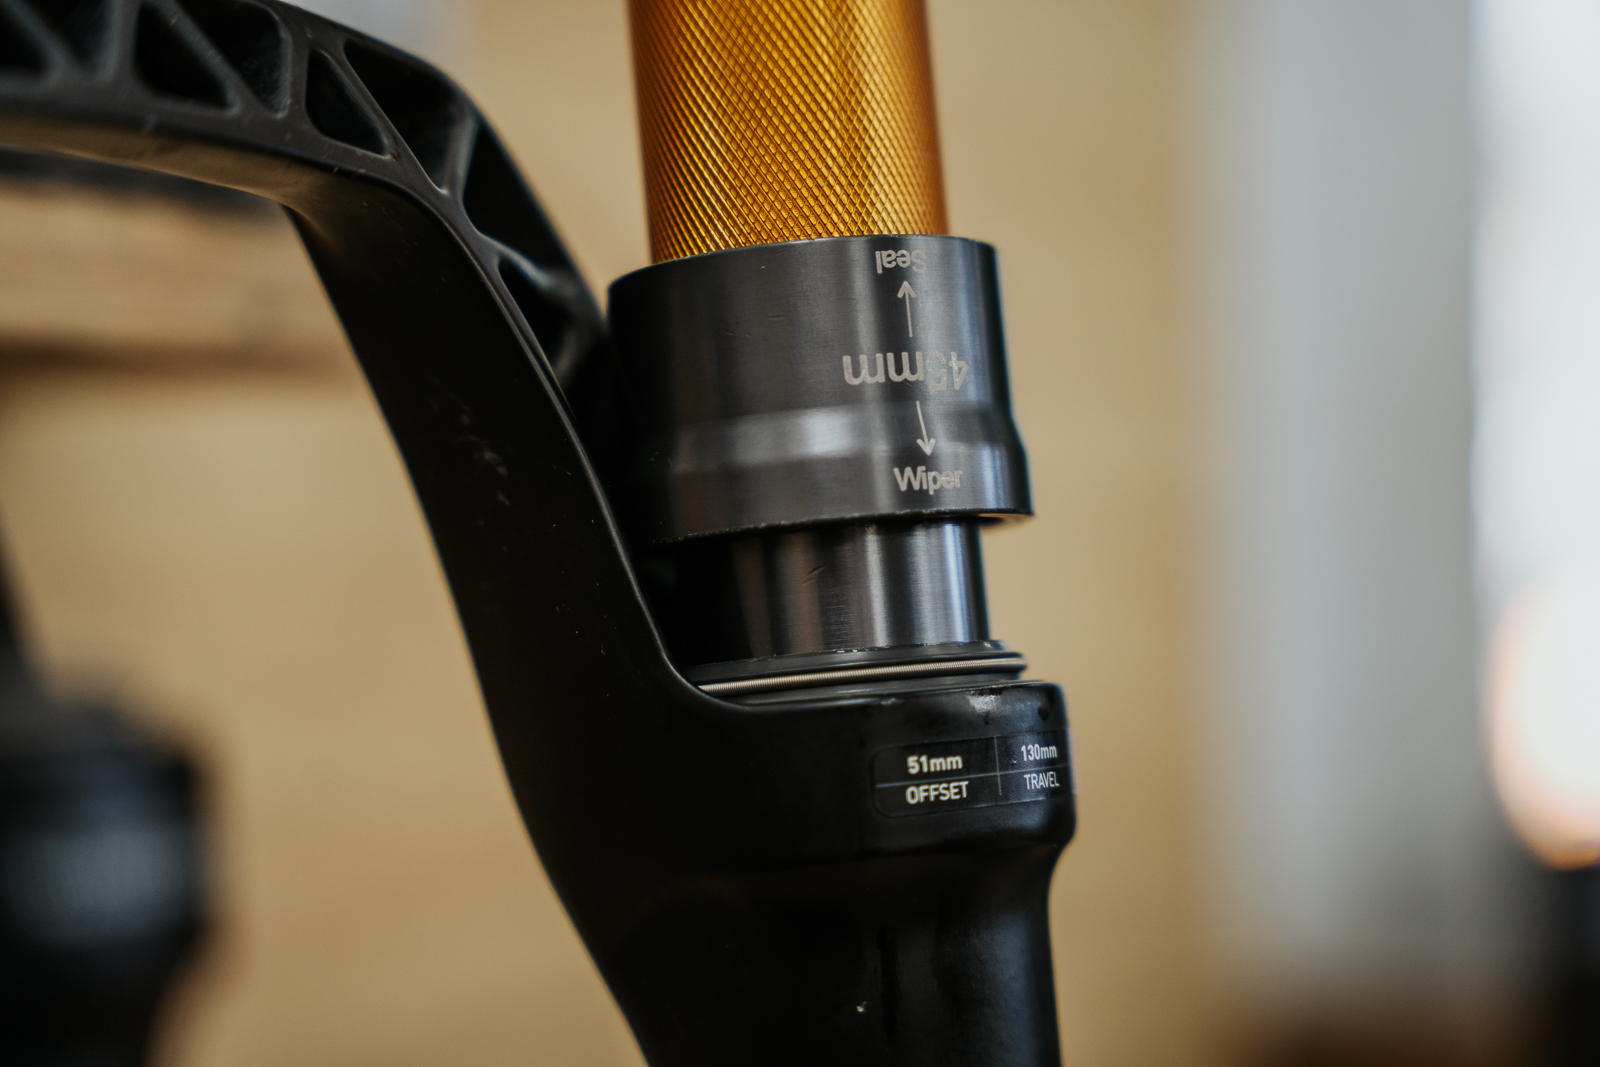
A key to driving in any seal is to ensure it is driven in straight, don’t damage the spring (most can be removed before doing so as pictured) and make sure it is driven in flush.
STEP 8: Lubricate
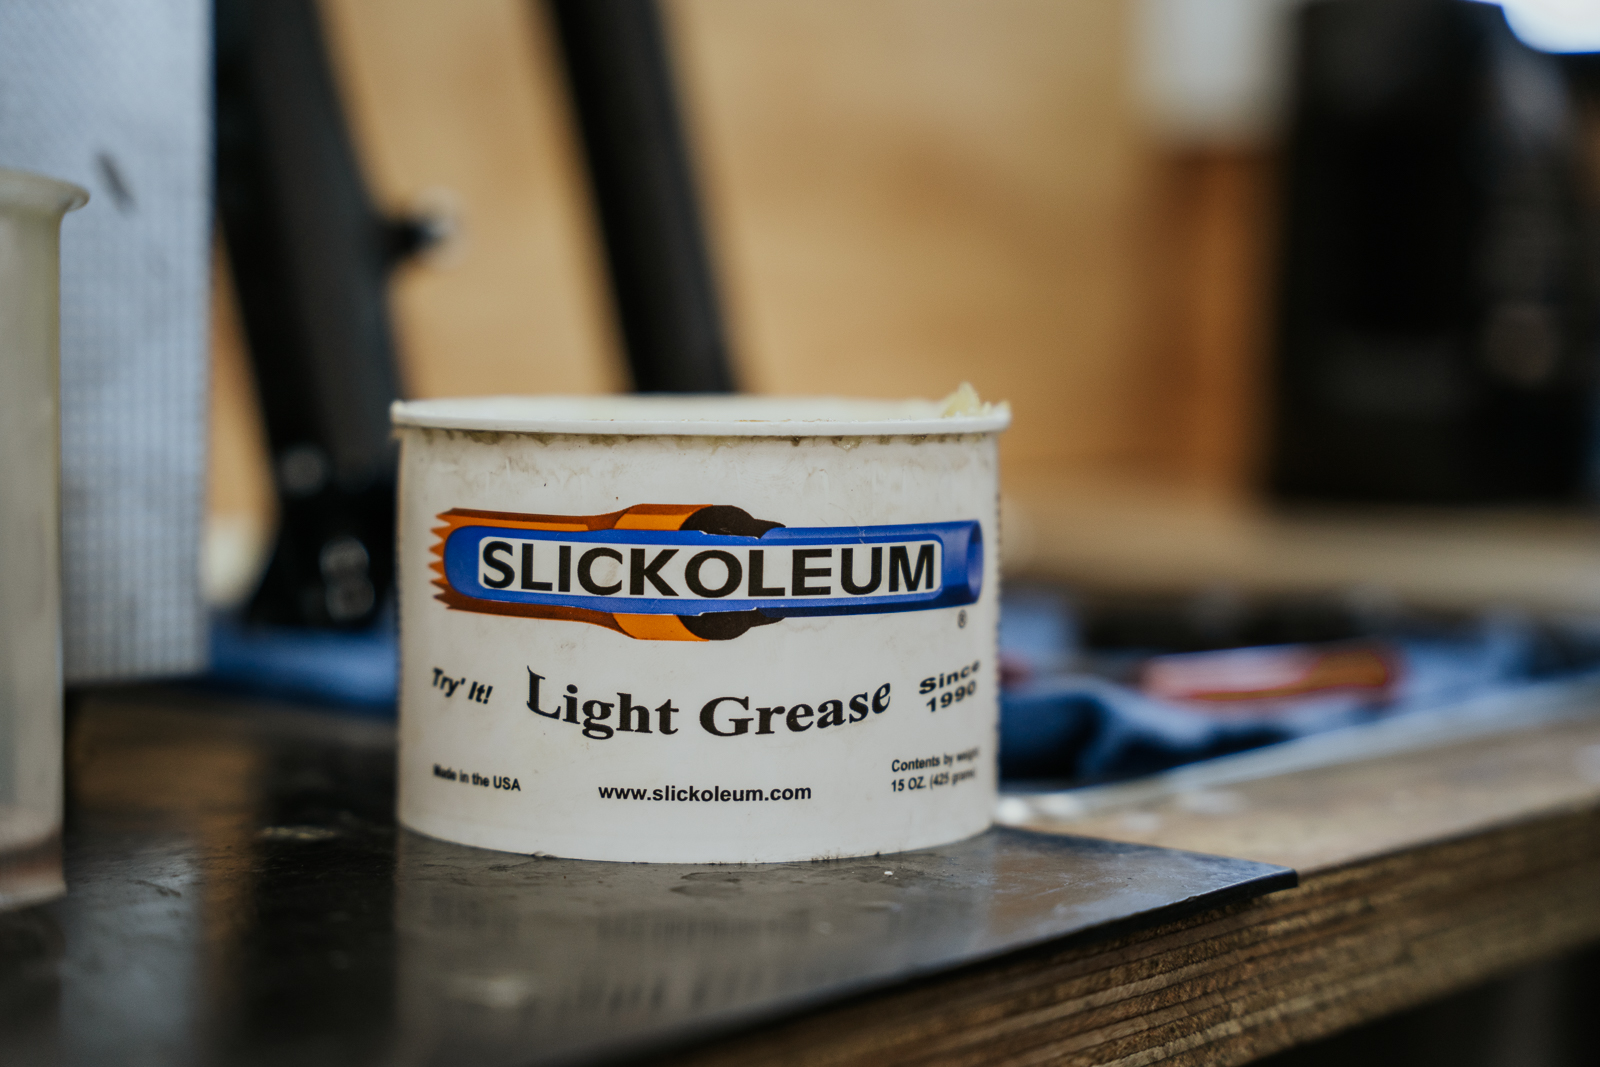
Lubricate liberally with Slickoleum, Slick Honey or high quality synthetic low friction seal lubricant that’s recommended or compatible with your seal type.
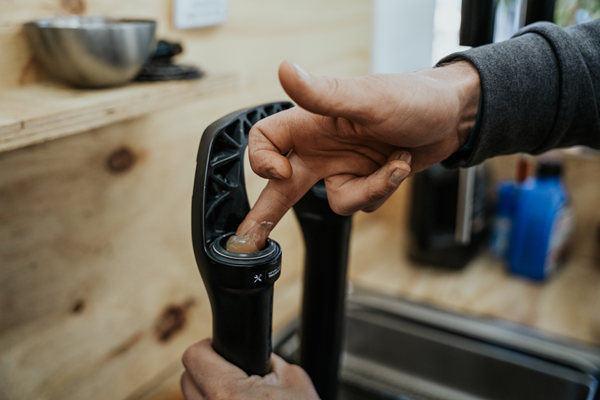
Be sure to lubricate the seal AND upper bushing. Replace the seal's spring if it was removed.
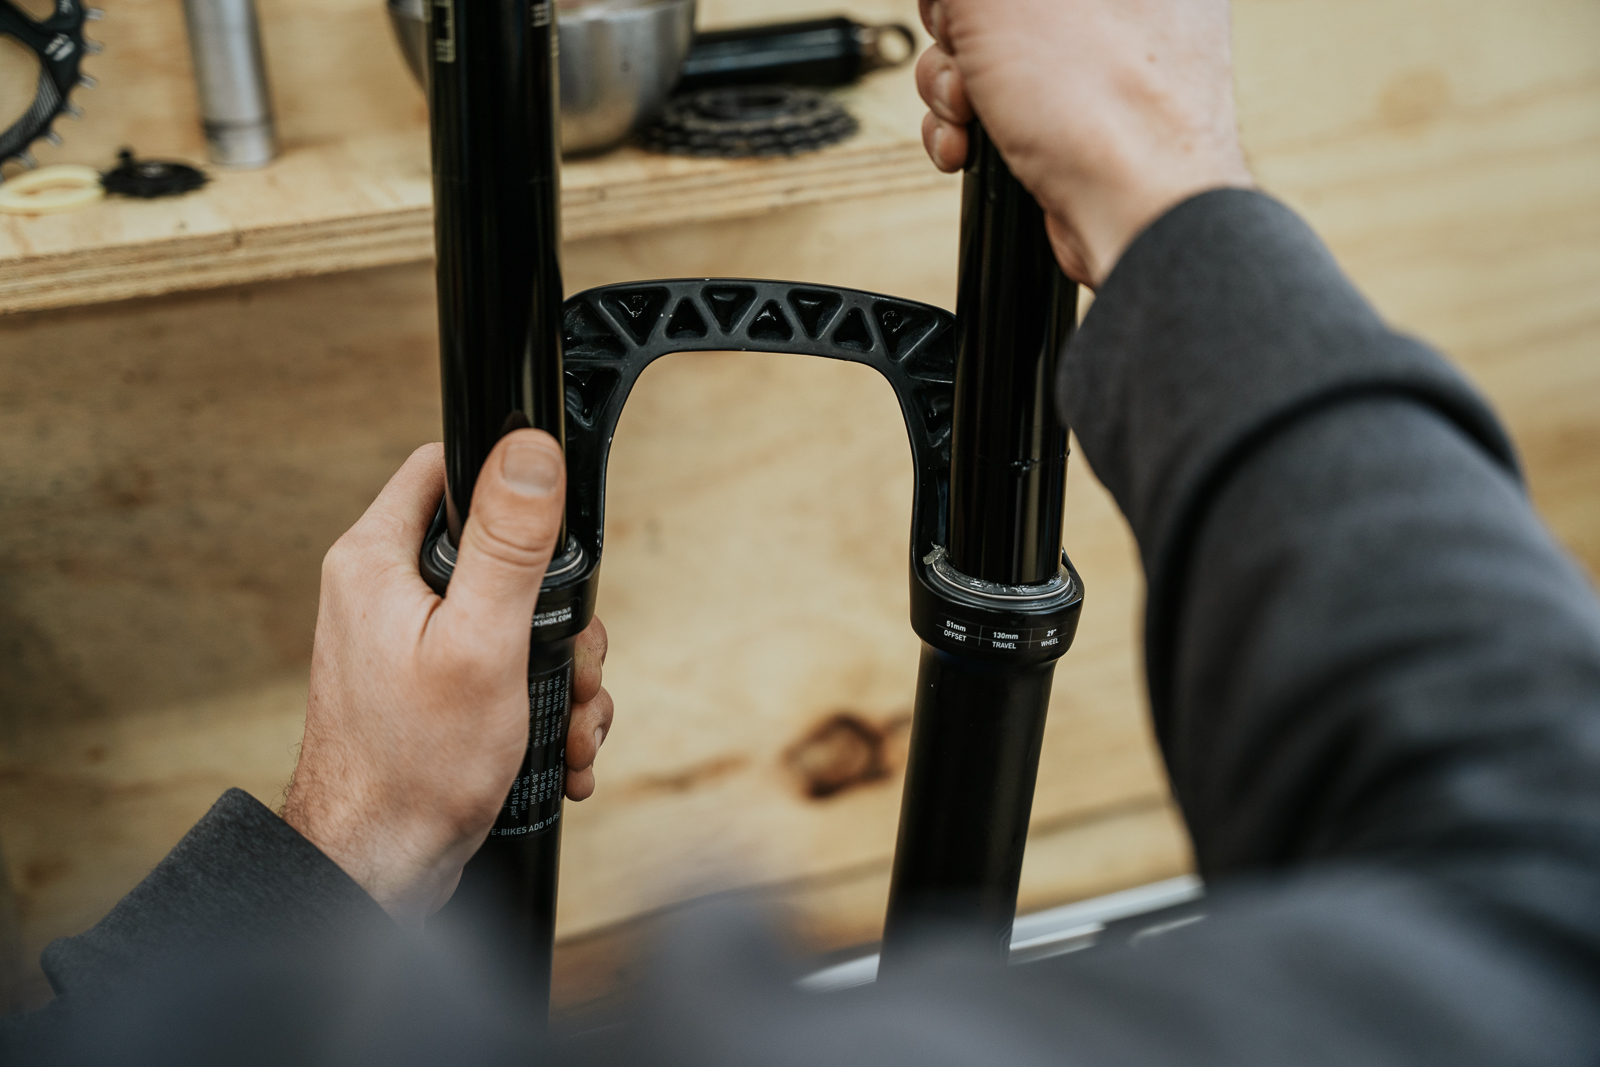
STEP 9: Gently install the stanchions into the lowers
Be careful to not pinch the lip of the seal and the correct orientation of the lowers (the arch around the correct way) Pro tip, pop one stanchion in at a time, its heaps easier!
STEP 10: add the splash lube
Inject splash lube into the lower legs, be sure to check the service bulletin for your fork model and make on lubricant type and amount. For example, if too much fluid is used, over-pressurisation, hydraulic lock or damage to the damper can occur. RockShox clearly lazer etch the damper side base nut with the maximum amount of 10ml to ensure the damper is not damaged at full compression which is brilliant.
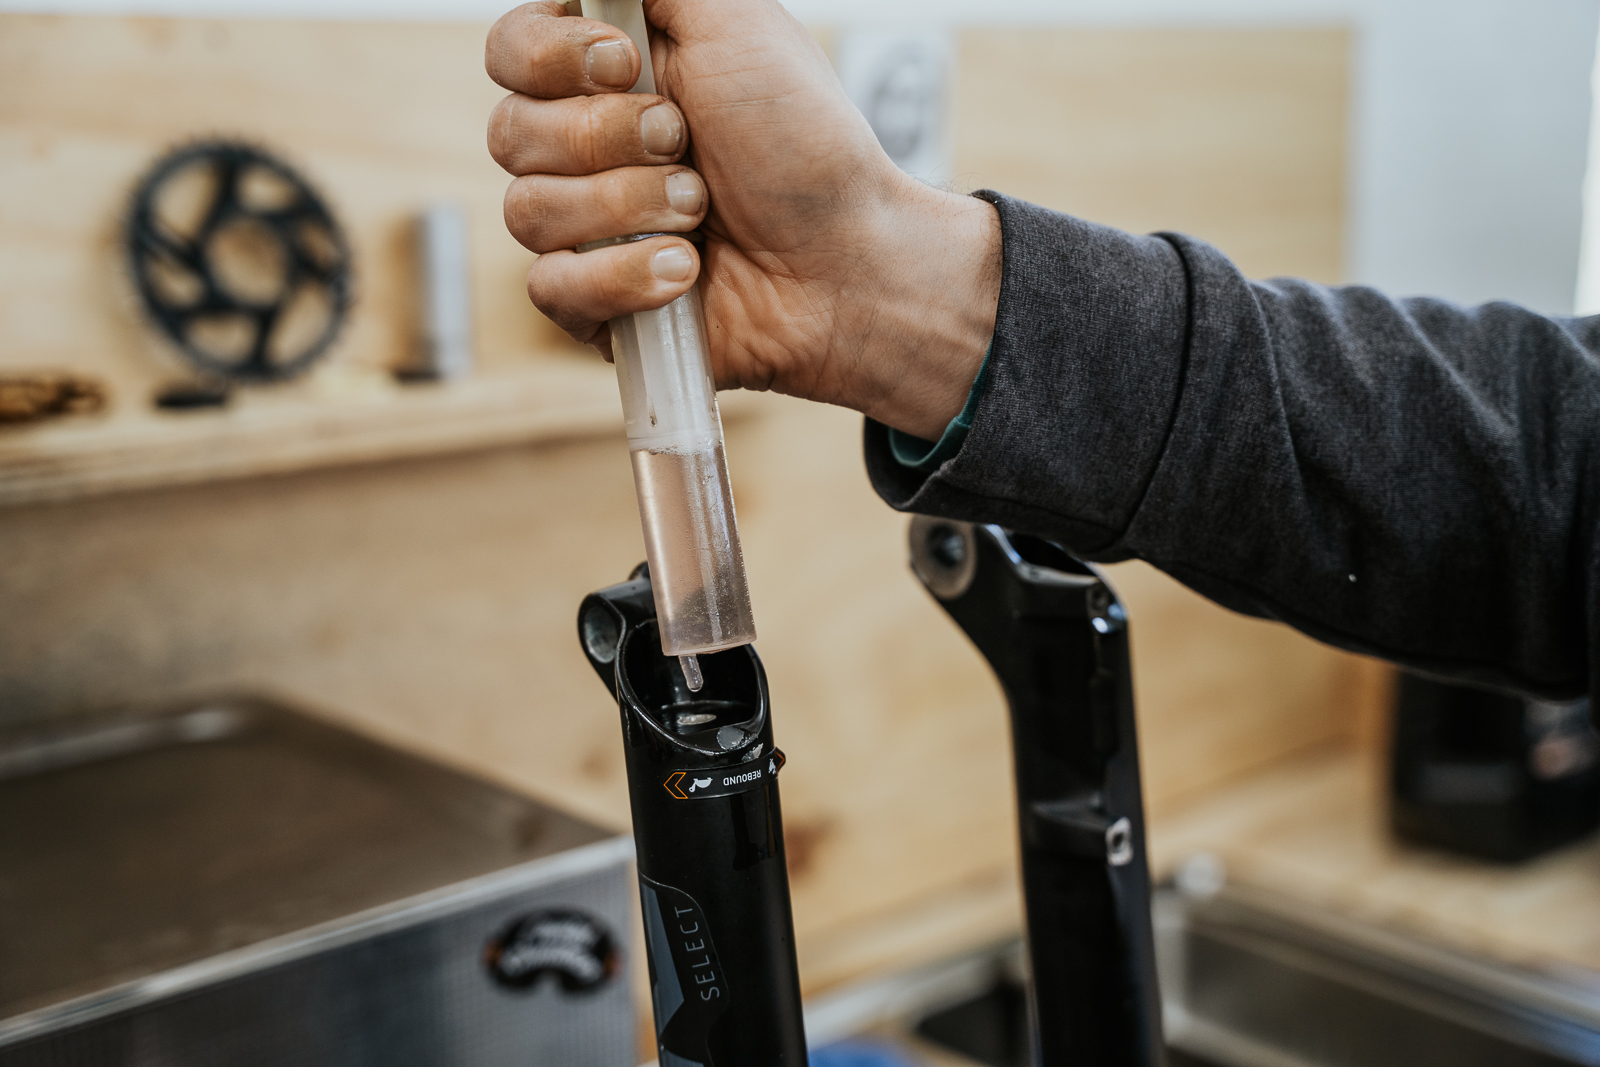
Fluid types vary by model but typically we use a 3-5wt high grade full synthetic fluid as splash lube, especially in the colder months as the fork can react quicker while the fluid is still viscous enough to cling to the stanchion and do its job. We find that the recommended 20wt fluid in some forks works great in summer but is so thick it makes the fork feel dead and less supple in the depths of winter and even moths either side of it.
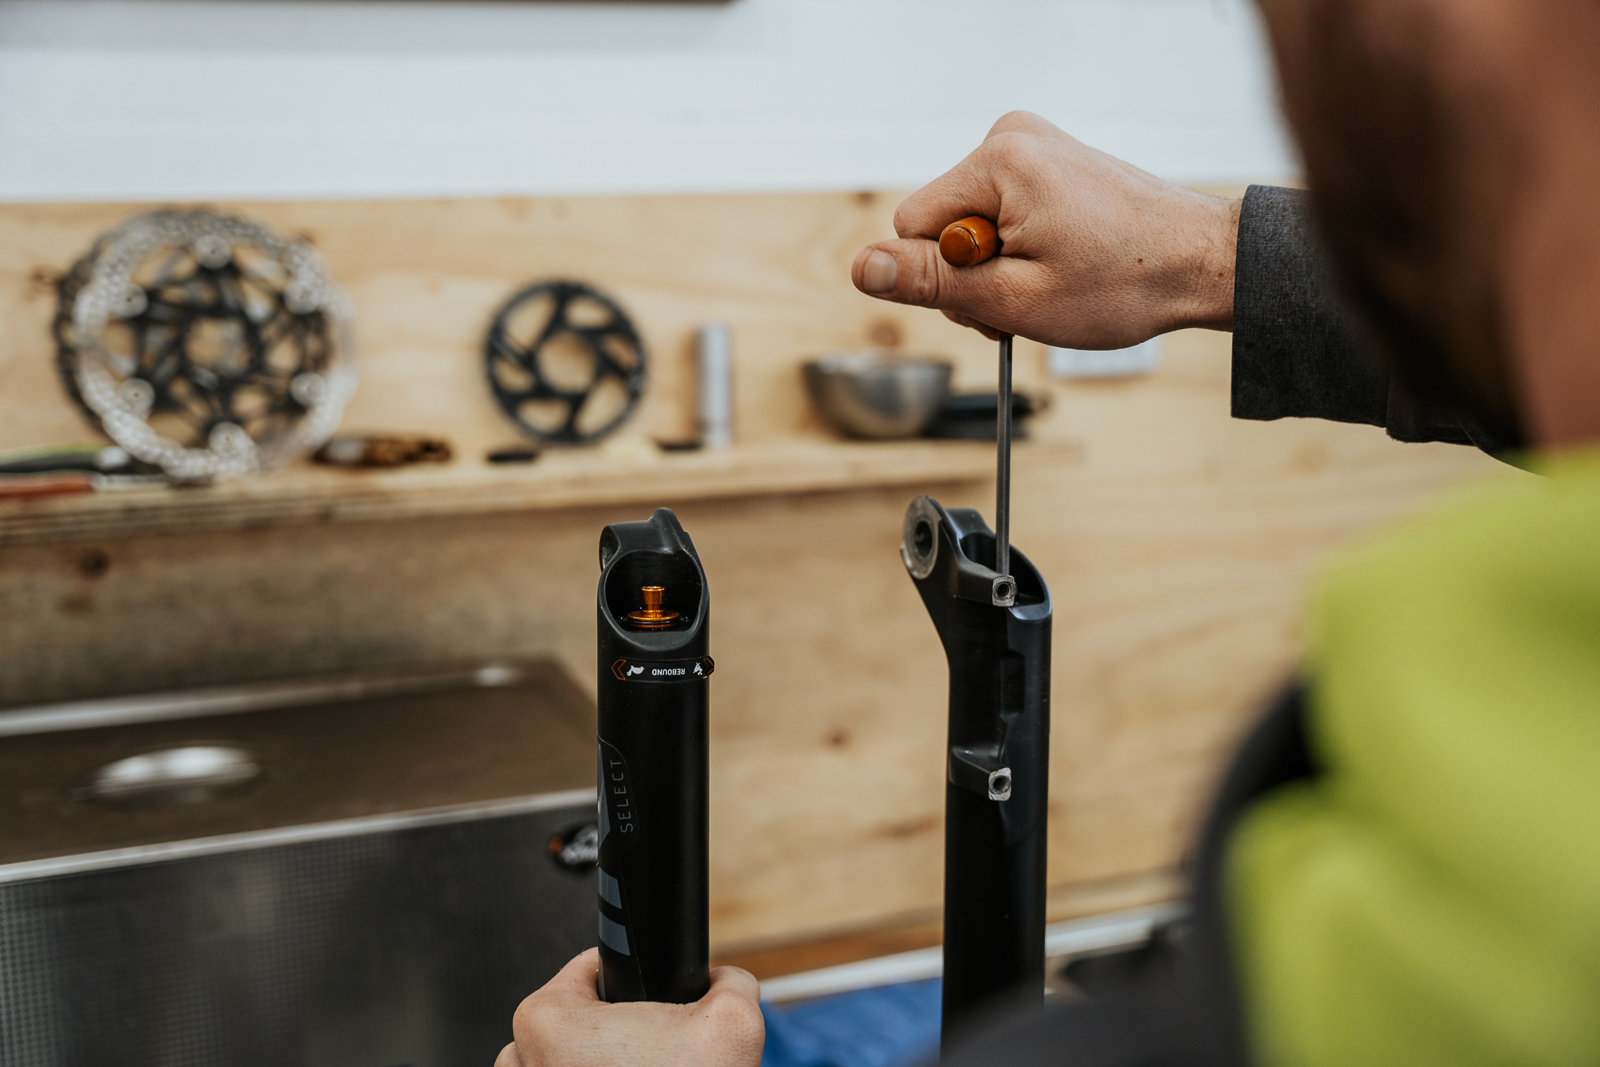
STEP 11: Tighten base nuts/bolts
These are the only things keeping your lowers on the bike, don’t forget them! They are almost always fine, alloy threads so again, tighten to the manufacturer's specs.
STEP 12: Re-install your forks
Be sure to adjust your headset bearings, tighten stem bolts, align brake and give your bike a quick test ride. Remember, a few minutes riding around your driveway will normally uncover any missed steps!
