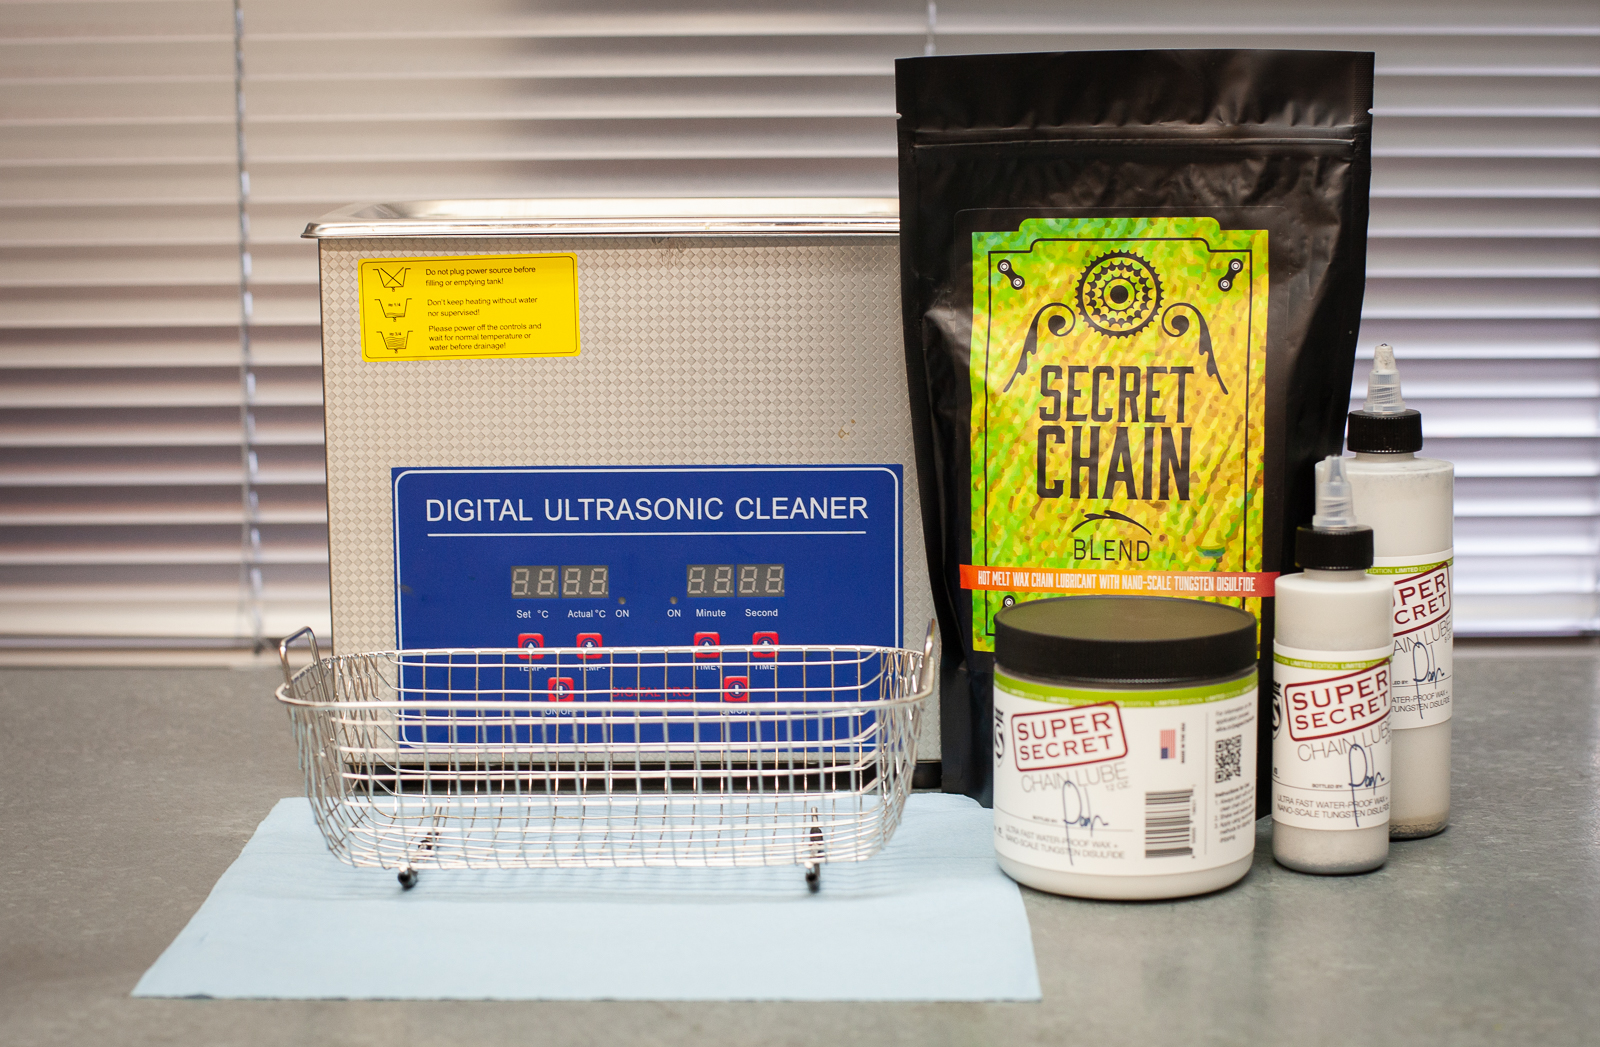
Silca’s latest wax lube can be done in an ultrasonic cleaner, in a bag in a saucepan, in a container, or via drip feed.
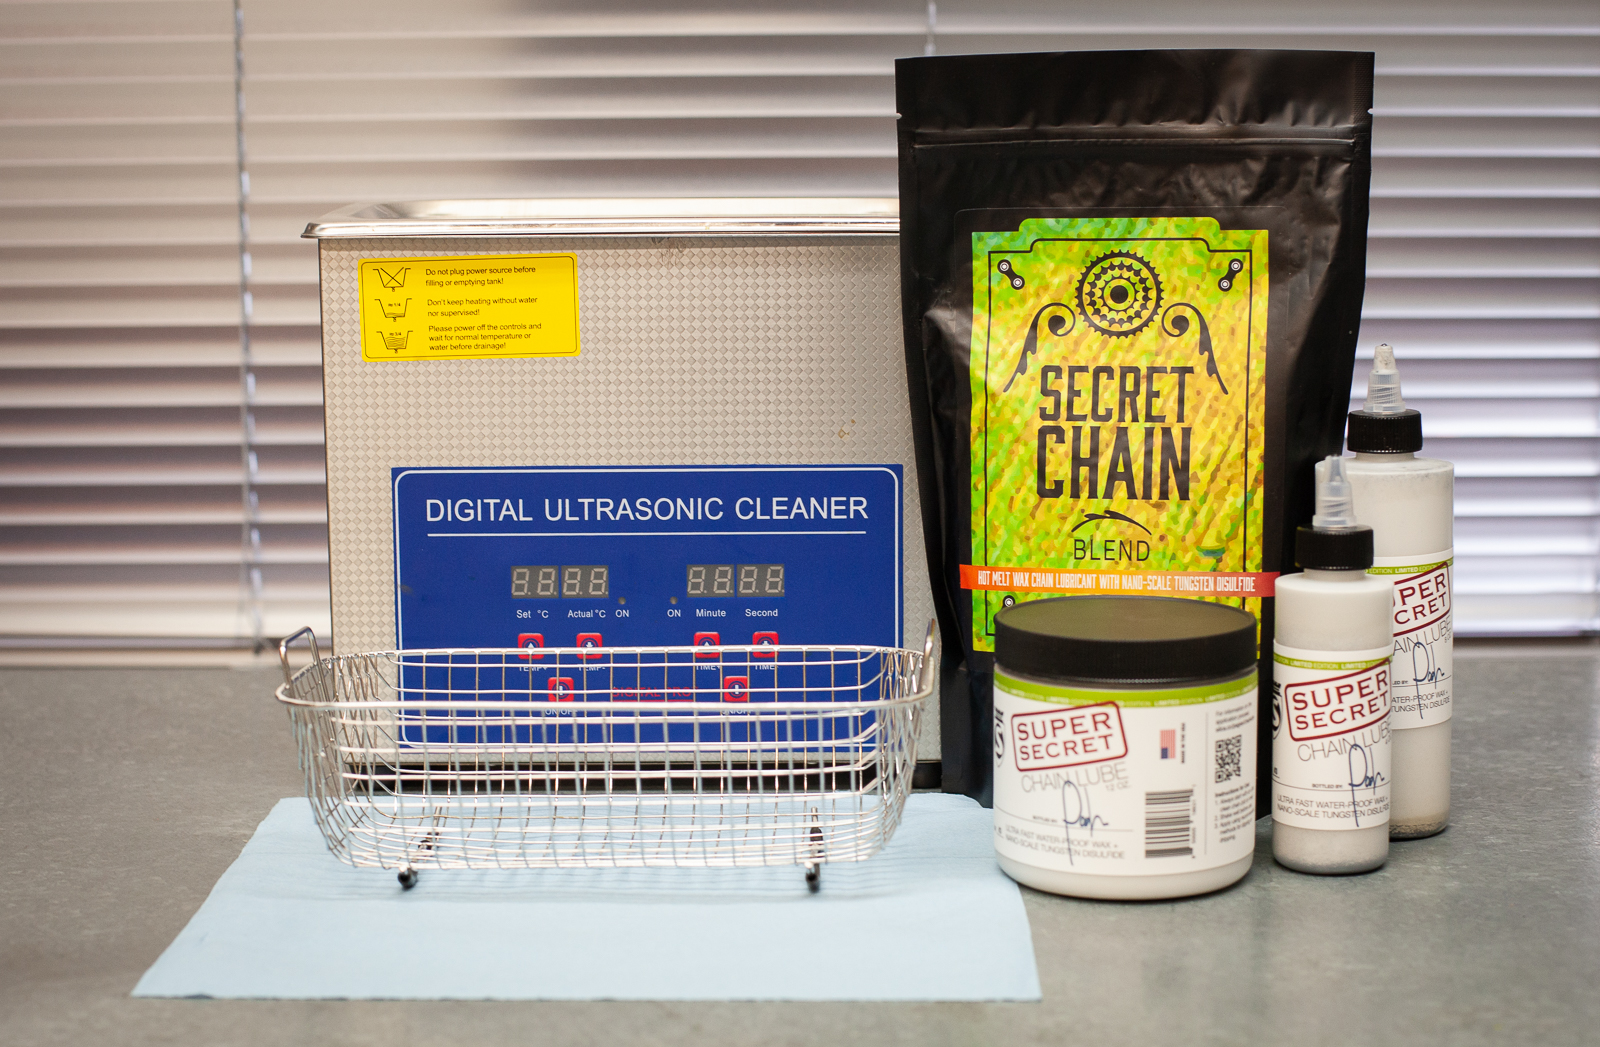
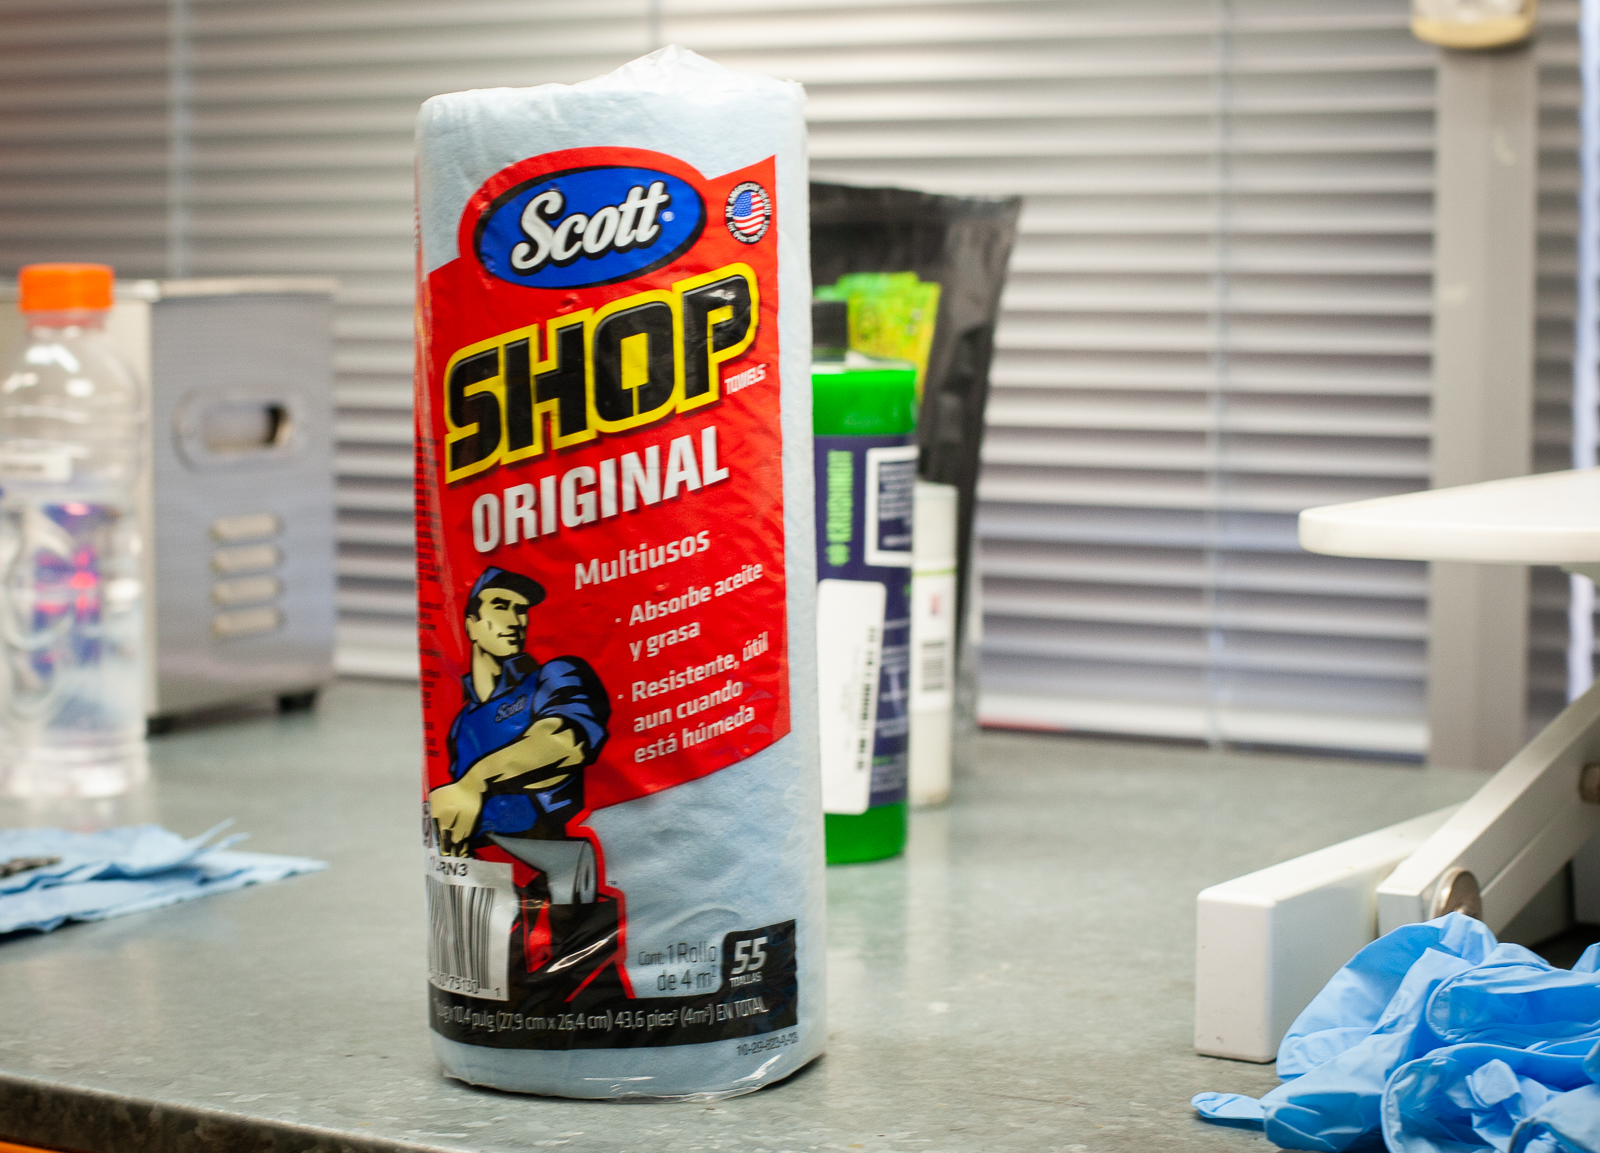
So you can get almost all the benefits of low friction and a clean running chain for longer component life via a wide range of application methods. This step uses an ultrasonic cleaner, but doing it in the bag in a saucepan on a stove, or via the soak and shake tub is very similar. You’ll be best to start with a new chain, plus degreaser, a few wide mouth bottles to agitate to the chain, some water in a jar, and some sort of dewatering fluid. We used acetone. Silca also recommend the Scott Shop Original rags as they are lint free.
Step 1
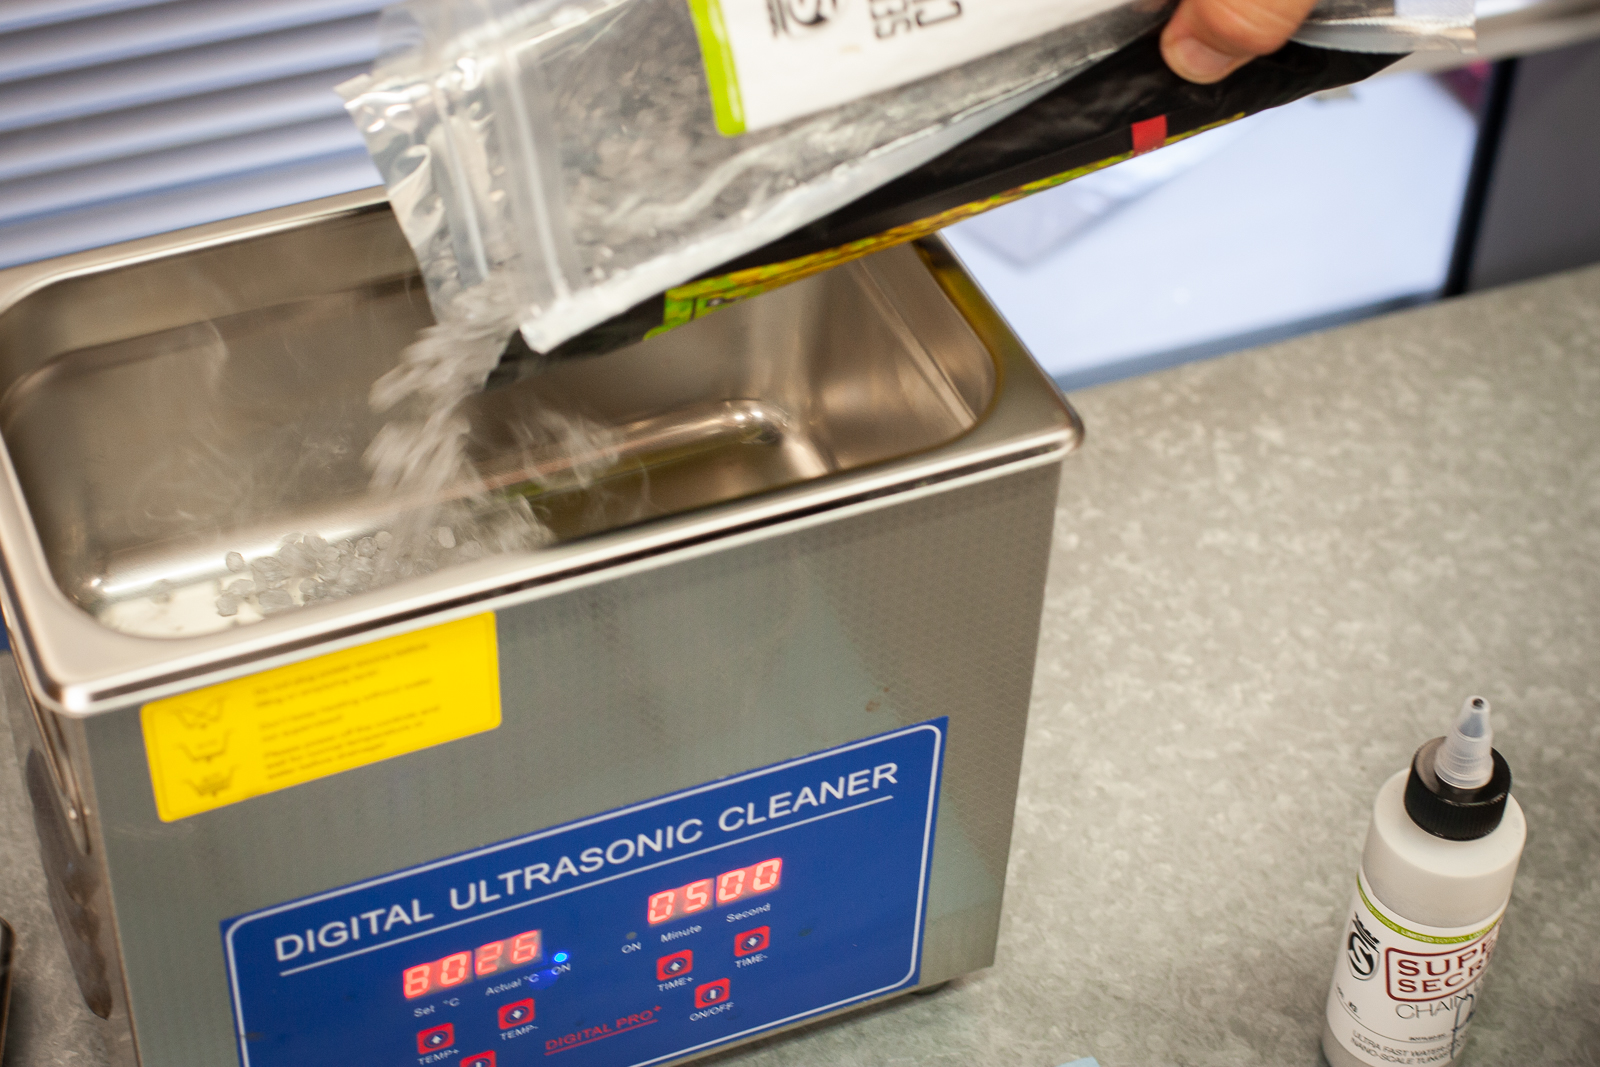
Start your engines! Get your ultrasonic cleaner warmed up, or put a saucepan on the stove. You don’t need crazy high temperatures, 65 degrees will melt the wax lube. Either tip some granules into the pan on your cleaner, or submerge the complete, opened bag into your saucepan. Use something to steady the bag so it doesn’t tip over in your saucepan.
Step 2
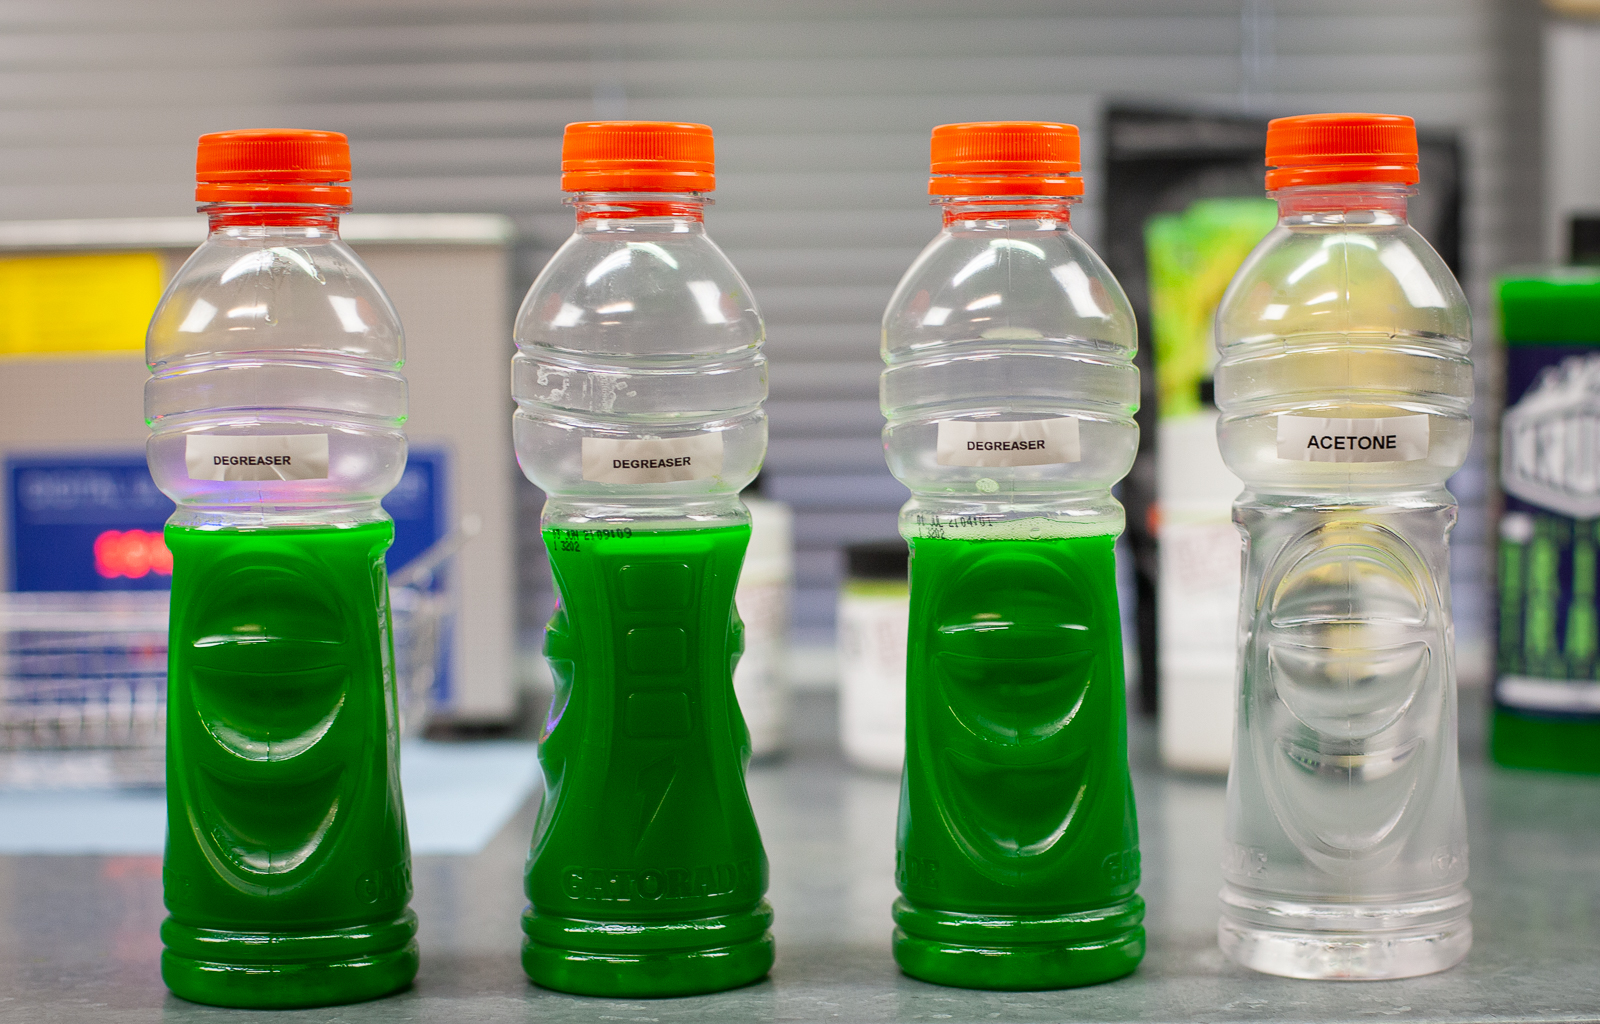
Your chain needs to be super clean. Whether you have a new chain or a slightly used one, be thorough. Scrub the chain with degreaser, or shake it in a bottle of degreaser.
Step 3
Rinse in water and repeat. We did this three times to be sure. A new chain really only needs one go.
Step 4
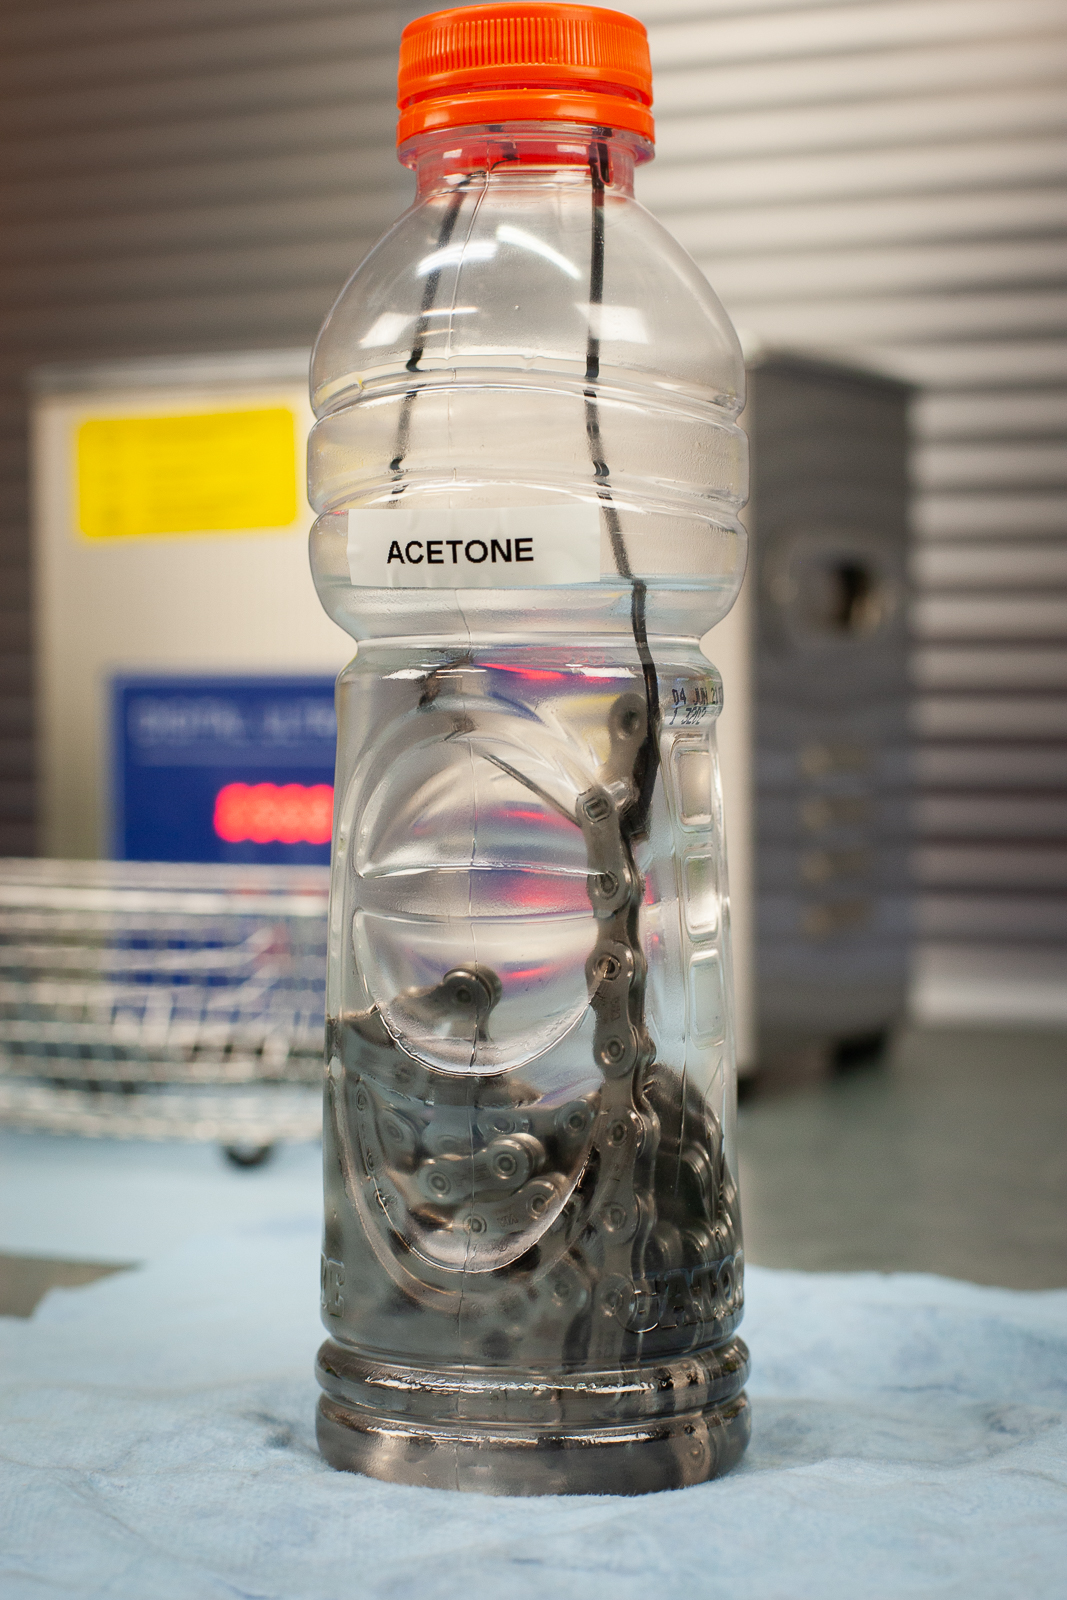
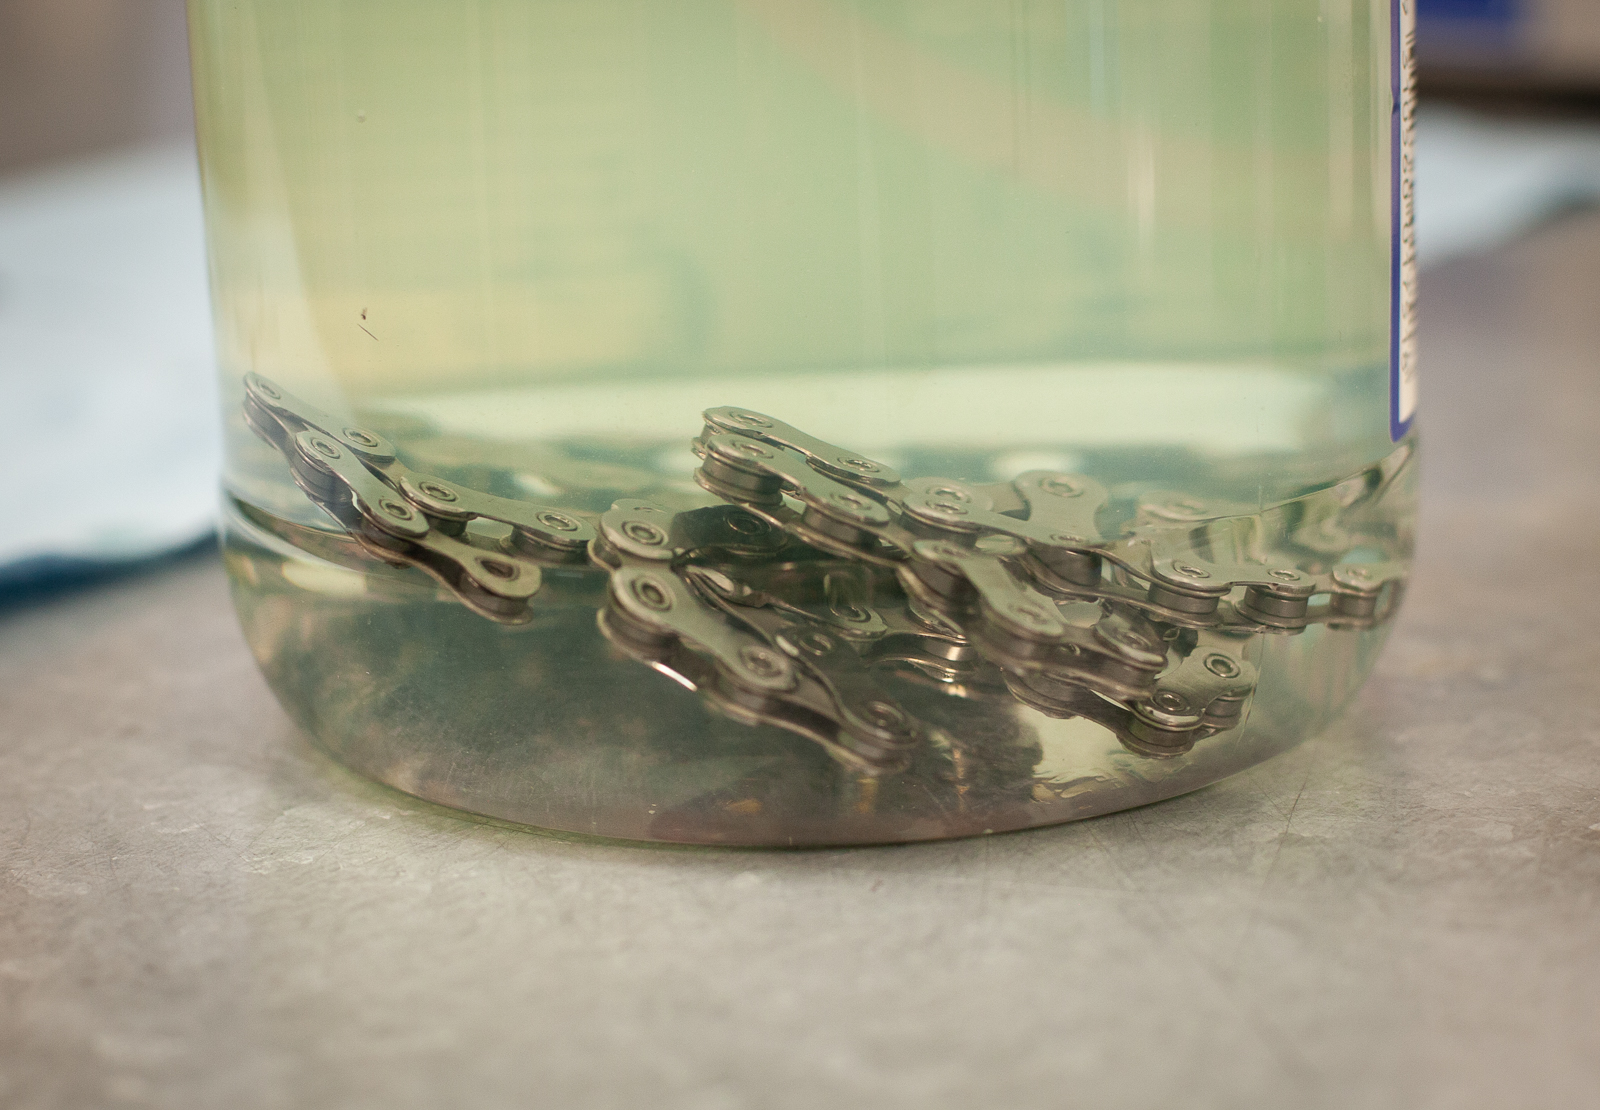
Use a dewatering fluid to get any liquid out of the chain. We used acetone. You could use Ride Mechanic Avaqua as well. Dry the chain with a lint free cloth. You could also use a compressor if you have one.
Step 5
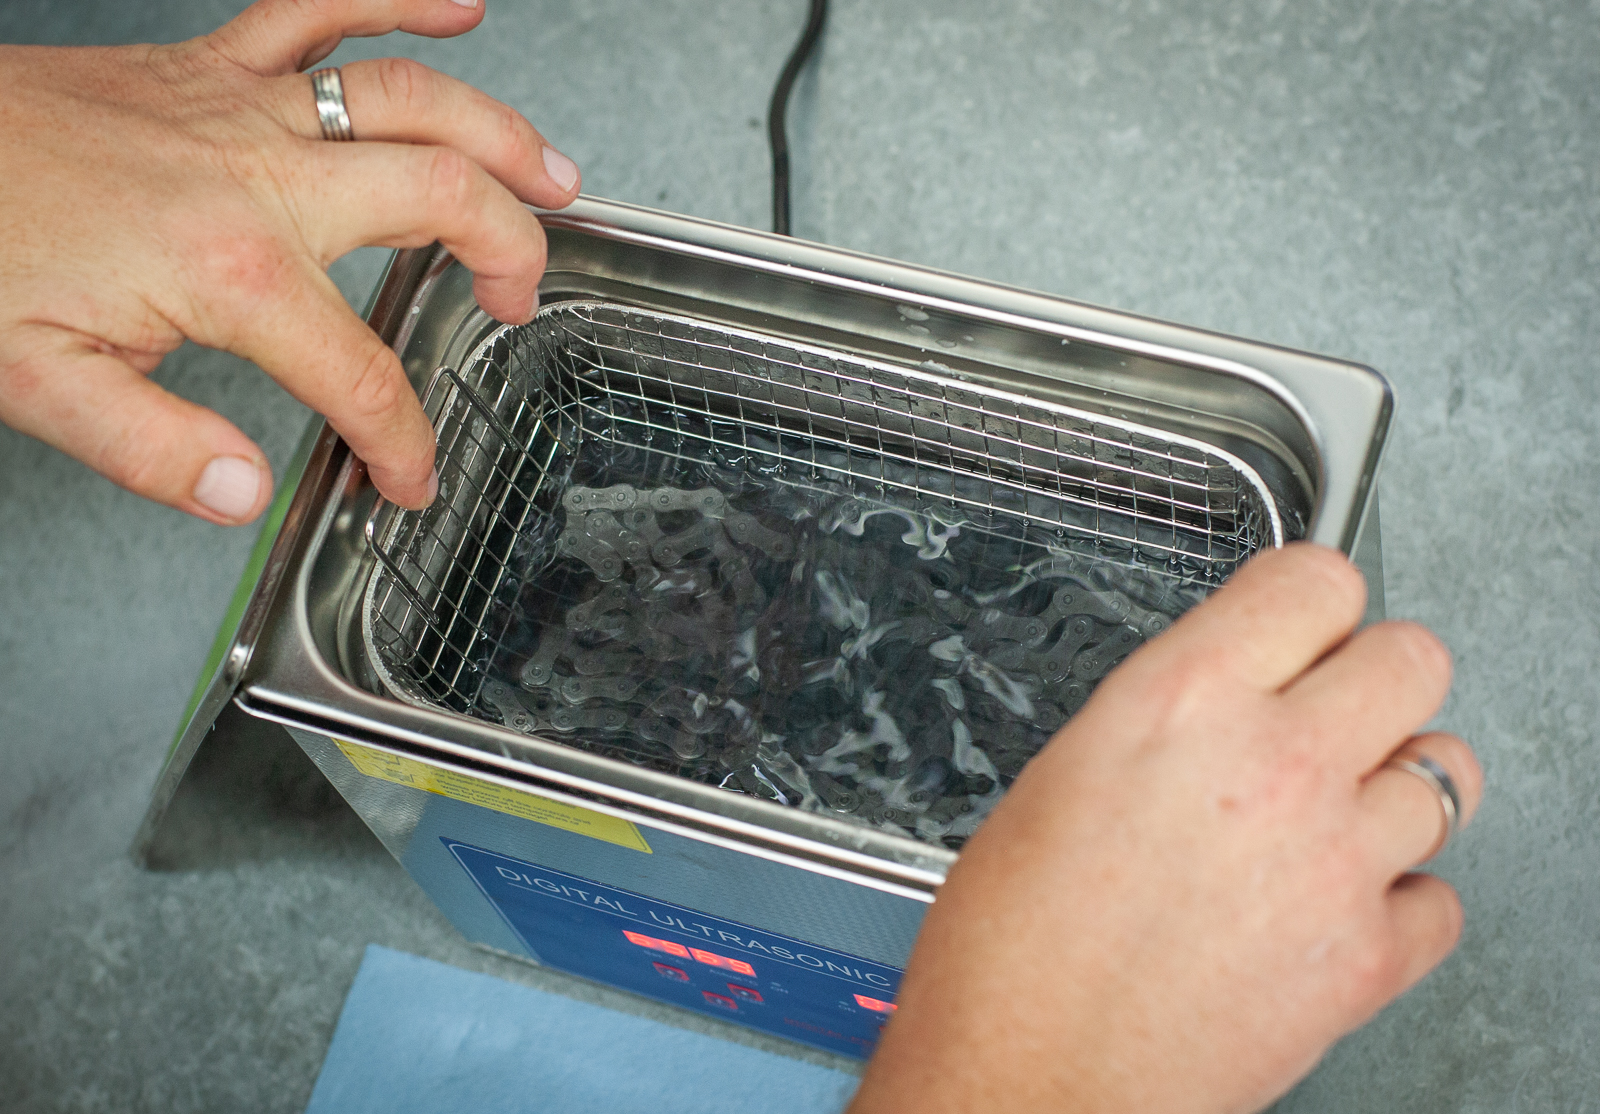
Once the wax is melted, place the chain into the ultrasonic cleaner basket and submerge. Alternatively, pop it in the bag in the saucepan – or in the pot of lube.
Step 6
The ultrasonic cleaner agitates the chain and the hot wax gets inside the links and rollers – which is exactly where the wax and lube need to be! You’ll see lots of tiny air bubbles coming out. Once they stop, you can lift the chain out.
Step 7
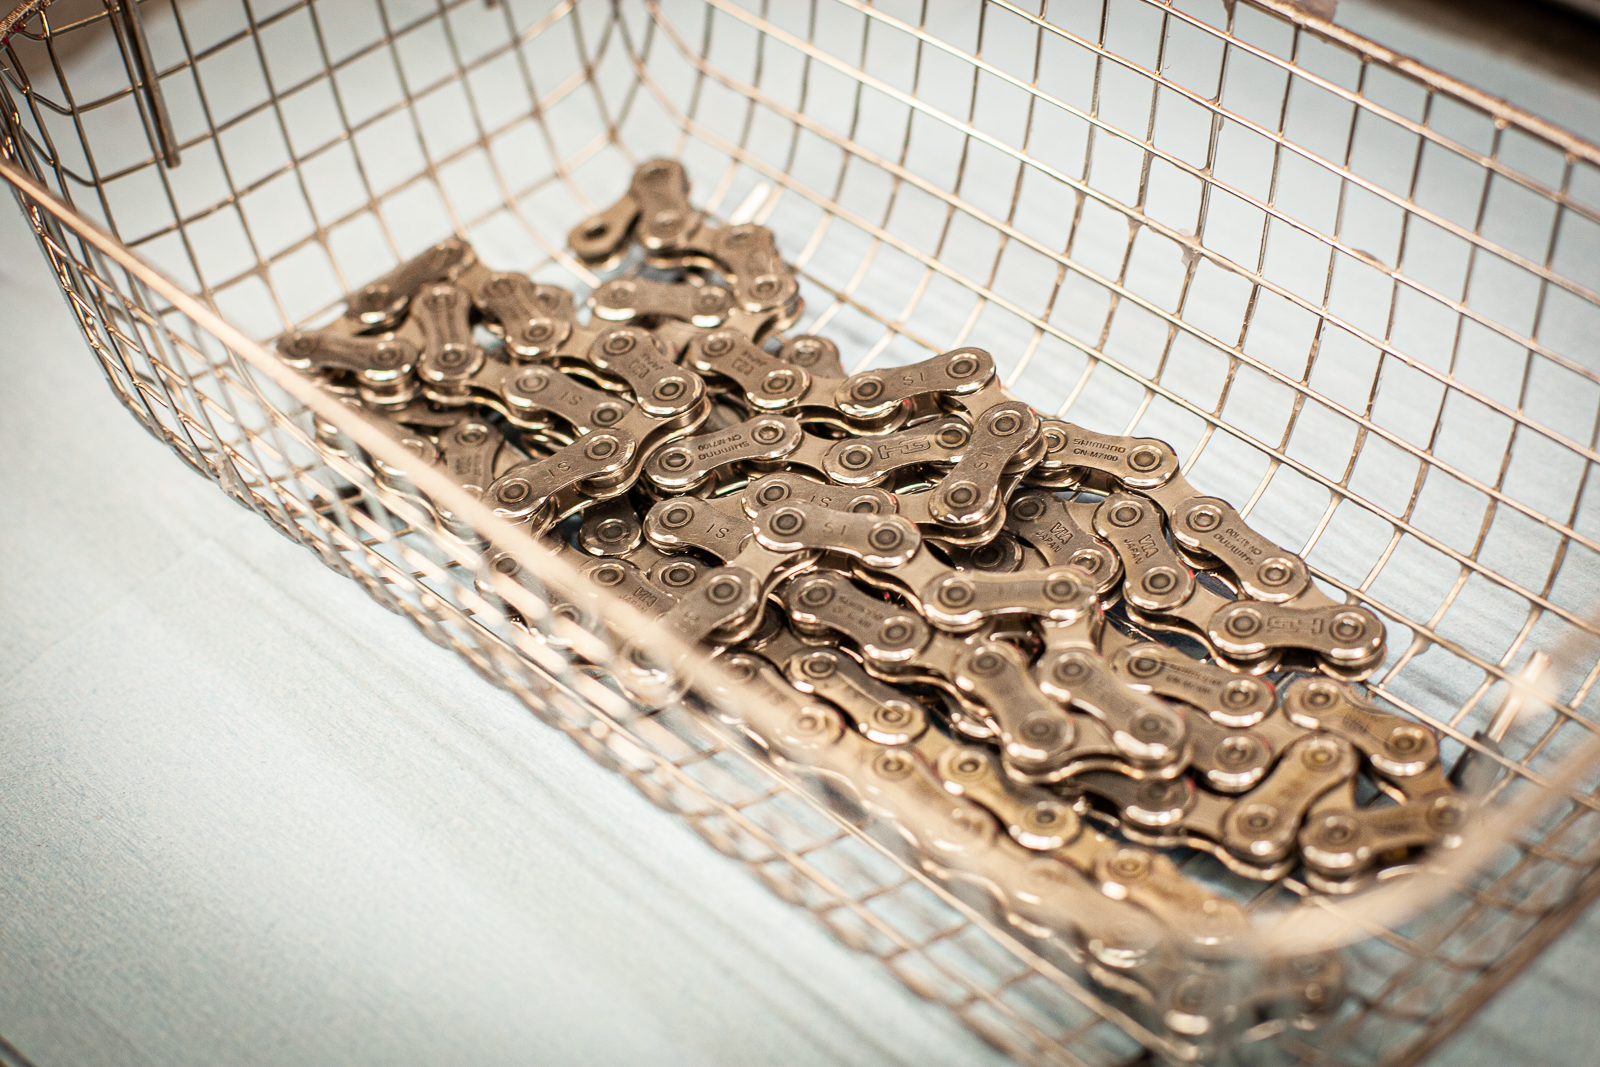
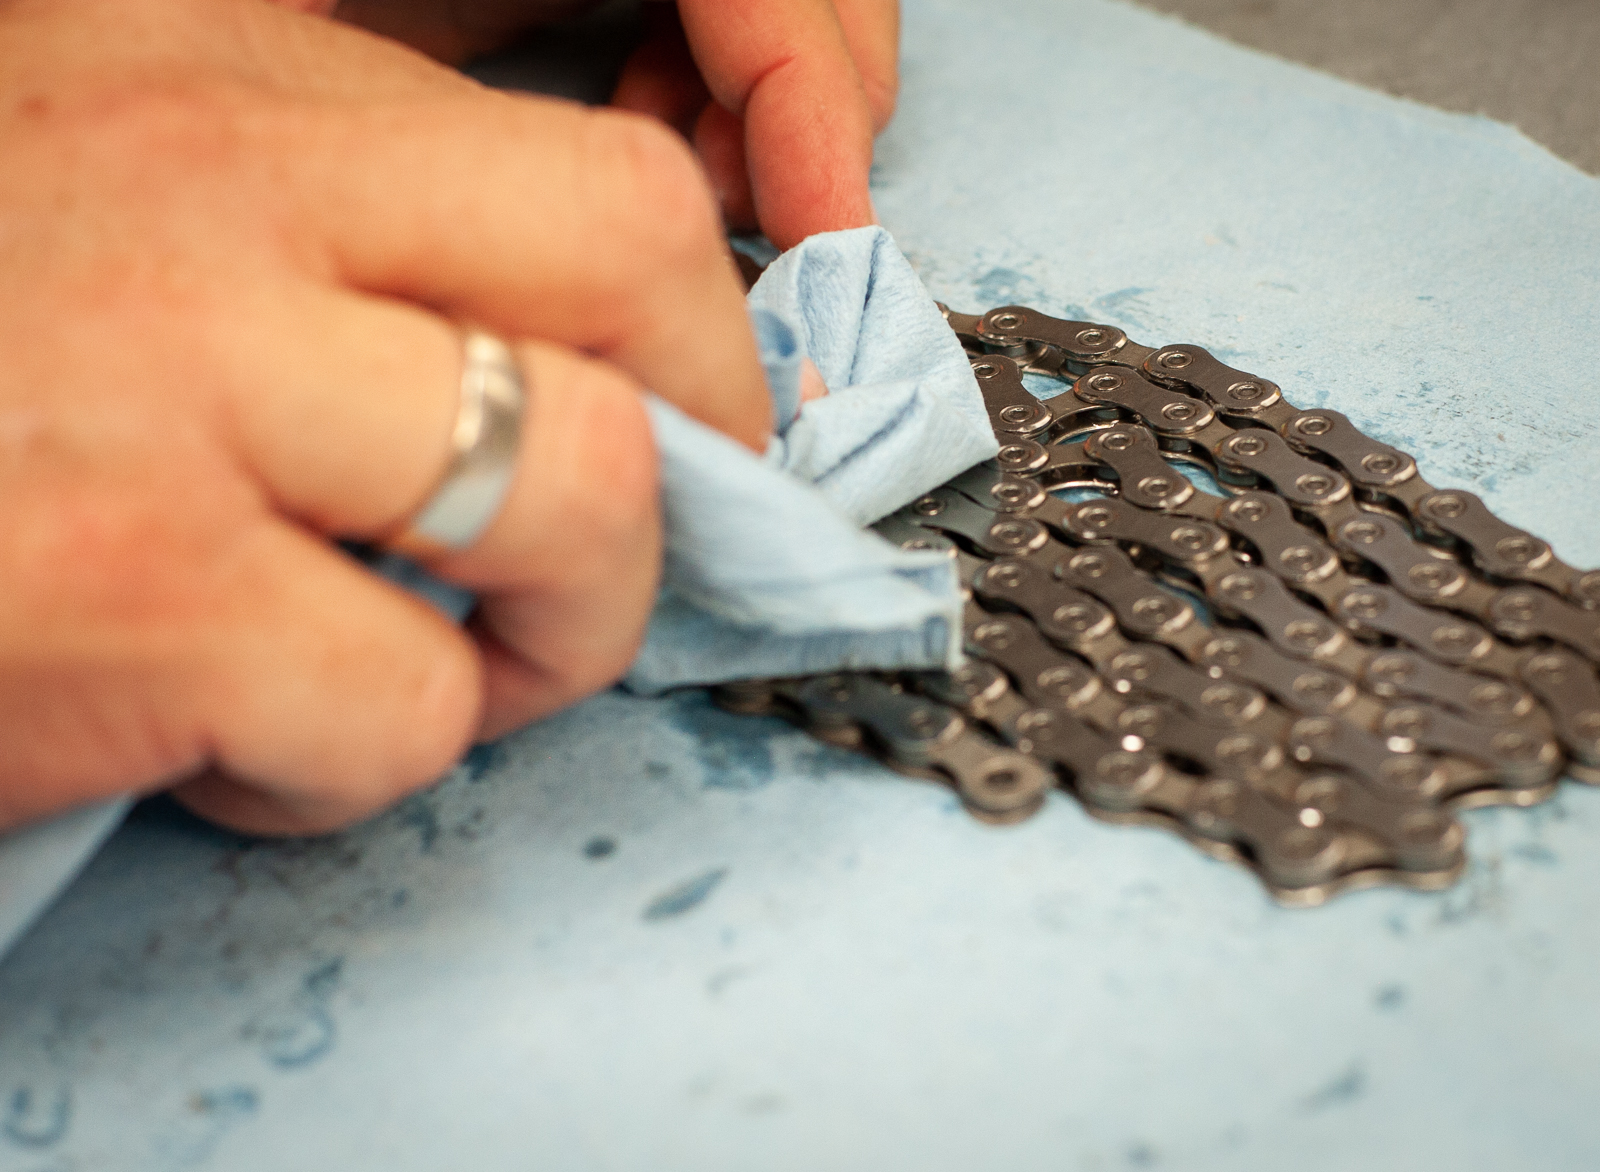
Tip the chain onto a lint free rag – it will be hot! Use another lint free rag to wipe off any wax from the side plates of the chain. This part of the chain doesn’t require wax, it just needs to be inside the rollers and on the pins, where the chain is loaded.
Step 8
Fit your chain to your bike and pedal it through the gears. The chain should move nice and freely with minimal excess wax to remove. You can top up the wax lube with a drip bottle, but you’ll find this coating will run smooth and clean for quite a long time.

