Words: Jared Rando
Photos: Nick Waygood
OK first up, I need to say that this is definitely leaning towards a more advanced technique. Clearing jumps is one thing but taking on jumps with just enough speed to make the distance is something which should only be attempted by riders who are comfortable at jumping and are able to control the pitch of your bike when you land (that means you can land nose down or nose up at will). Learning to control the pitch of your bike when you land is a great learning exercise and is best done on a small jump with an open, flat and ideally soft landing so you can practice over and over again until you can land comfortably, in control and any which way you choose; so before you attempt this, make sure you master the basics first!
Once you have the basics covered, you’ll first want to start out with a small jump with minimal consequences – a table top or very shallow double is a great place to start. Work with a speed you are comfortable with and experiment from there by reducing your run in to get the feel for it. The slower you go, the more you’ll need to emphasise all the movements to get it right and along the way you’ll also learn how to best absorb the landing when you do come up a little short. Here’s how it’s done.
Step 1 – Spot your landing
Spotting your landing is absolutely critical – you need to know what to aim for and what you’re trying to clear. I tend to focus on the top of the “knuckle” of the landing with the goal being to land my rear wheel there. A lot of the time if you come up short, that is where you will land anyway so focusing on the knuckle and anticipating a small case (not clearing the jump entirely) will help you prepare for the impact and roll out smoothly. If you do clear it, well it’s all smooth sailing!
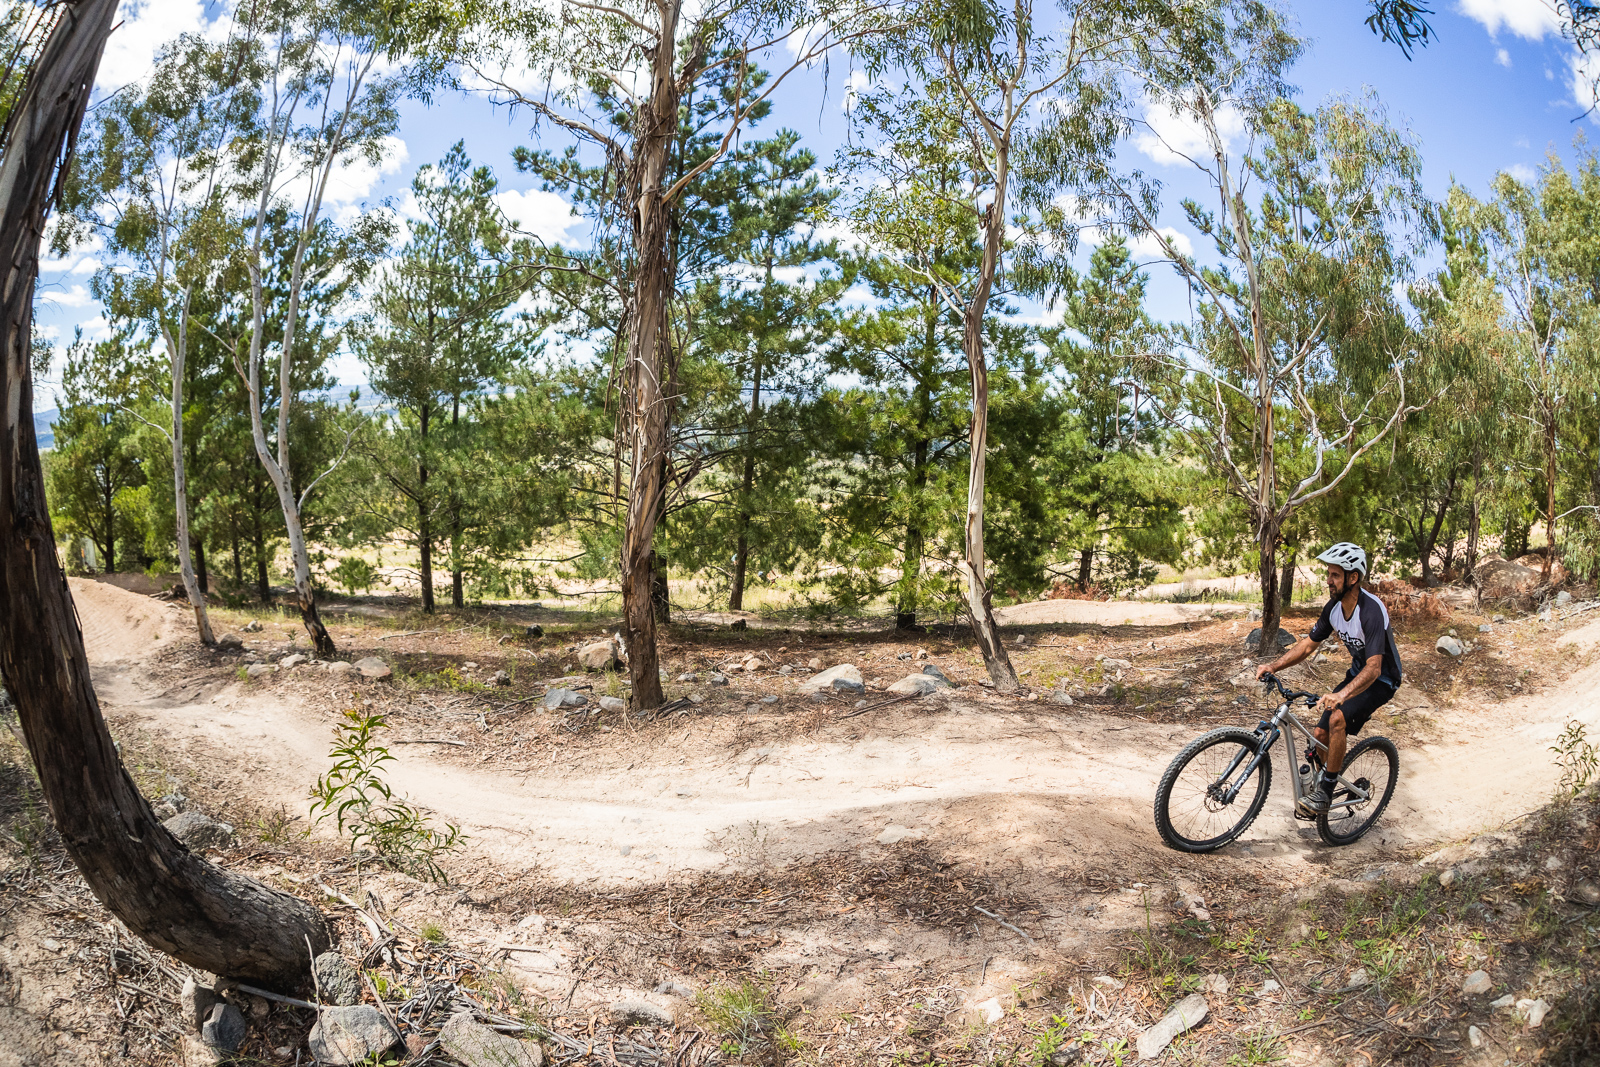
Step 2 – Get your front wheel up!
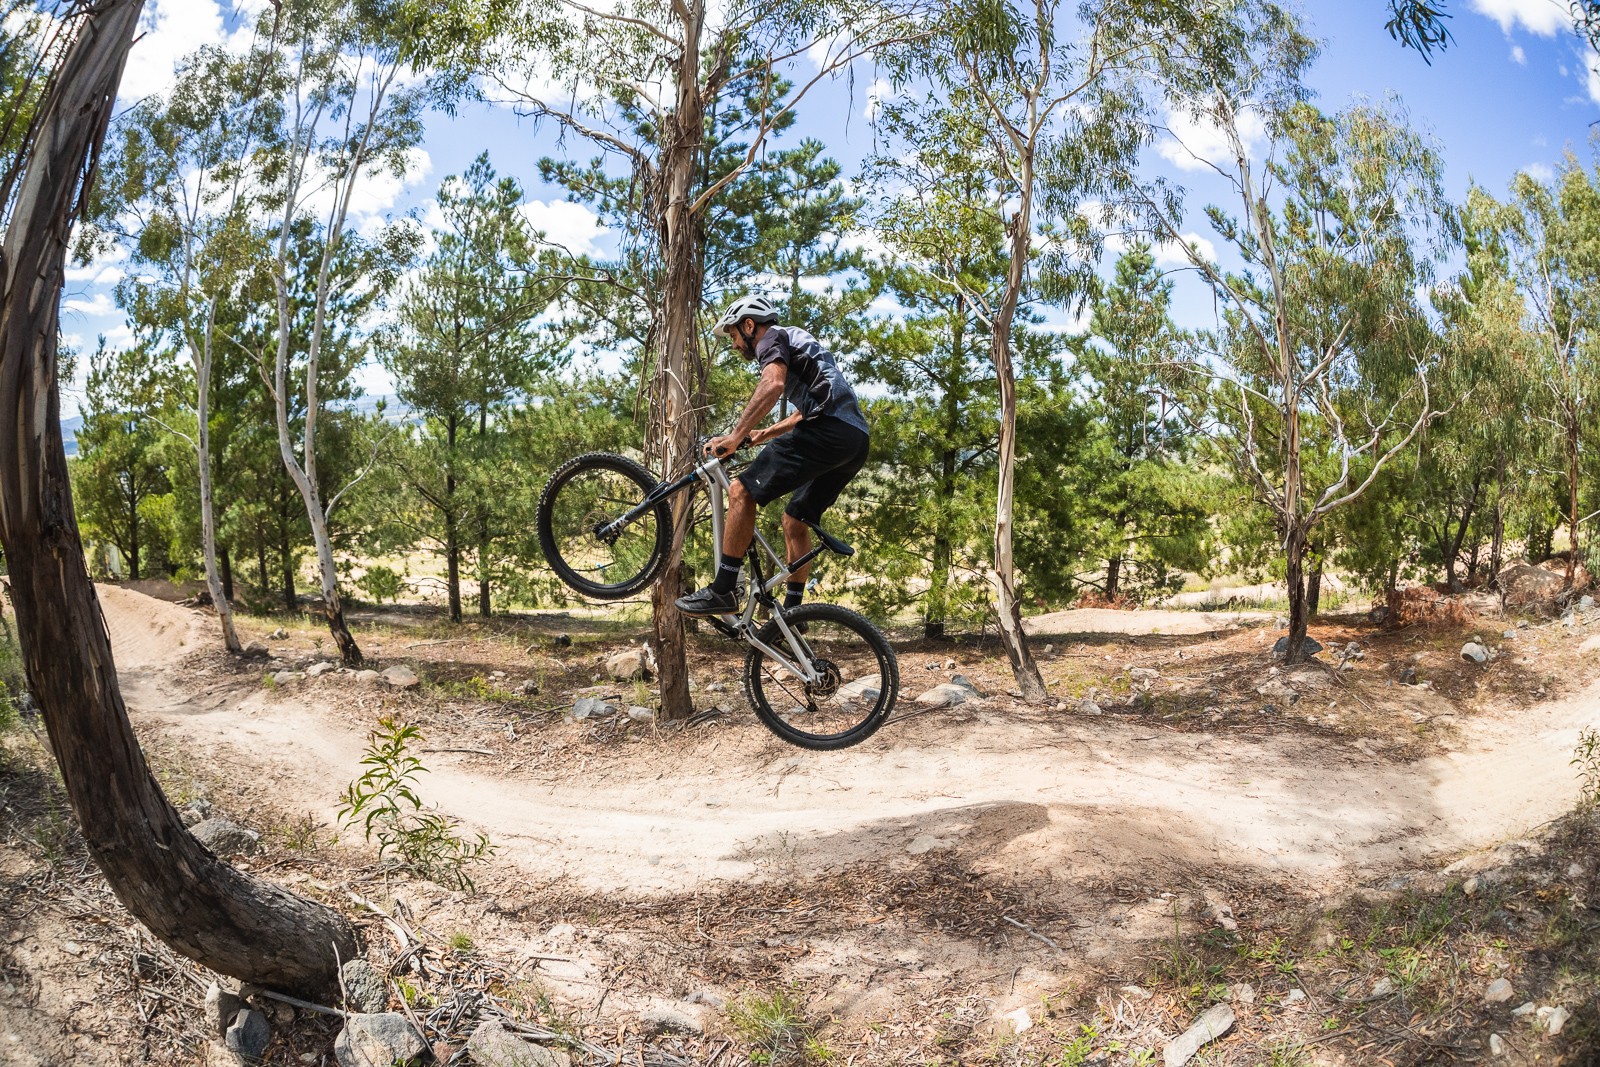
A key part of this technique is to get your front wheel up as high as you can and follow with the rear. The aim is to “boost” the jump and generate extra height to clear the distance. It’s quite a hard technique to make look stylish and smooth but safety is key. Getting your front wheel up will help you make the distance and put you in a better position if you come up short. The last thing you want to do is front wheel case the landing so aim to lead high with your front wheel and follow with your rear when once you know you have the distance cleared.
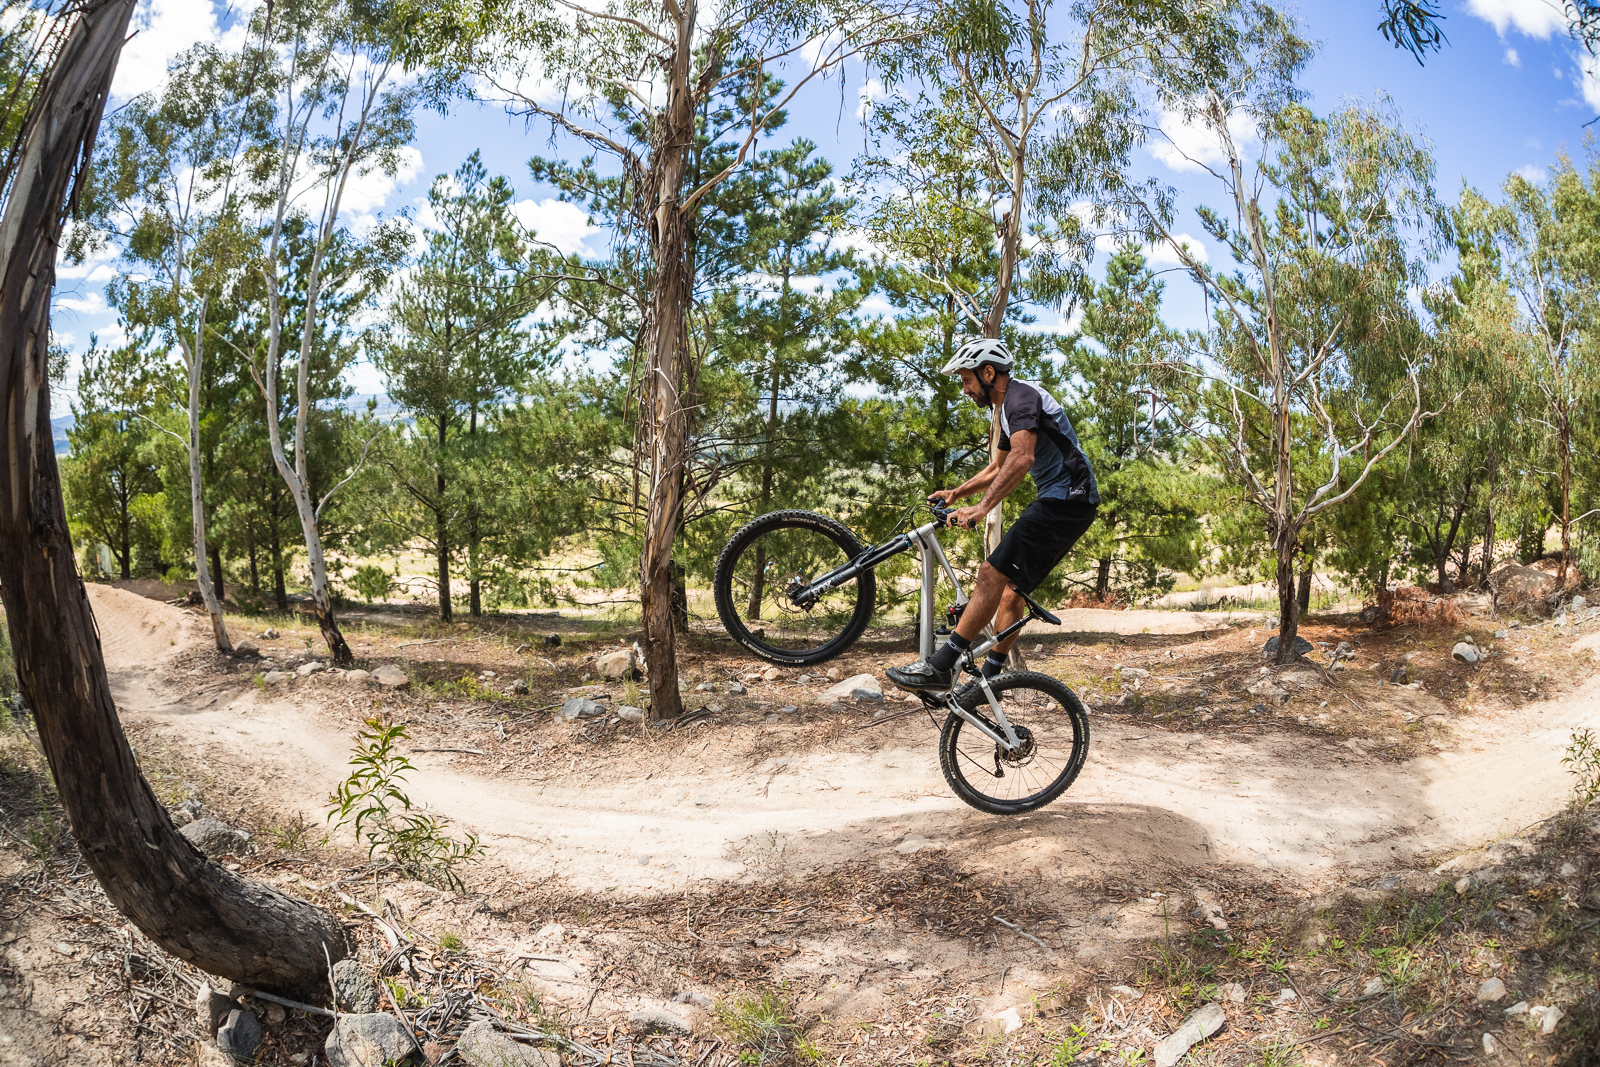
Step 3 – Let your rear wheel lag behind
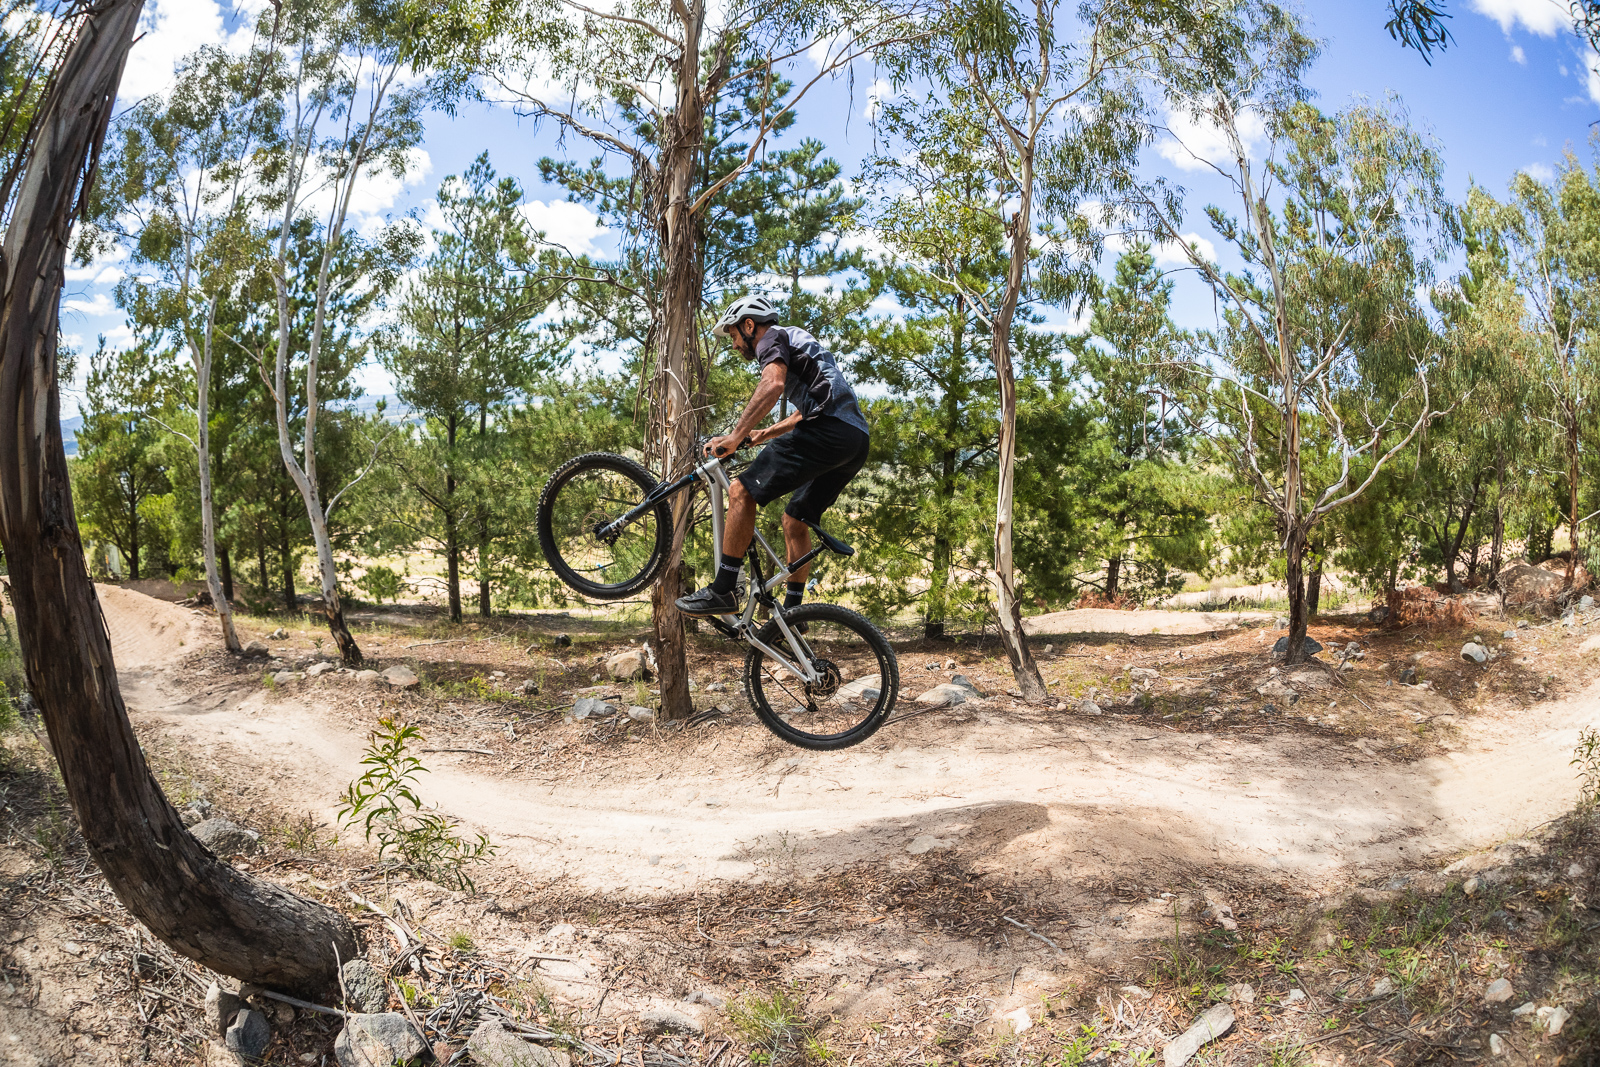
As you hit the lip, try to let your rear wheel “lag” behind the front. What you are effectively aiming to do is to keep your rear wheel down over the top of the lip. This helps you carry some extra forward momentum while keeping the bike in a nose up position. On steep jumps you’ll also need to push forward off the lip as you hit it to generate the forward momentum but on shallow lips like this one, which you’ll encounter on most MTB trails, you don’t need to emphasise it as the lip of the jump won’t push you back from the landing like steep lips do.
Step 4 – The moment of truth
Once you are up in the air, you really need to keep your eye on the landing as mentioned in step 1. This is when you are going to realise if a) you have enough speed to make it or b) you’re not going to make it and prepare for impact!
Step 5 – Adjust your position for landing
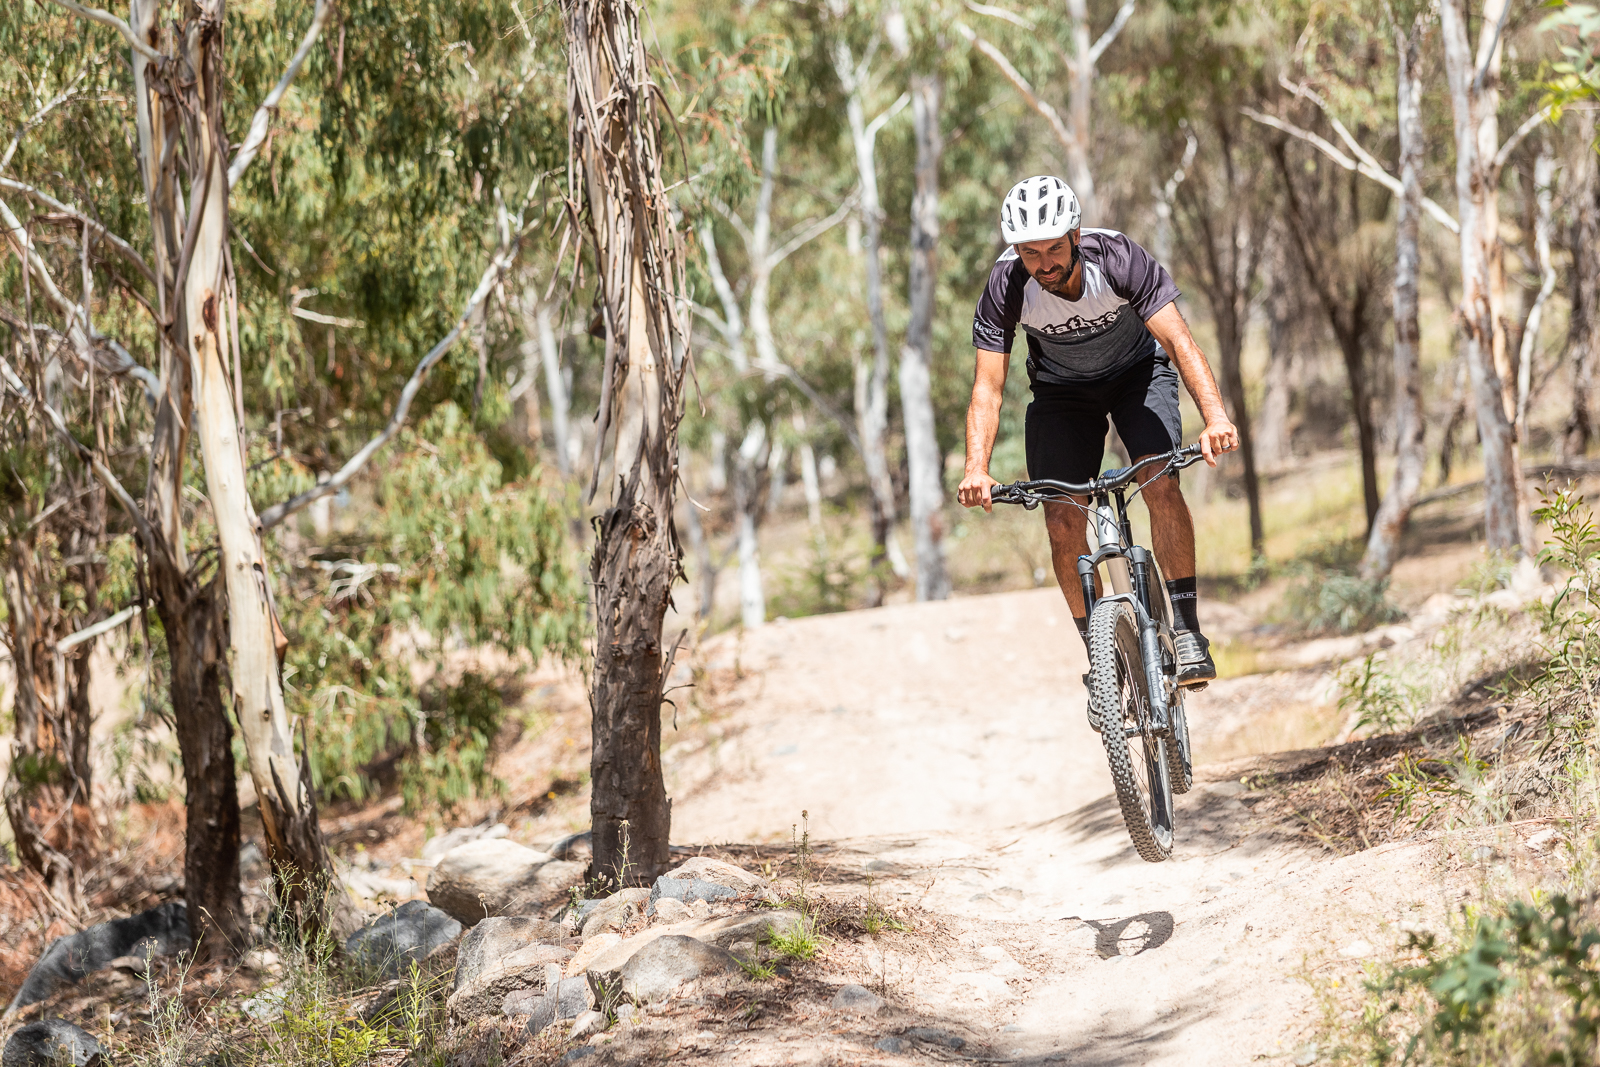
Luckily enough I had enough speed to just make it over! Once you know you have the speed, you can adjust your bike to a nose down position (which you have practised previously on a flat safe jump) by unweighting the front end, allowing the front wheel to drop and pulling up on your rear end like you would when doing a bunny-hop. As you get good at the technique you’ll learn to adjust to suit and ideally land with two wheels on the backside at the same time. On the flip side if you are coming up short you can adjust to case the jump ideally with two wheels touching down at the same time on the back of the landing and taking the impact with your legs and arms. Here you can see I’m adjusting for the landing by bringing my rear wheel up and nosing it in at an angle to match the landing and also bringing the bike forward underneath me to create just a little extra distance to land smoothly.
Step 6 – Aim to Land as lightly as possible
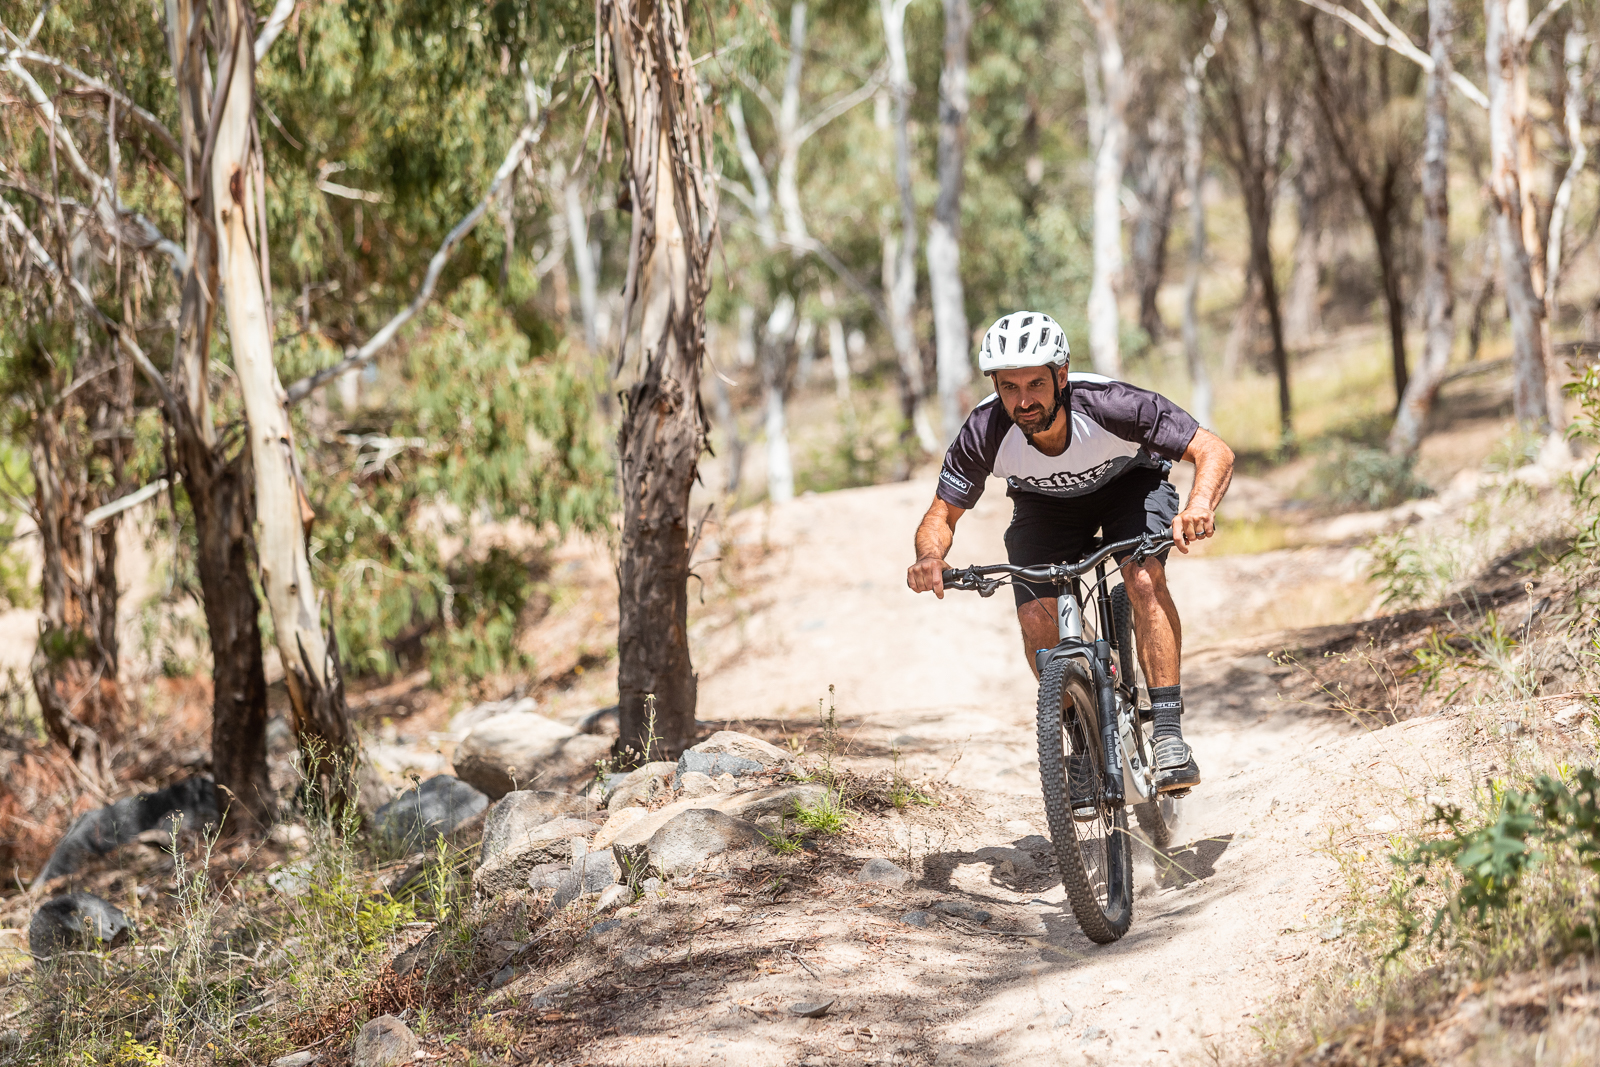
As you touch down, always aim to land as lightly as possible. Think about jumping barefoot off a ledge on to a rough road. The aim is to be really gentle on the landing whether you case or not so that if you do tag the landing just a little you won’t hang up and get thrown over the bars. To do this you need to really exaggerate the motion of landing and use all of your motion available in your arms and legs to come down smooth.
Can’t get enough Rando? Check out more skills articles here.

