Jumping is a progression game which takes years and years to gain confidence and work your way up through the ranks to hit bigger jumps. Patience, an understanding of your abilities and control of the bike are key to working your way up to hitting bigger jumps. As you progress, there are a couple of things you really need to master before you start to take on larger jumps.
First, is a good understanding of speed and how your speed relates to jump length and the style of the jump. Second, is the ability to control the bike in the air and land however you choose – be it front wheel first, rear wheel first or both wheels at the same time. These are things you should practice over and over on smaller jumps as you progress to ensure you have the skills and control necessary to hit bigger jumps.
Finally, don’t do it alone! Ideally look for a mate who has the skills to help, or a coach who can help you. Getting a “tow in” – that is following a mate to get the speed right and let you know if you need to pop a little or scrub a bit with the trail speed you have is one of the best ways to progress over larger jumps. In any case, once you’re ready, here’s some tips to help put as you progress and to get it done!
Step 1: Take some practice runs
The first thing you should do is take a few practice runs. If you can roll the jump you can roll over and if you can’t stop at the top of the lip. The key part here is to spot the landing each time as early as possible and visualise how much speed you’ll need to hit the jump. Keep doing this and visualising the take-off and landing until you have the confidence to go for it.
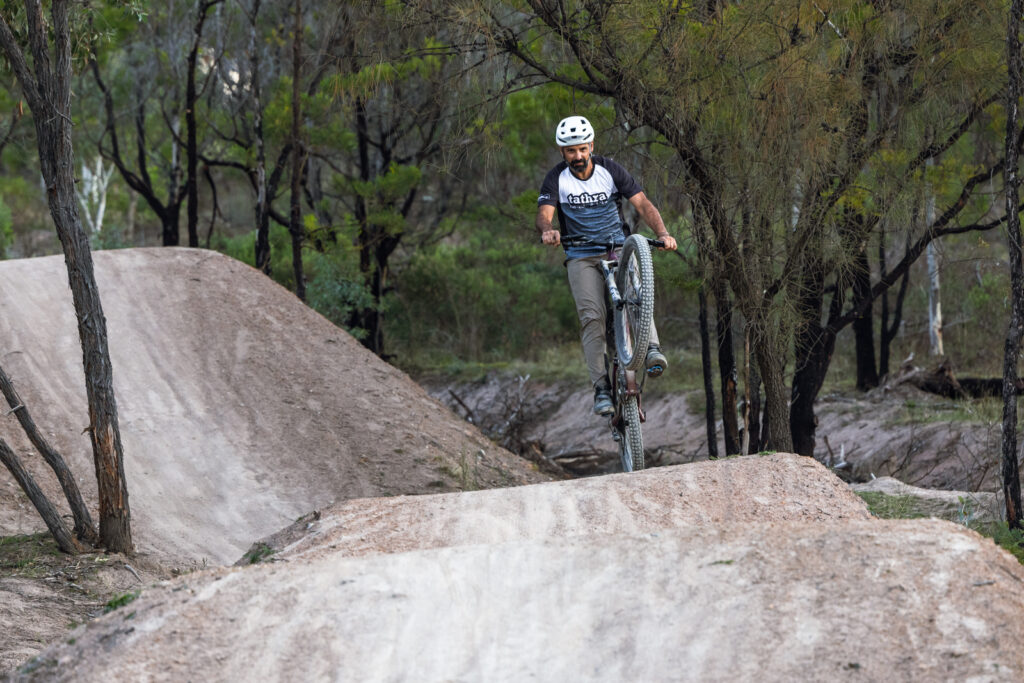
Step 2: Relax as you approach
One of the key things on larger jumps is to stay relaxed on the bike. As you approach the jump, look up and focus on the lip as you come up to it so you can get your timing right. Stay relaxed, central and loose on the bike.
Step 3: Spot the Landing
Ideally you want to spot the landing well before you hit the lip to make sure you have your speed right. One thing to remember is that you want to jump over the peak of the landing which you are spotting so your focus is to land your rear wheel just on the other side of what you’re spotting. This should give you a good judge of speed and how you need to adjust on the lip; be it pop a little if your speed is on the slower side or press down if your speed is on the faster side of things.

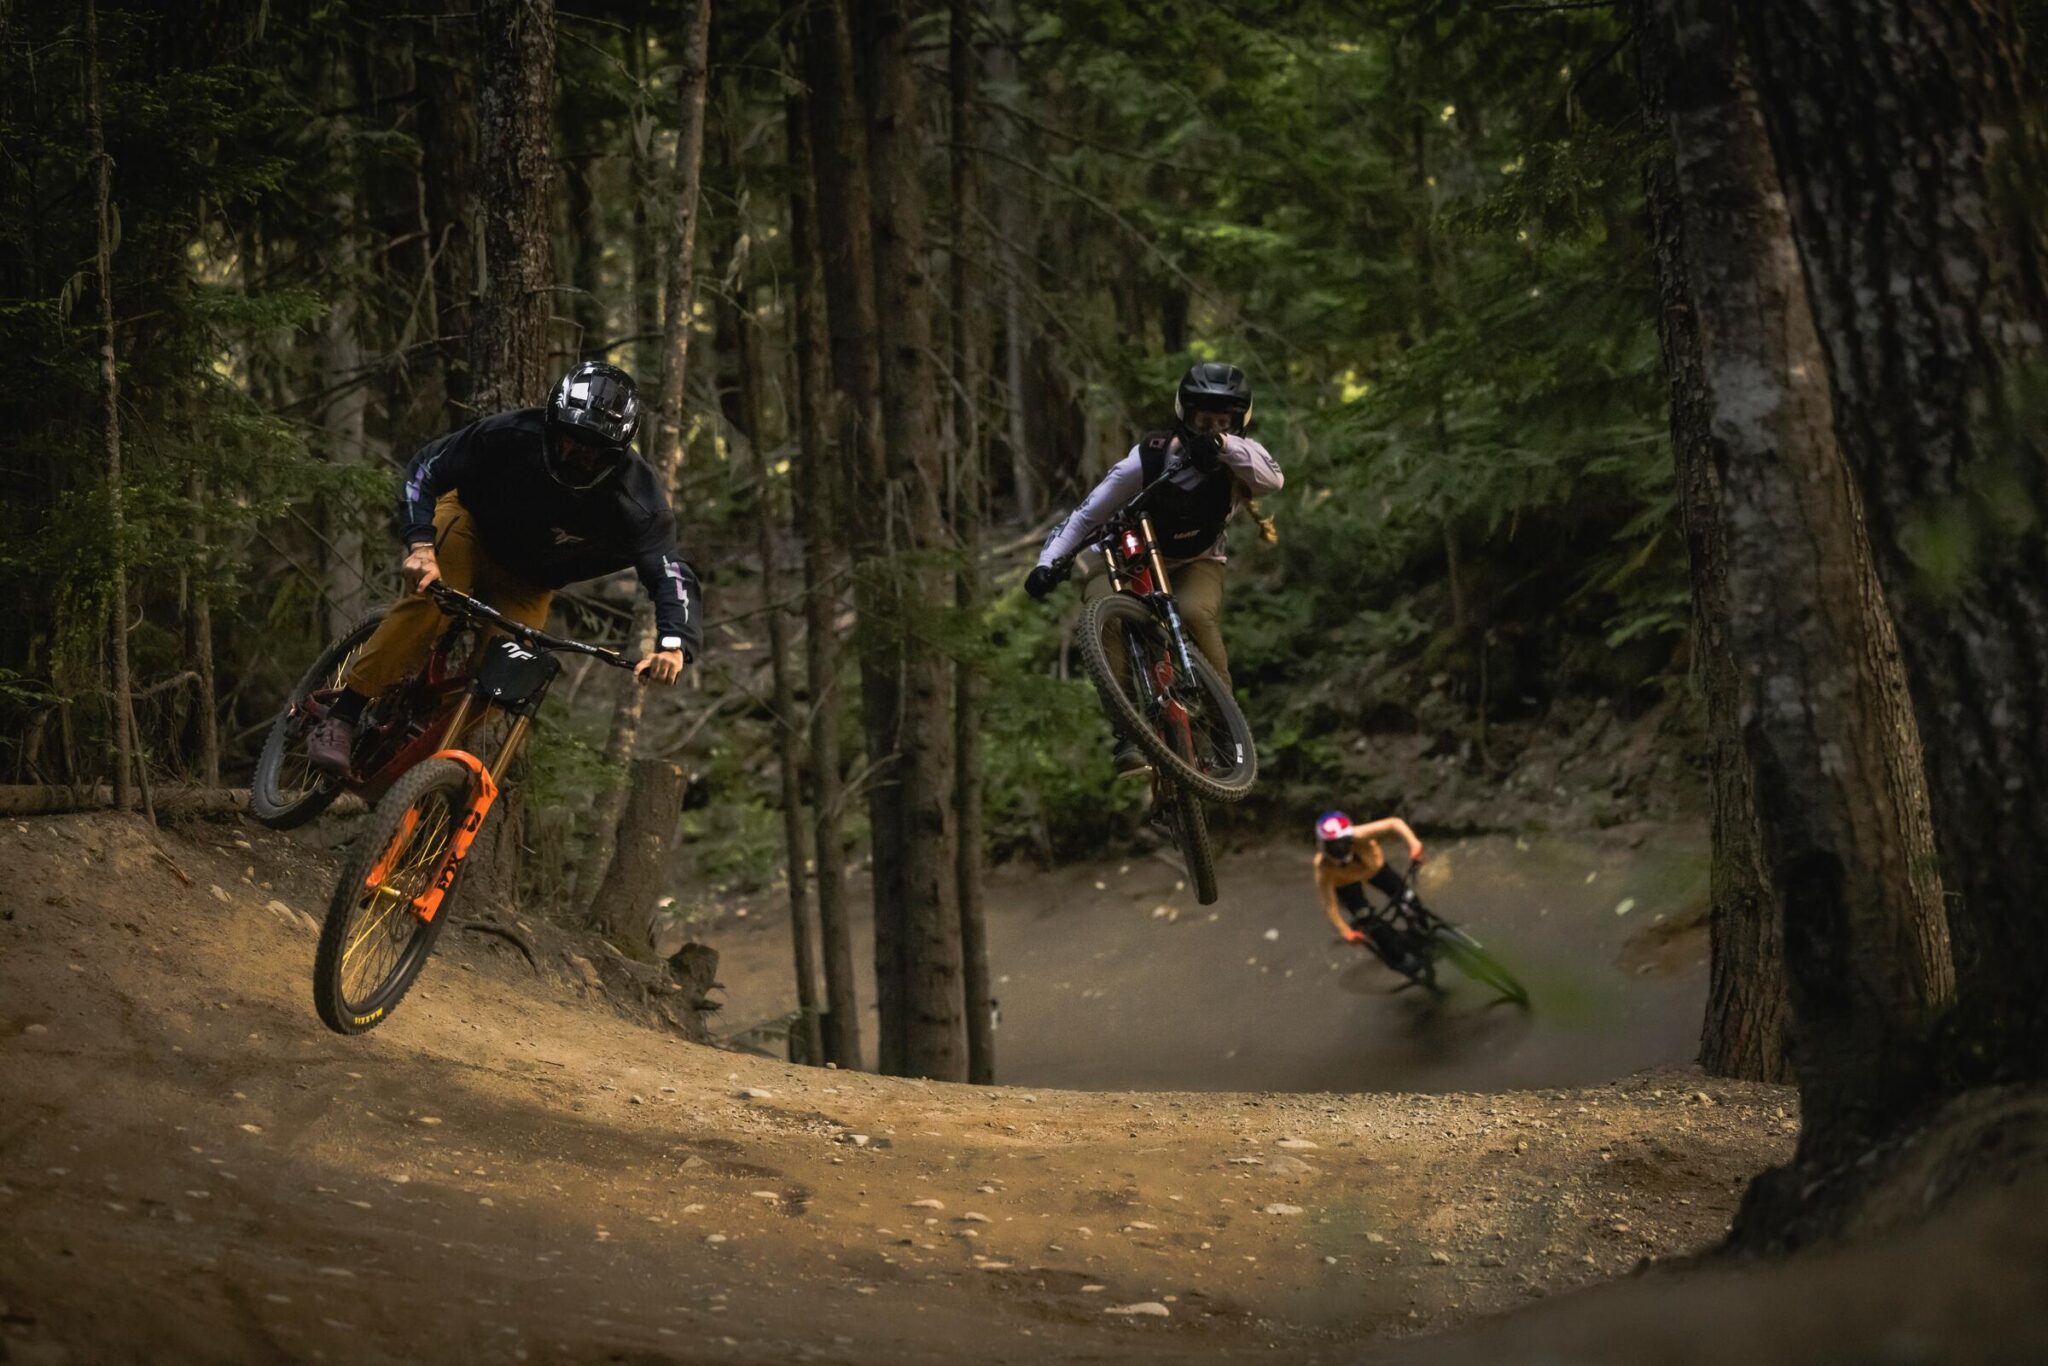
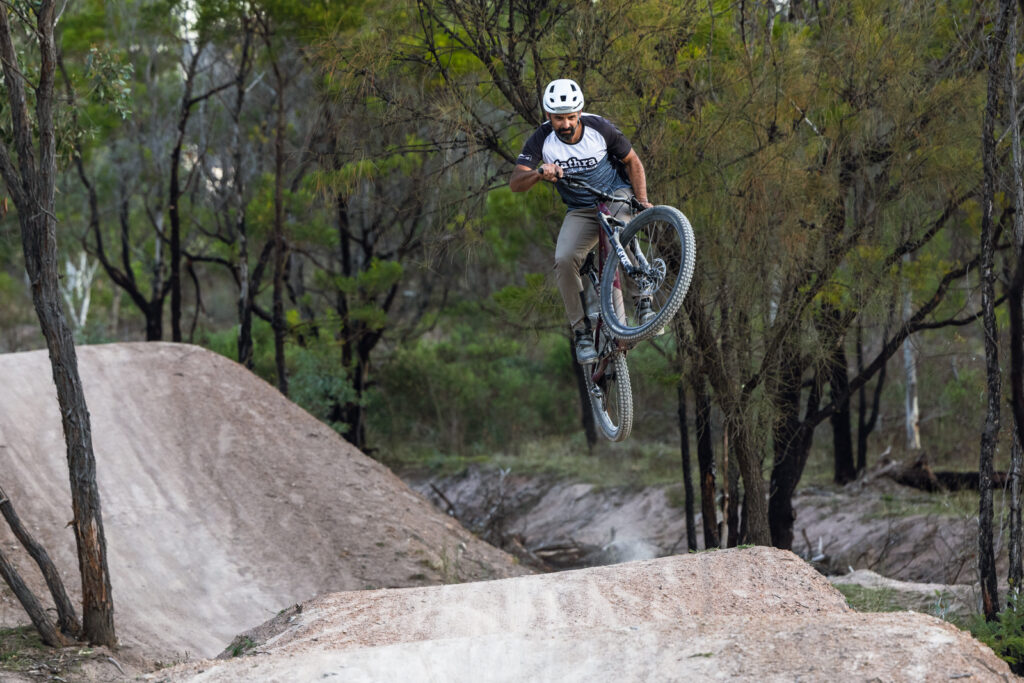
Step 4: Lead with the front wheel
As you hit the lip, you want to lead with the front wheel and have the rear wheel follow. When hitting larger jumps for the first time, I always lead up with the front wheel and keep the rear wheel down at first as a bit of a safety measure. That was if you are coming up short you can hold that position and case with the rear wheel rather than the front. Likewise if you are going to over jump the landing you can aim to land rear wheel first which will help absorb the impact.
Step 5: Adjust for landing
As you take off, have your eyes on the landing. By this time you should know if your speed is right and it’s time to adjust for the landing. Follow up with your rear wheel which will also drop the front wheel to nose it in for landing. You’re looking to land safely on two wheels which means the front wheel will need to dip down to match the landing. Try to relax as much as you can in the air and don’t tense up. Keep your eye on the landing!
Step 6: Touch down gently
As you touch down, be as light as you can on the bike. You’re weight needs to be central and use your legs as much as possible to absorb the landing. The lighter you can be on the bike the better as this will allow better control as you absorb the impact and roll on to the next one!