Whether you’re blazing fresh lines through unfamiliar terrain or hanging on down your well-worn local track that’s seen more rubber than Wakefield Park in the ’90s*, there’s nothing worse than your bike sounding like a coffee tin full of bickies.
With bikes often built in a rush – whether by busy shops or shipped direct-to-door – it’s common for things to loosen up or start rattling after a few rides. Even small oversights during assembly can lead to annoying creaks and clatter on the trail.
Here’s how to make your bike ride as quietly as it looks fast.
Tip 1: Start with a Drop Test
Before every ride, I run through a quick and simple check: the drop test.
The Drop Test:
Lift your bike about a foot (30cm) off the ground, then let it drop. Listen carefully, what do you hear? If anything rattles, clinks, or buzzes, it’s time to investigate.
Start with the usual suspects:
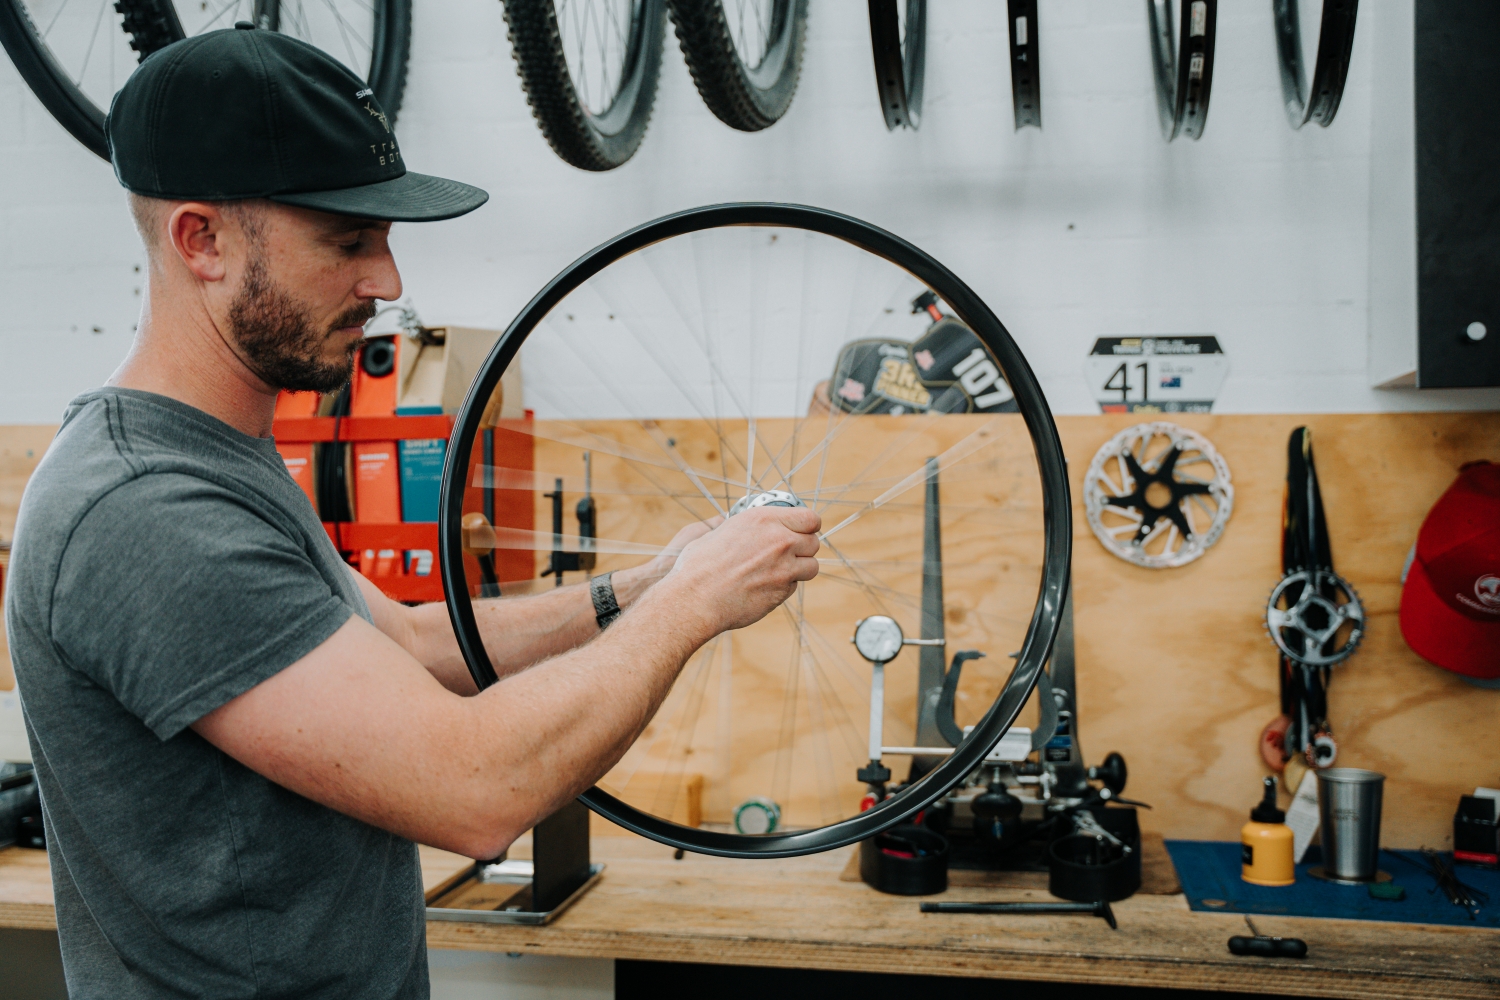
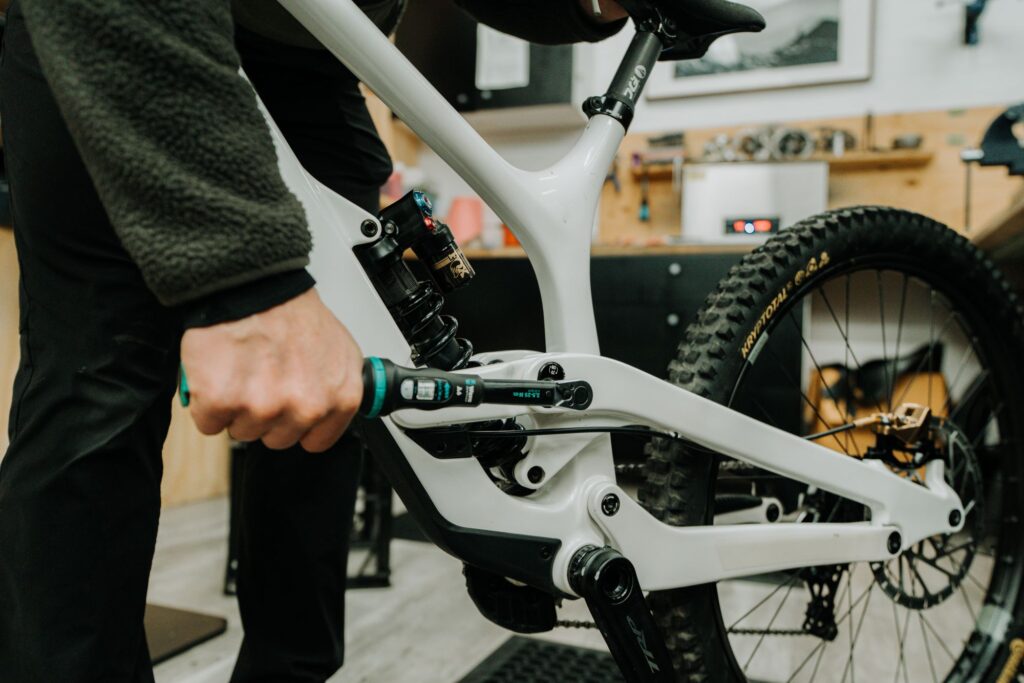
- Axles: Ensure front and rear axles are properly torqued. Loose hubs or axle slack can lead to play and unwanted noise.
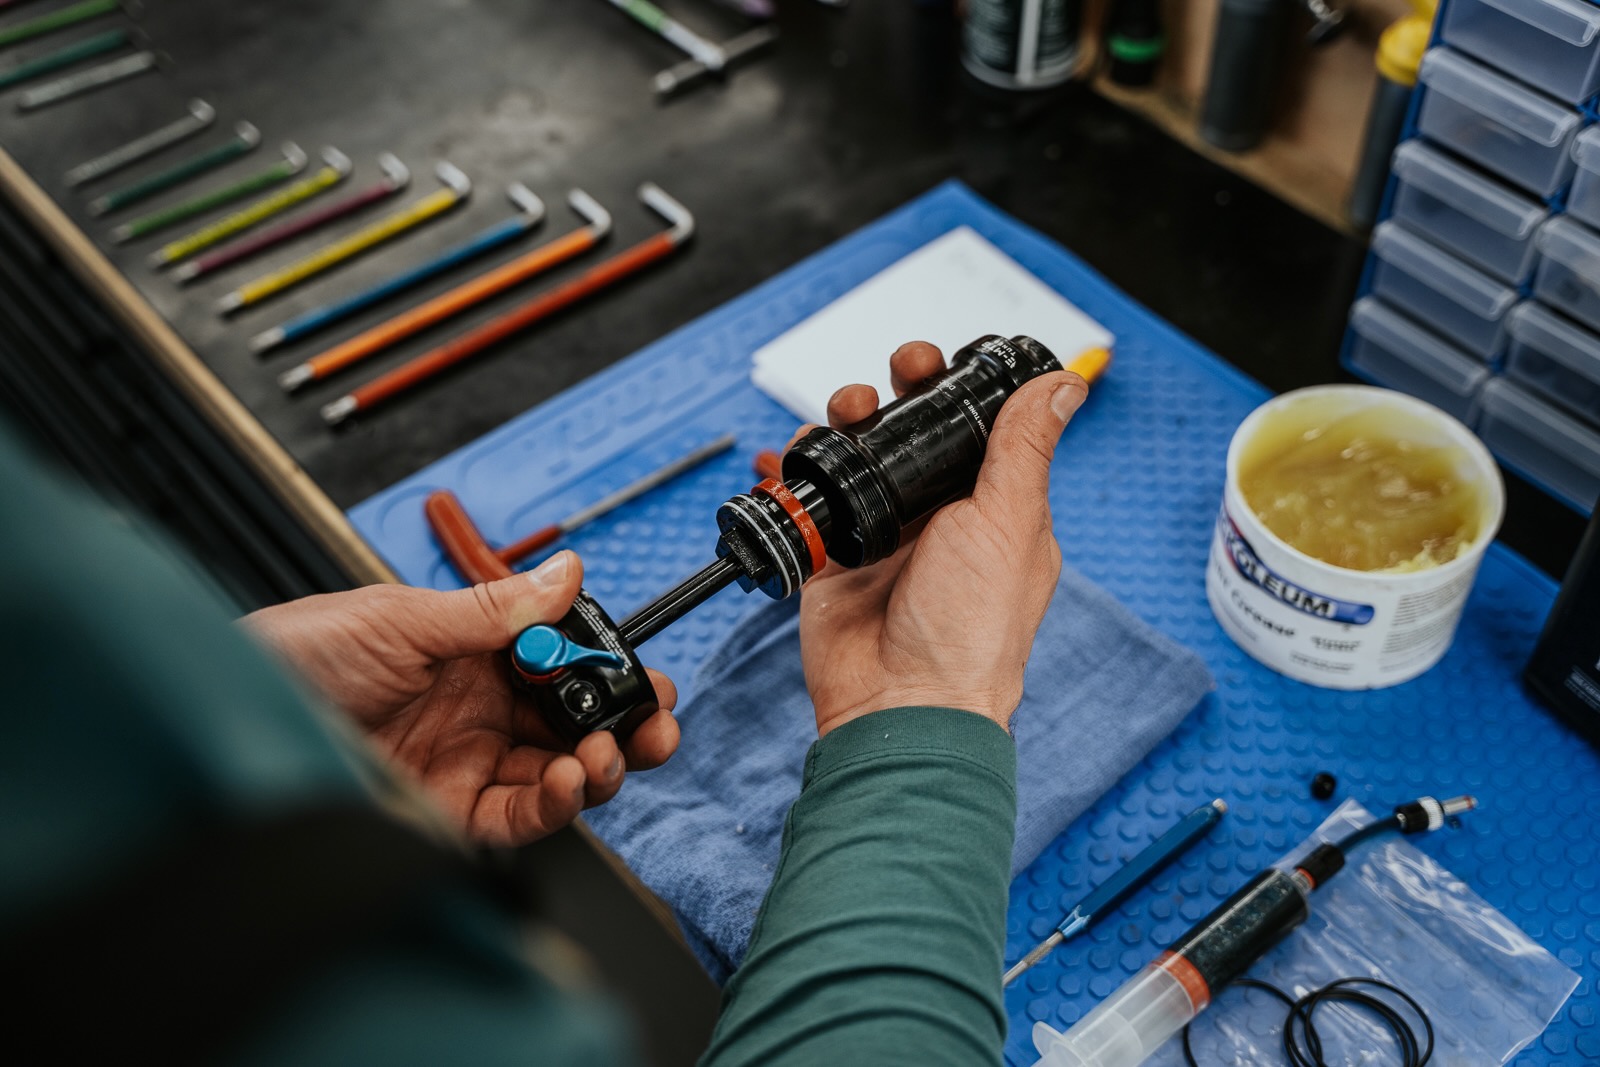
- Cranks & Bottom Bracket: Wiggle the cranks—any movement? Re-check torque.
- Headset: Apply the front brake and rock the bike back and forth. If there’s a knocking sensation, your headset might be loose. (See our earlier Workshop guides on headsets and bearings for more detailed steps).

Tip 2: Dial In Your Pressures
Your tyres and suspension settings play a bigger role in bike noise than you might think. Incorrect pressures can make a bike feel harsh and loud – or worse, leave you with a flat.

- Too high: and your bike skips and chatters across the trail.
- Too low: and you risk rim strikes or flats, turning your ride into a slow roll back to the car.
Make note of your ideal pressures and record how changes affect ride feel and trail noise. Fine-tuning is key.
Tip 3: Cable Management: Tidy = Silent
Loose cables are one of the biggest culprits when it comes to mystery rattles.

- Cable length: When building your bike, ensure cables are cut to the correct length. Aim for a smooth arc from levers to frame – no tight bends or crossings.
- Internal routing: If your bike has internal cable routing, consider installing foam sleeves inside the frame. These stop the cables from bouncing around and making noise. Some modern frames already have internal sleeves or clamps to cinch everything down, make sure you use them if you’ve got them.
- Pre-built bikes: Often come with longer-than-necessary cable housing so riders can adjust their cockpit setup. Once you’re happy with lever positions, ask your local bike shop to trim them down properly.
Note: trimming brake lines may require hydraulic work, including a bleed – but the silence is worth it.
Tip 4: Tame the Chain Slap
If your bike doesn’t come with a purpose-built chainstay protector, or it’s not doing the job, add your own.

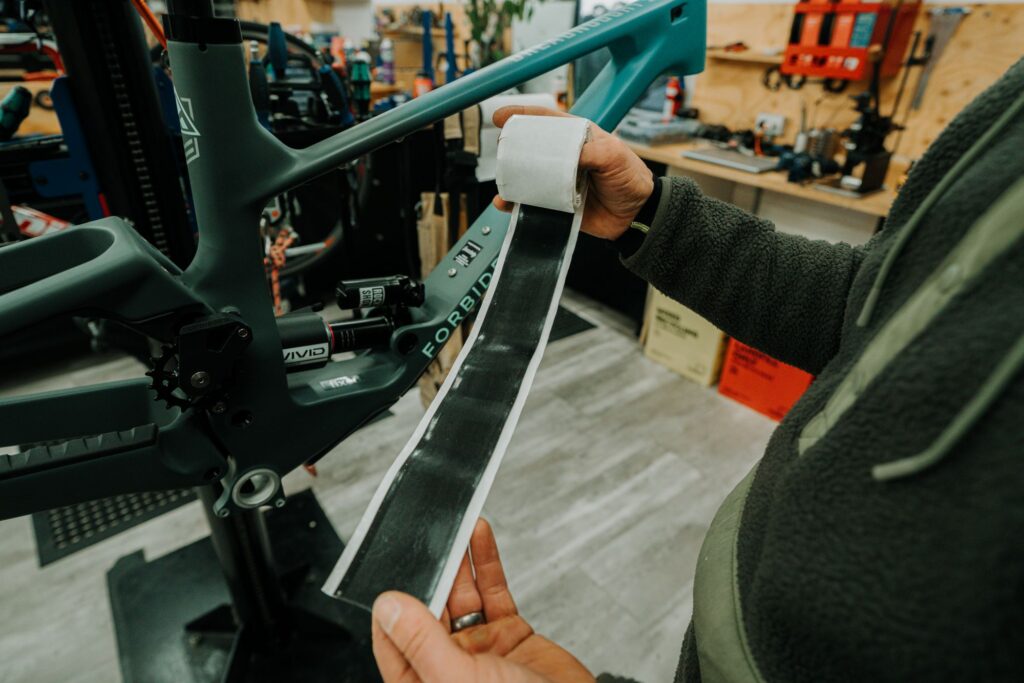
We recommend 3M Mastic Tape 2228, an incredibly sticky and durable option that’s used by mechanics the world over.
- It sticks to all surfaces – even wet ones.
- Malleable and form-fitting, it wraps neatly around complex frame shapes with a bit of heat and kneading.
- Once it’s on, it stays on – dampening chain noise and protecting your paint (and spirit).
Tip 5: Finding the Source: What’s That Noise?
Sometimes, the drop test tells you something’s off – you can’t quite pick the culprit. Here’s how to isolate the source of the racket:
1. Ride with Intention
Find a quiet place and replicate the conditions where the noise usually happens. Is it during pedalling? Braking? Hitting bumps? Shifting? The context often gives away the culprit.
2. Break It Into Systems
Systematically check each major part of the bike:
- Drivetrain:
Pedal gently in a high and low gear. Listen for creaks or clicking. A dry chain, bent derailleur hanger, worn cassette, or loose chainring bolts could be to blame. - Suspension:
Compress the fork and rear shock. Does it squeak or knock? It might need a clean, a re-lube, or possibly a service. Check shock mounting hardware and pivot bolts for play. - Cockpit:
While stationary, wiggle your bars and levers. Is there any movement at the stem or headset? Creaks under load while turning or climbing out of the saddle often point here. - Seat & Post:
A surprisingly common source of creaking. Remove the seatpost, clean and re-grease (or carbon paste if needed), and check the saddle rails and clamp bolts. - Brakes:
Spin your wheels and lightly apply the brakes. Is there rubbing, pulsing, or a metallic squeal? Could be a bent rotor, contaminated or loose pads, or misalignment. - Wheels & Hubs:
Lift the bike and spin each wheel. Is there any clicking or grinding? Side-to-side play may point to loose axles or bearing issues. Spokes can also ping or rattle if loose.
Tip 6: Pro Tip: Use Your Body Like a Stethoscope
Sometimes subtle sounds are hard to locate. Ride slowly and place your gloved hand or fingers on suspect components as they’re under load. You’ll often feel the vibration in the part making noise before you can isolate it audibly.
Tip 7: When in Doubt: Clean and Tighten Everything
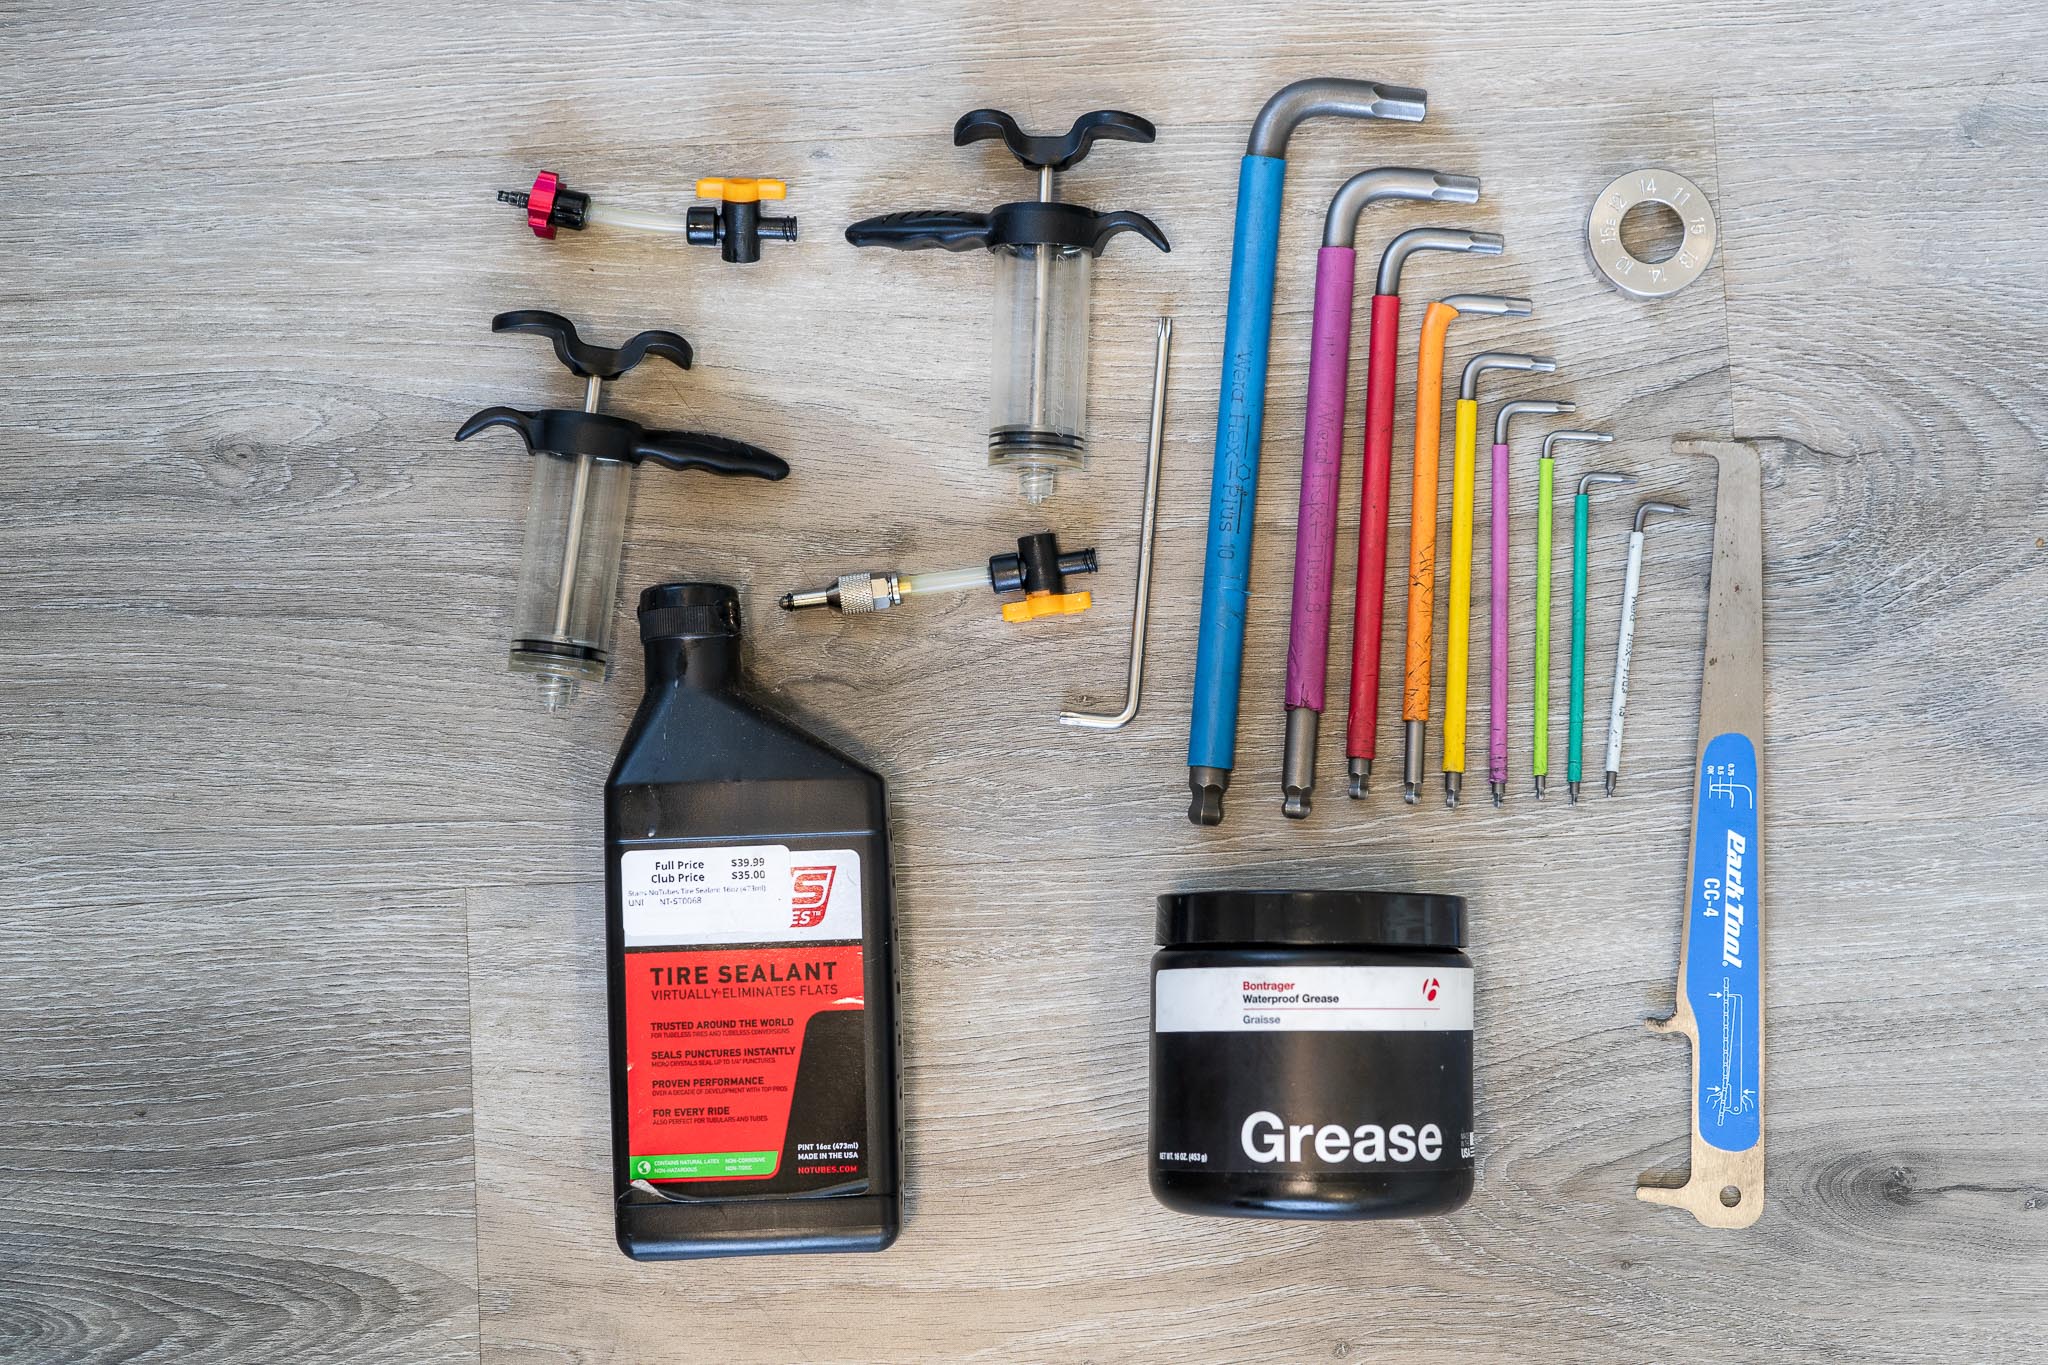
Many noises are caused by dirt, friction, or parts that have just worked themselves slightly loose. A full bike clean followed by a bolt check—with a torque wrench where applicable—can often silence a noisy ride without replacing a single part.
Final Word
A quiet bike isn’t just more pleasant to ride: it’s often faster. When your rig isn’t buzzing, clunking, or distracting you with mystery noises, you can focus on the trail ahead.
So drop it, listen, and dial it in. Your ears – and your riding crew – will thank you.
*For those unfamiliar: Wakefield Park is a racetrack in NSW that saw more action in the ’90s than a weekend at Bathurst—used here as a metaphor for heavily ridden, well-loved trails.