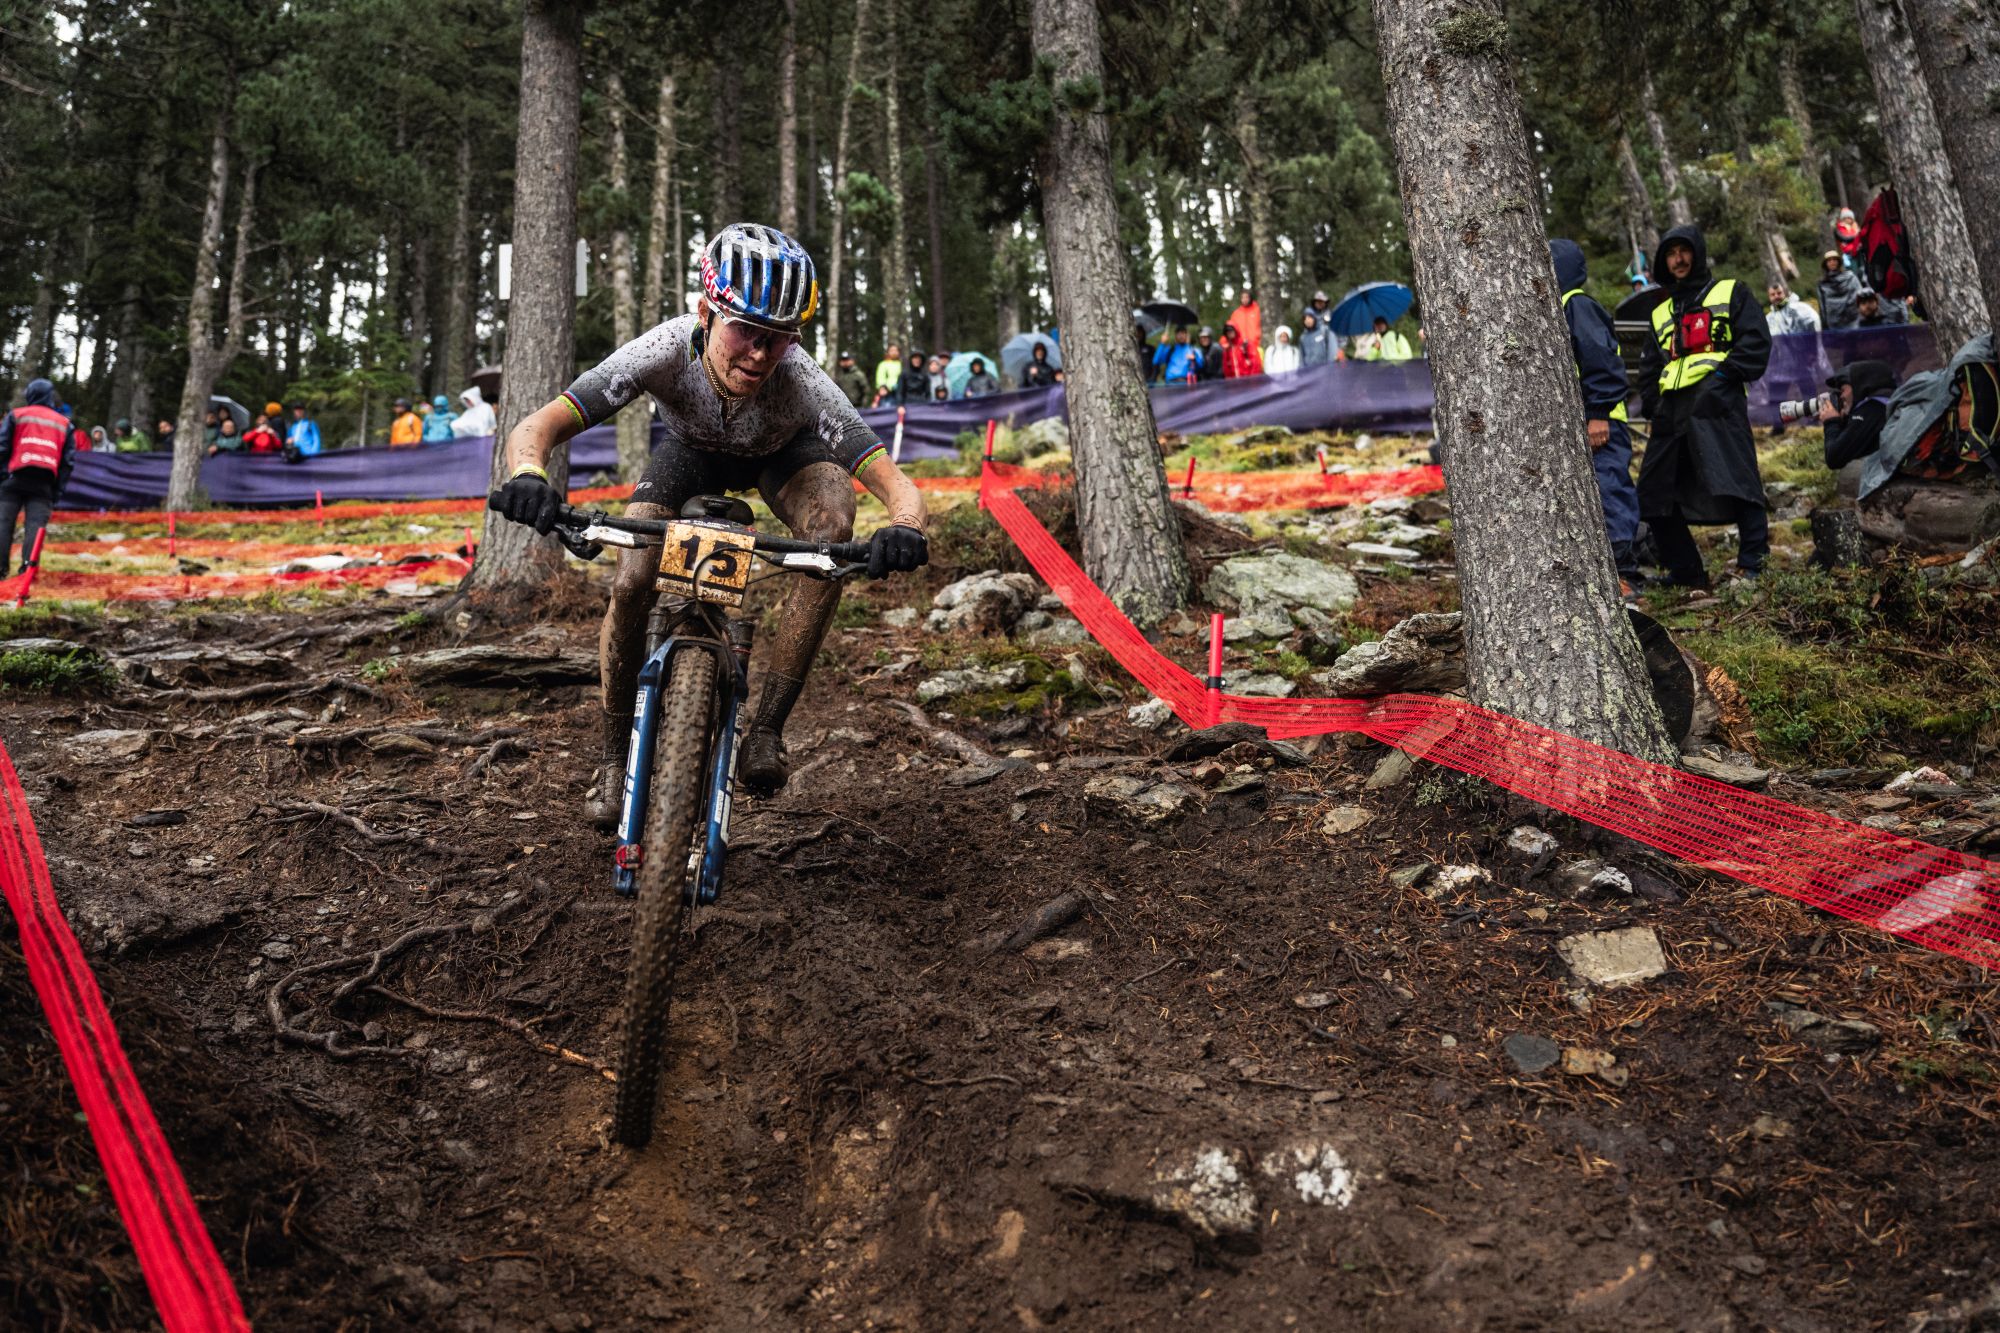
Riding rock gardens is by far one of my favourite things to do on a bike. The feeling of your suspension working underneath you, your bike wanting to go everywhere but straight and the unknown of just what might happen next make it super fun and scary at the same time.
The more suspension you have the easier it becomes, but when you approach into rock gardens with really big rocks, your body position and technique becomes even more important. Likewise, tackling rock gardens on shorter travel bikes also calls for your technique to be dialled to both get through smoothly and stay upright!
Even on a full on downhill bike, technique is key to really get through smooth and fast and there are some fundamentals which can help you along the way, especially when you have some big hits thrown into the mix. Here’s some tips for riders of all levels and abilities to help you get through unscathed.
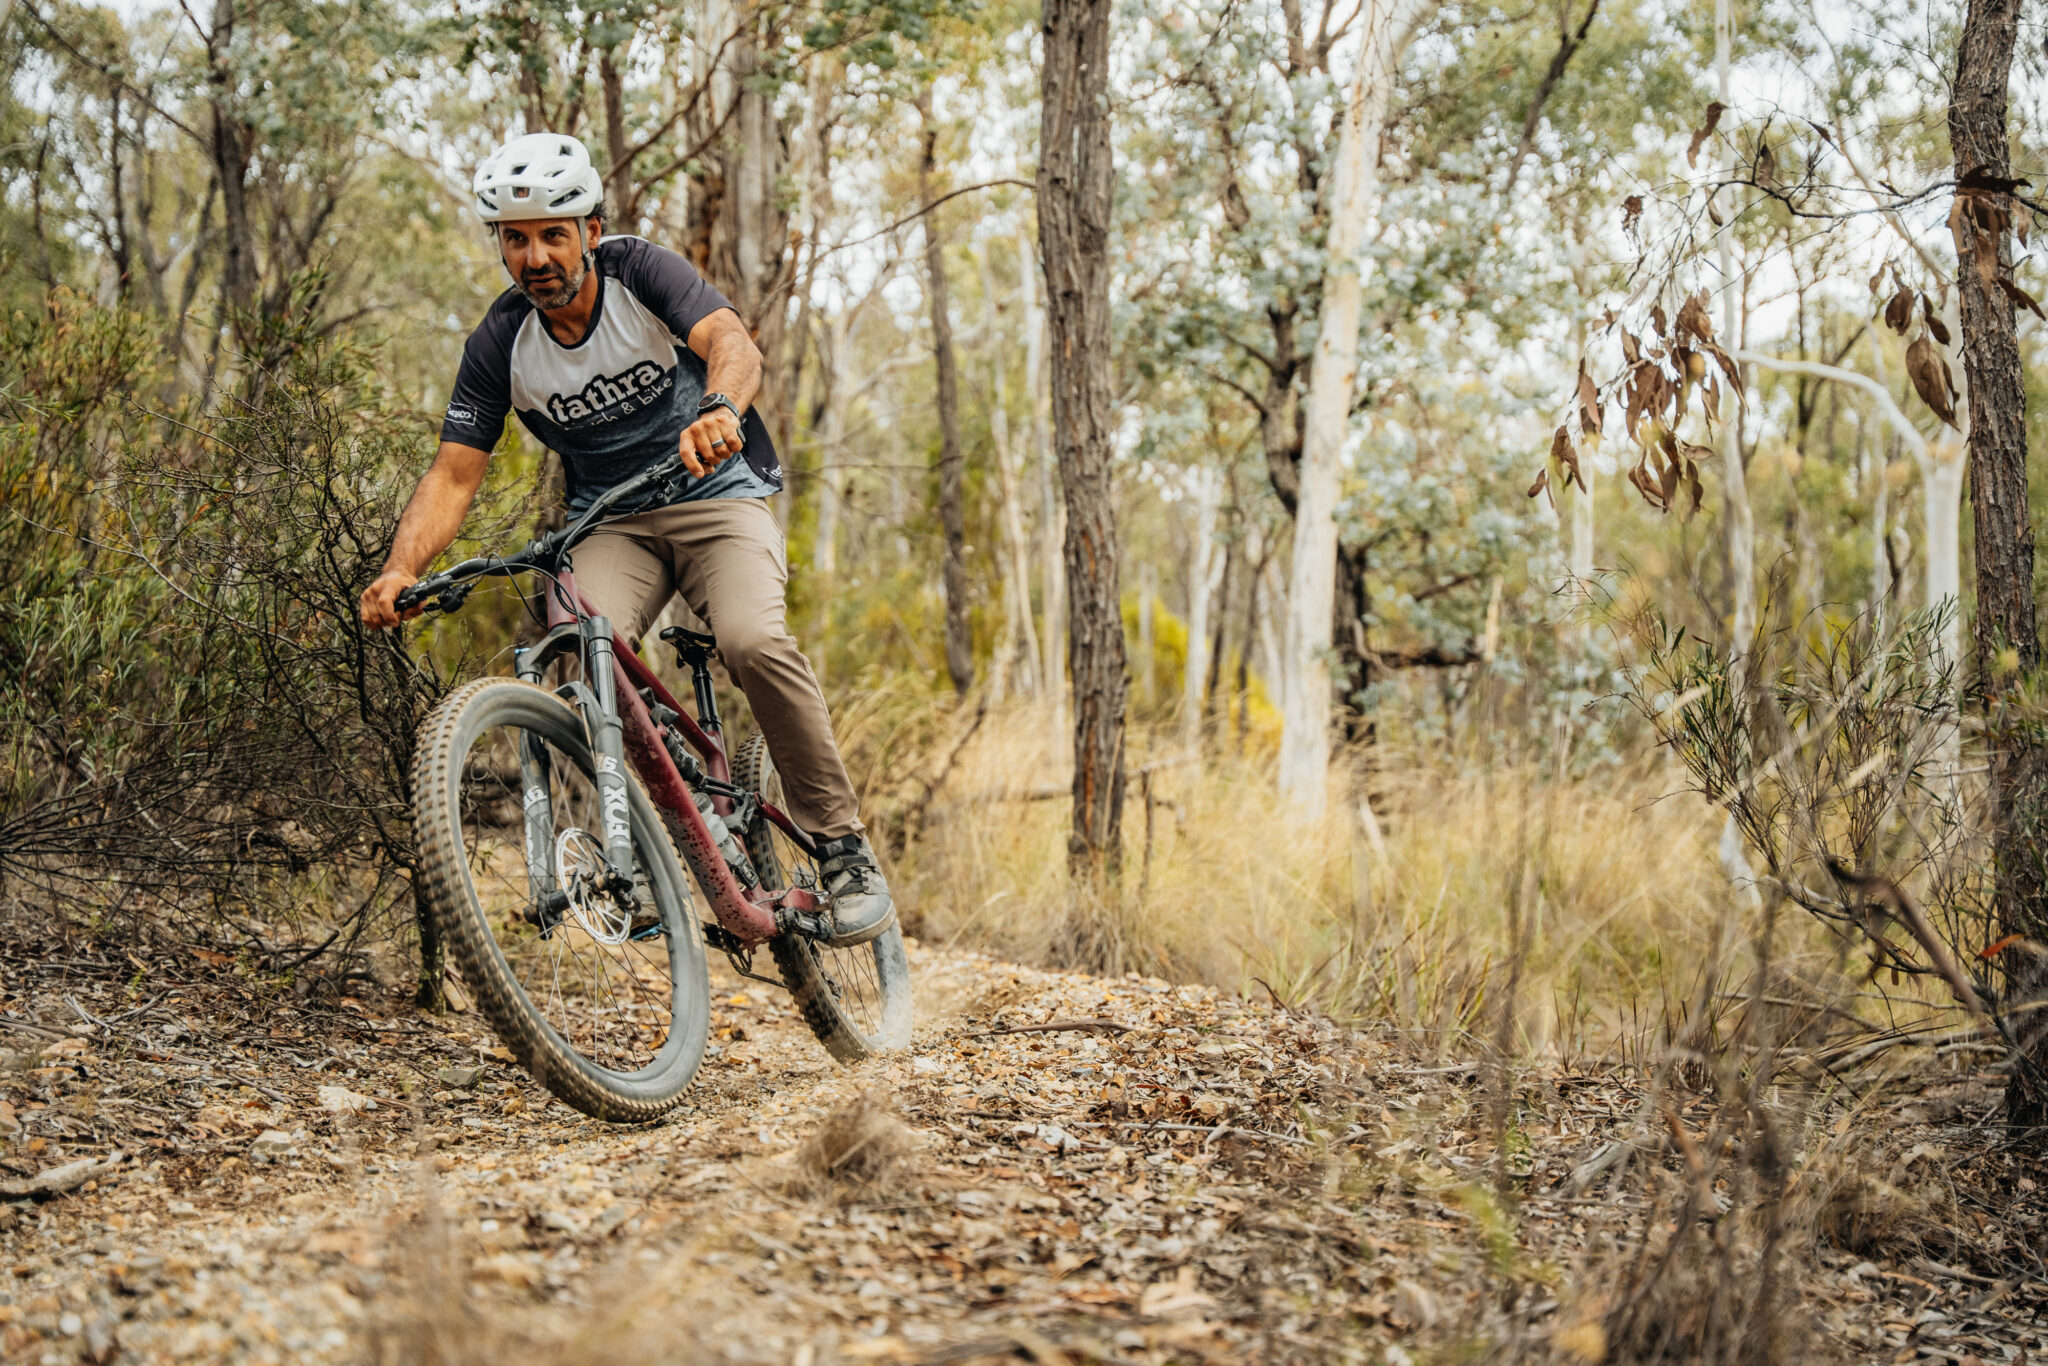
Step 1 – Body position
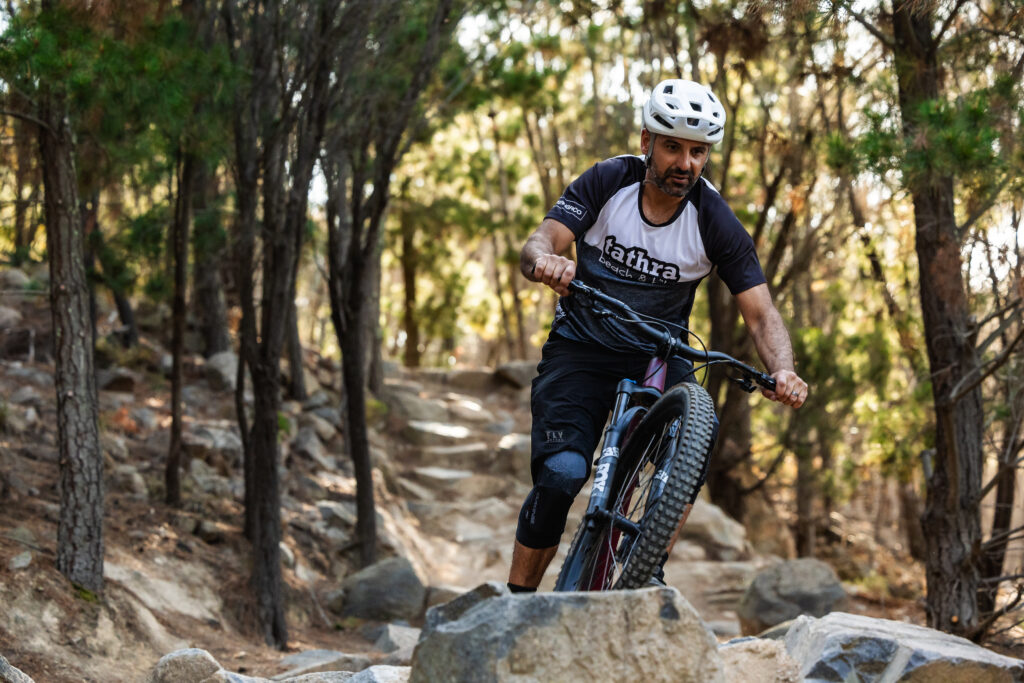
As you enter any rock garden your body position is key. You need to be centered on the bike with your centre of gravity low and your backside just behind the saddle. I like to keep my knees out a little to offer some room for the bike to move underneath me and the majority of your weight centred through your cranks and not your arms. In this position, the bike is free to move around and you can shift your weight back quickly for the bigger hits as you roll through.
Step 2 – Keep your head up and scan forward
This is really important in and the bigger the rocks, the more important it becomes. Scanning forward allows you to see what’s coming up and stay on your chosen line. The key to tackling the larger rocks is anticipating what’s coming up so you can get your body in the right spot and not simply plow into everything.
Step 3 – Stay relaxed and loose
Staying relaxed and loose on the bike is really important but definitely counterintuitive! Staying relaxed will allow your bike to move freely underneath you, both sideways and front to back. The extra movement of your bike also gives you some extra ‘travel’ for your bike. This is really important on shorter travel bikes. Combining your suspension travel and bike movement underneath you with the extension of your arms and legs is what will allow your bike to go over the big hits smoothly and safely.
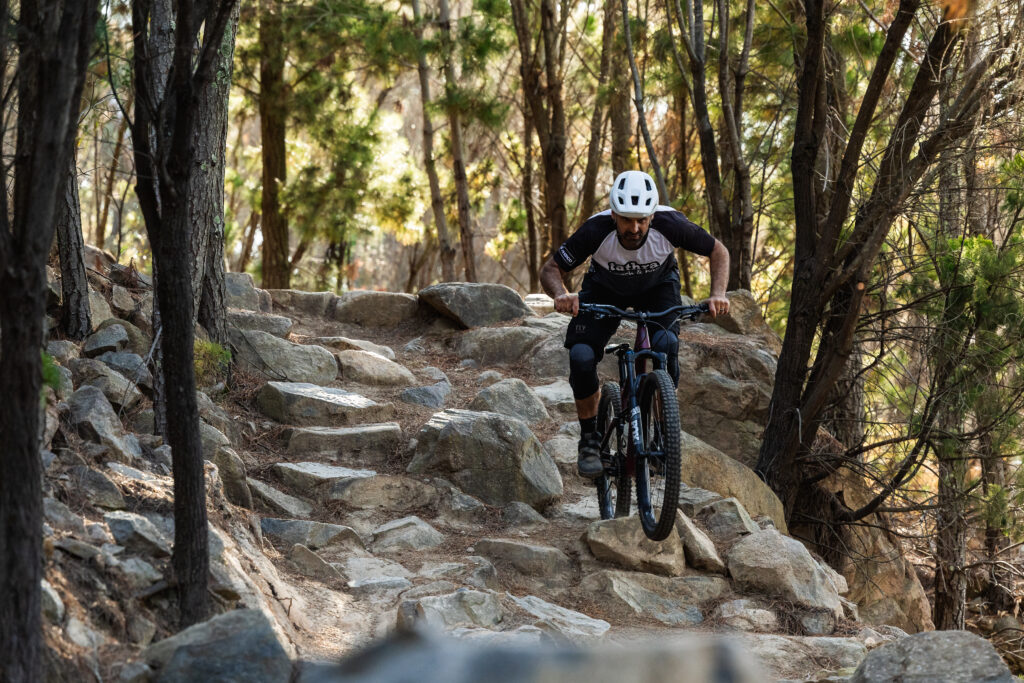
Step 4 – Unweight and lift your front wheel when needed
As you roll through and you’re approaching the bigger hits, unweight and/or lift your front wheel over the initial hit. This is where it’s really easy to go over the bars and by simply unweighting or lifting your front wheel over, it will take the edge of the hit and allows the back wheel to take the impact. Not great for your rear wheel but much better for your safety!
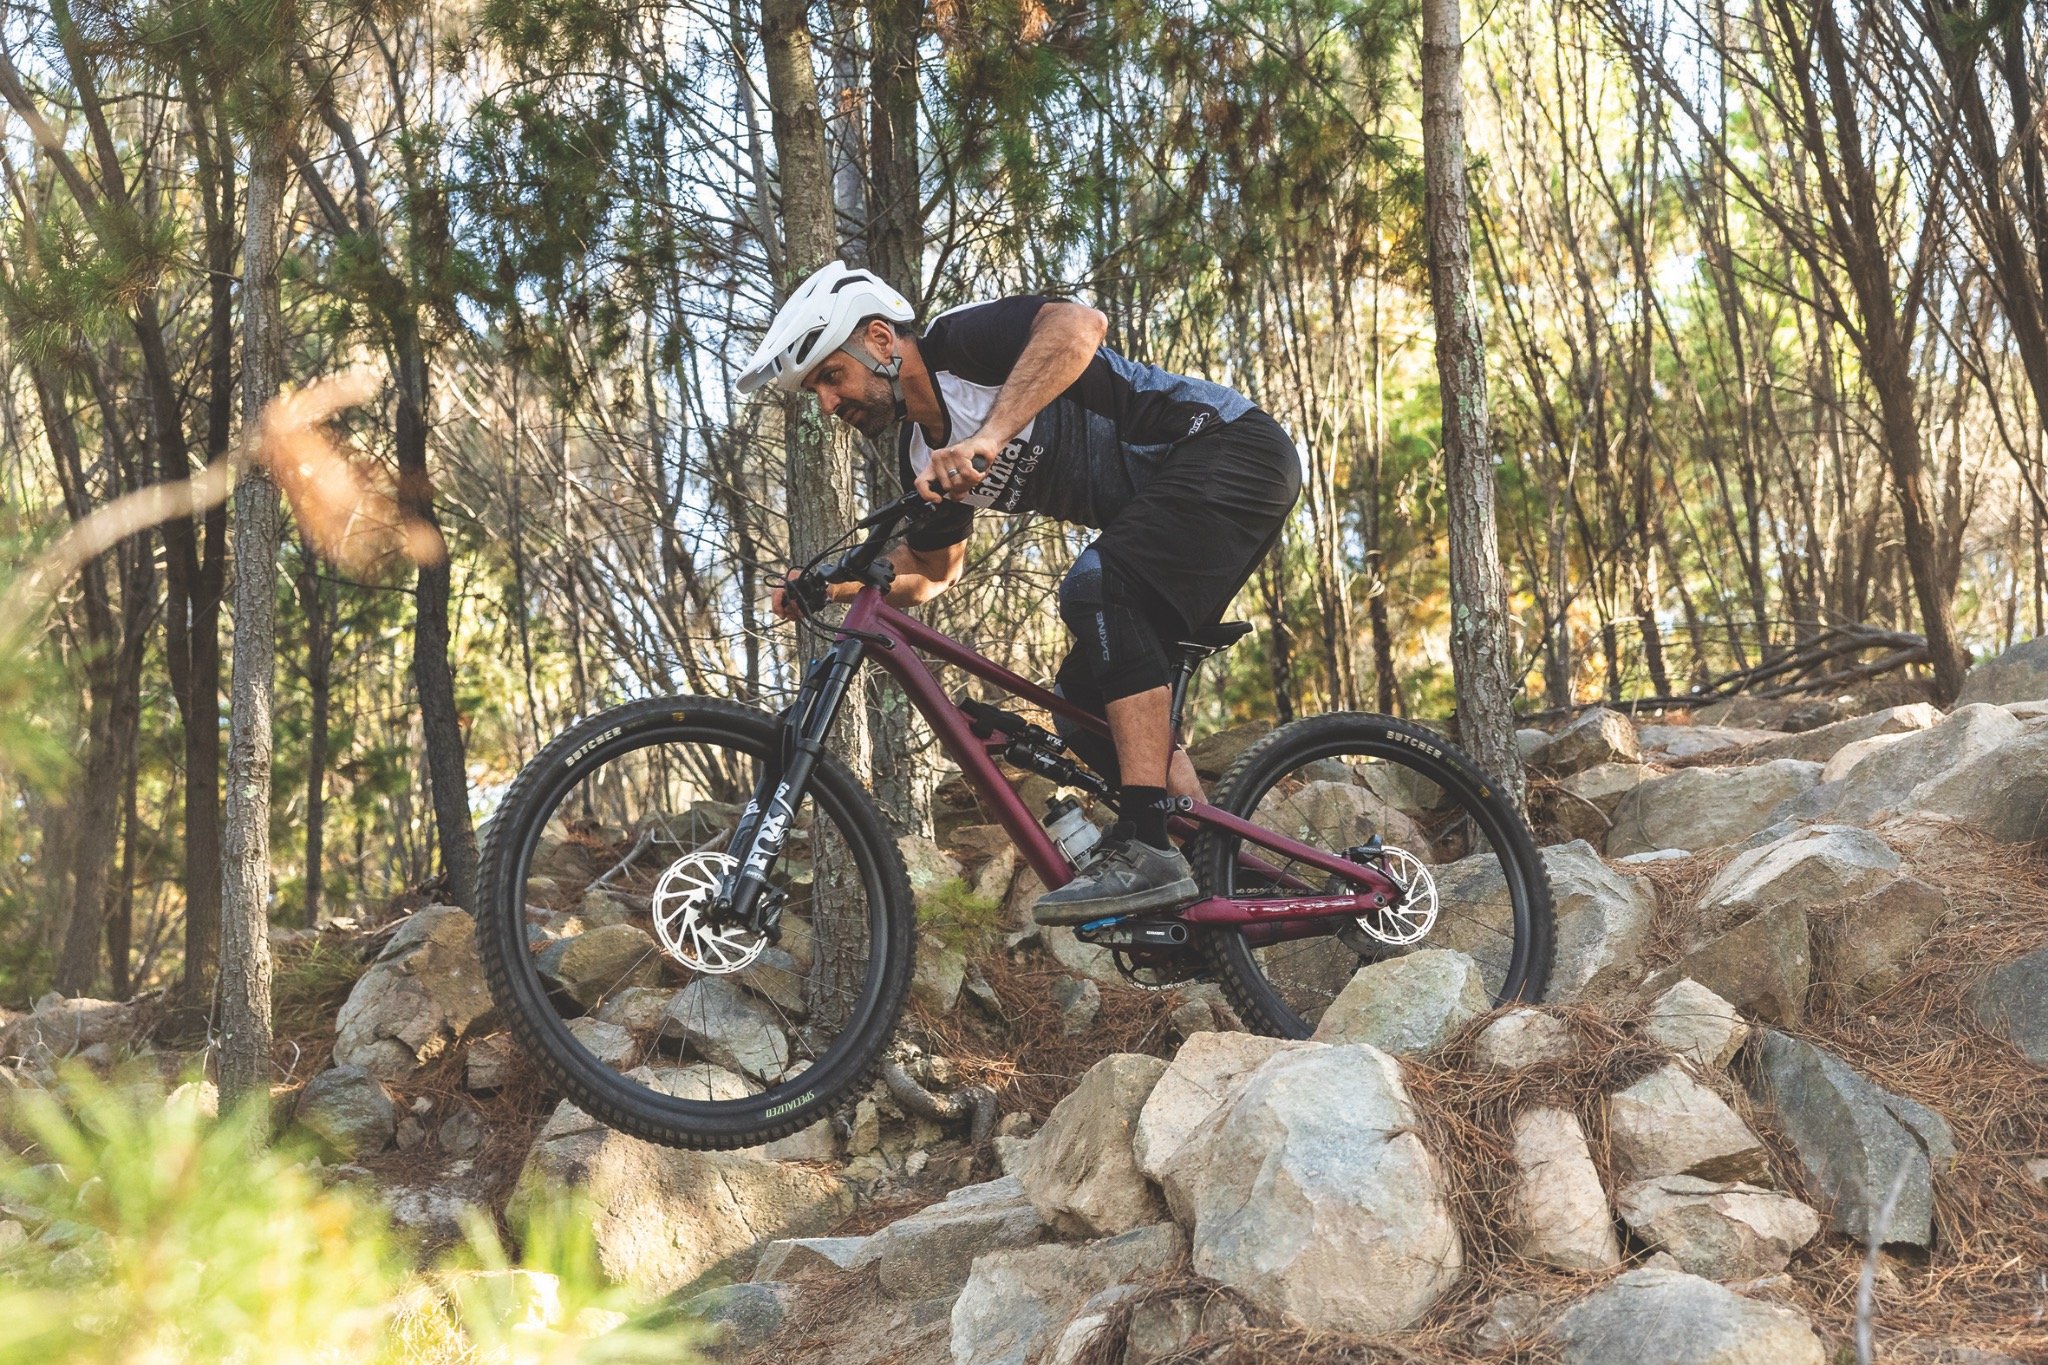
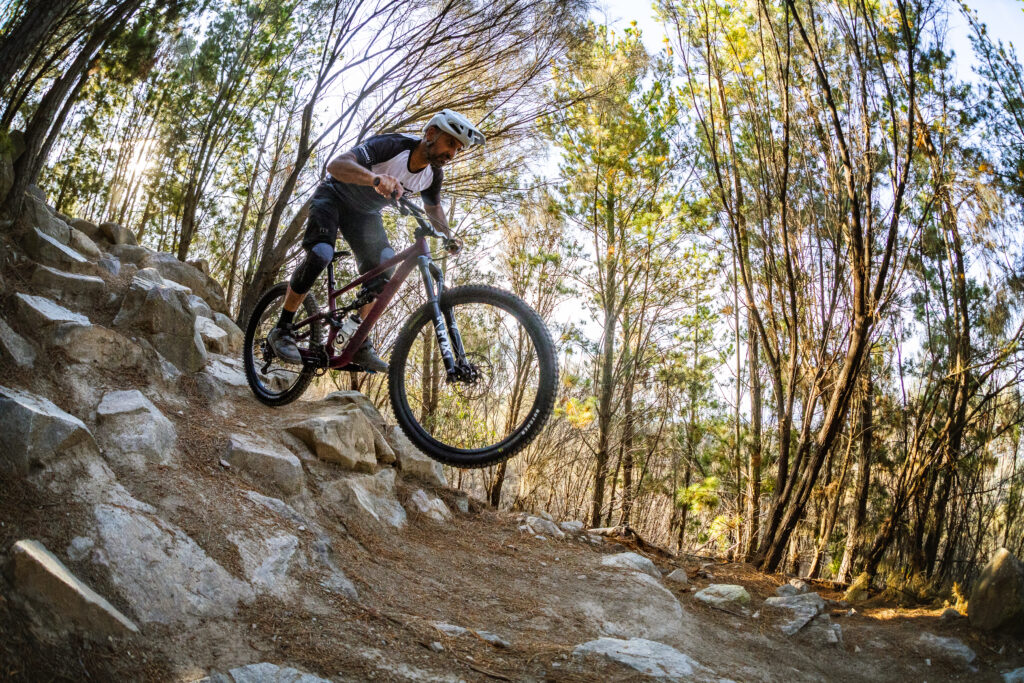
Step 5 – Get your weight back for the big hits
As you approach the bigger hits, you want to get your weight back and your butt behind your seat. This does two things – Firstly, keeping your weight back makes it a hell of a lot harder to get thrown over the bars and secondly, having your butt behind the seat will allow the bike to move up underneath you so you don’t get smacked by the seat. Even with your dropper all the way down, this shift in body position is really important for the big hits.